
Start by thoroughly evaluating your vintage EM machine’s condition, checking for wear, rust, and damage. Document its current state with detailed notes and photos from multiple angles. Research the model’s history to identify features and gather restoration information. Gather your tools and set up a safe, well-lit workspace. Carefully test electrical components, ensuring safety. Planning your repair steps now helps, but keep exploring for expert tips to make your restoration successful.
Key Takeaways
- Conduct a thorough assessment by inspecting for wear, damage, and corrosion; document findings with detailed photos and notes.
- Gather necessary tools, safety gear, and organize a clean, well-lit workspace for safe, efficient restoration.
- Perform electrical safety checks using a multimeter to test wiring, switches, and components before beginning disassembly.
- Research the machine’s model, history, and original specifications through manuals, catalogs, and expert consultations.
- Develop a phased restoration plan with clear milestones, budgets, and prioritize tasks based on the assessment and research.
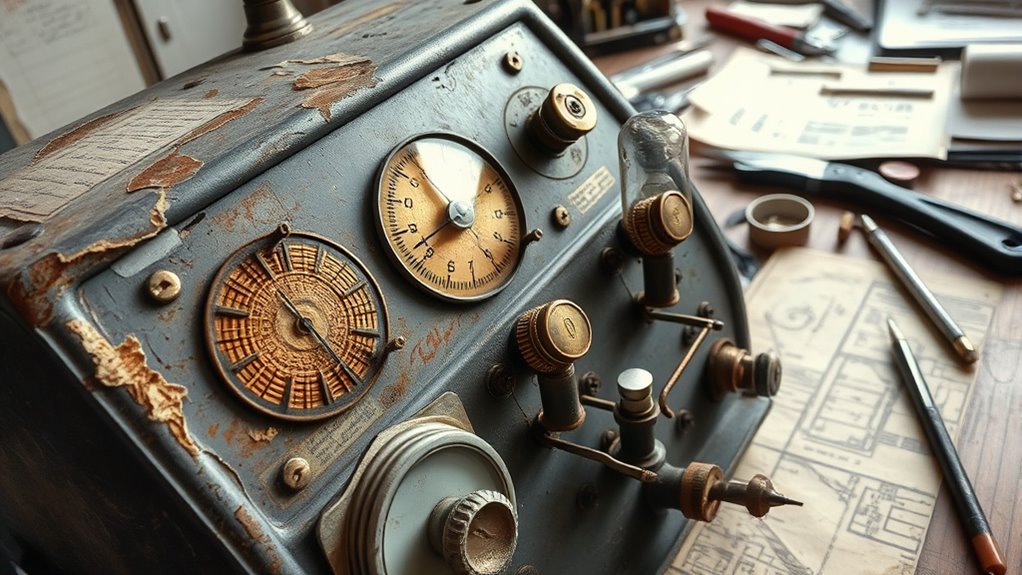
Evaluating the Overall Condition of the Machine
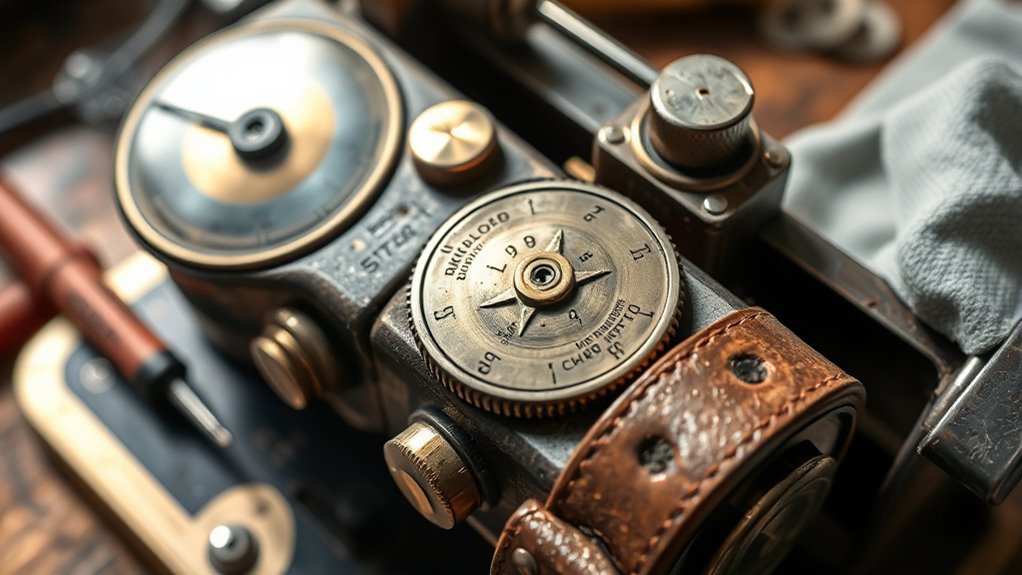
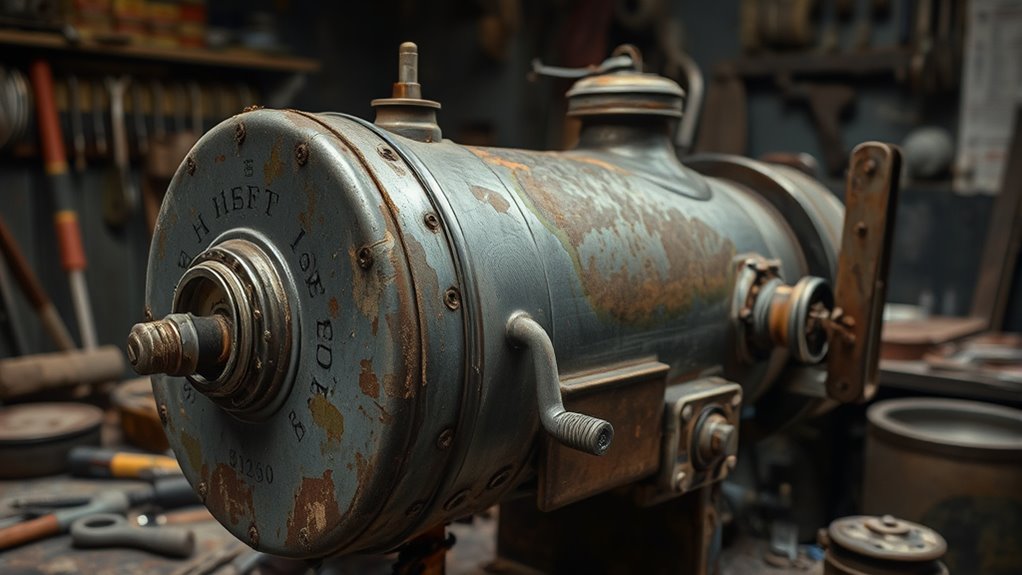
Before starting any restoration, you need to thoroughly assess the machine’s current state. Check for signs of wear that might affect its vintage aesthetics, like discoloration or corrosion. Examine the mechanical components to determine if they’re intact or need recalibration. Pay close attention to the mechanical calibration, ensuring the machine’s parts move smoothly and accurately. Look for broken or loose parts that could compromise function or appearance. Note any rust, dirt, or damage that could require cleaning or replacement. Document how the machine’s original features, like knobs and dials, are holding up. Additionally, inspecting the electrical components is crucial to ensure safety and proper functionality. This initial evaluation helps you understand what needs fixing, preserves its vintage character, and ensures the restoration process respects the machine’s historical integrity.
Documenting the Machine’s Original State
To effectively restore a vintage EM machine, you need to carefully document its original state. This step guarantees you can preserve its vintage aesthetics and apply accurate preservation techniques later. Start by taking detailed photographs from multiple angles, capturing every detail of the machine’s exterior and interior. Next, create written notes describing specific features, paint conditions, and any signs of wear or damage. Finally, record measurements of key components for reference during restoration. This thorough documentation helps you understand what’s original and guides your preservation efforts. Keep everything organized in a dedicated folder or digital file. Your careful records will serve as a valuable reference, ensuring the machine’s authenticity is maintained throughout the restoration process.
Researching the Model and Its History

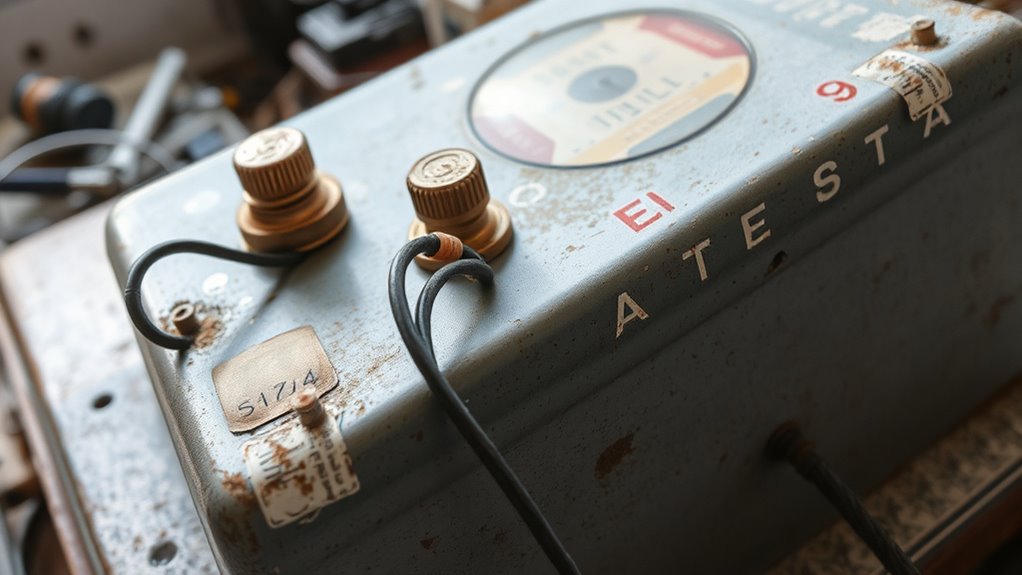
Start by identifying your machine’s model details, such as serial numbers or manufacturer markings. This information helps you uncover its original specifications and production date. Understanding its historical significance gives you insight into its role in technological progress and adds context to your restoration efforts. Recognizing the emotional support provided by understanding its history can also motivate and guide your restoration process.
Model Identification Details
Identifying the specific model of your vintage EM machine is a crucial first step in the restoration process, as it helps you understand its original features and manufacturing background. Knowing the model guides your approach to tasks like electrical wiring updates and cosmetic repairs. Additionally, referencing vetted sources can provide authoritative information on your machine’s history and specifications. You should:
- Examine serial numbers or labels often found on the back or underside, which reveal the model and manufacturing date.
- Consult manufacturer catalogs or online forums for detailed specifications and photos matching your machine.
- Research any unique features or markings to confirm the model, avoiding confusion with similar units.
This step guarantees you gather the right parts and avoid unnecessary damage, making your restoration more accurate and efficient.
Historical Significance Context
Once you’ve pinpointed your EM machine’s specific model, uncovering its historical background can greatly enhance your restoration project. Research its era, manufacturer, and original use to understand its significance. Knowing the machine’s background guides appropriate cleaning techniques, ensuring you don’t damage delicate components or historical markings. Preservation methods should prioritize maintaining authenticity, such as using gentle cleaning solutions and avoiding harsh abrasives. Documenting its history adds value and context, helping you decide which parts to restore or preserve. Recognizing the machine’s importance in medical or technological history also informs your approach, ensuring respect for its legacy. This understanding enables you to restore with care, blending technical skills with historical significance and appreciation.
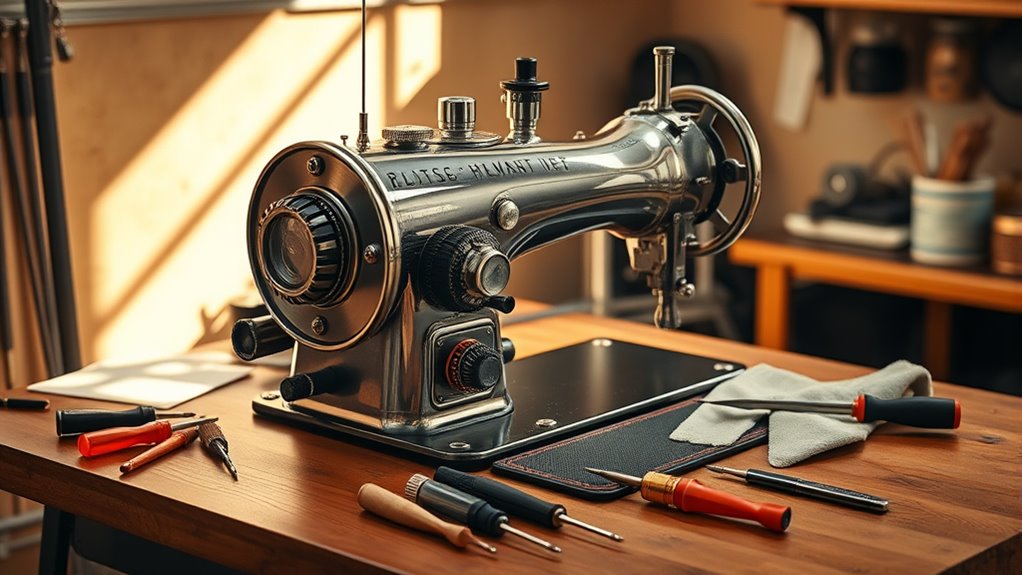
Gathering Essential Tools and Supplies
Before you start restoring your vintage EM machine, you need to gather the right tools and safety gear. Make sure you have essential items like screwdrivers, wrenches, and gloves to protect yourself during the process. Additionally, check your replacement parts inventory to guarantee you have everything needed for repairs and restoration. Familiarize yourself with exfoliation benefits to understand how proper maintenance can help preserve your equipment’s surface.
Tools and Safety Gear
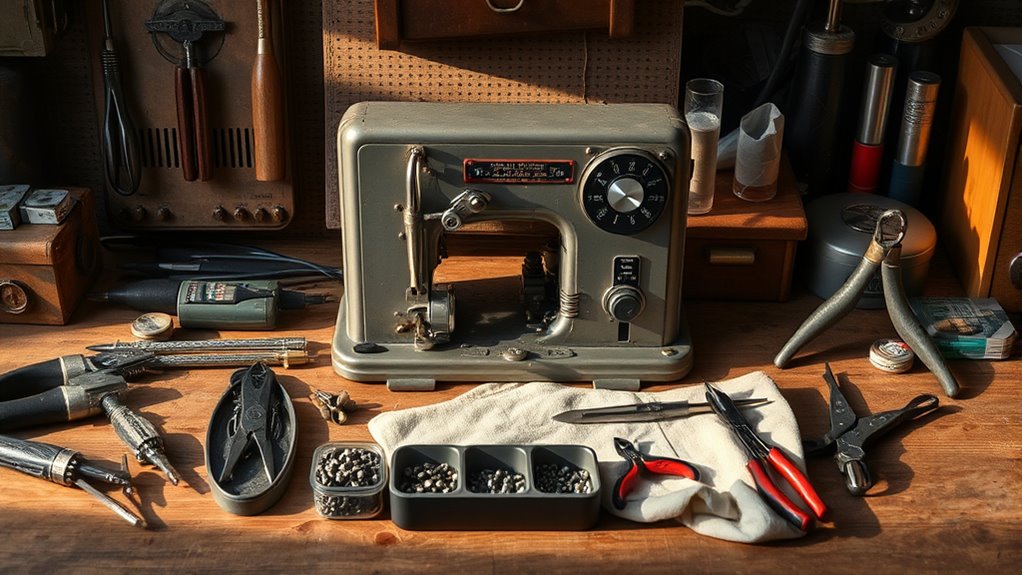
To properly restore a vintage EM machine, you need to gather the right tools and safety gear upfront. Having protective equipment like gloves and safety goggles is essential to prevent injuries. Tool organization helps you stay efficient and avoid losing small parts. Here are three must-have items:
- Screwdrivers and pliers for disassembly and adjustments
- A flashlight or headlamp to see into tight spaces
- A storage container or tool tray to keep your tools organized
Prioritize protective gear to stay safe, and keep your tools well-organized for smoother progress. Always inspect your safety equipment before starting, and ensure your workspace is clear and well-lit. Being prepared minimizes accidents and makes your restoration more effective. Additionally, creating a dedicated work environment can boost your focus and efficiency throughout the project.
Replacement Parts Inventory
Having the right replacement parts on hand can make or break your restoration project. You’ll need a well-organized inventory of essential components, including electrical wiring and parts for cosmetic repair. Keep a detailed list to guarantee you don’t overlook anything. Visualize your inventory with this simple layout:
| Part Type | Description | Quantity Needed |
|---|---|---|
| Electrical wiring | Insulation, connectors | 5 meters, 10 connectors |
| Cosmetic repair | Faceplate, knobs | 2 faceplates, 4 knobs |
| Internal components | Switches, resistors | 3 switches, 6 resistors |
This organized approach helps you quickly identify what’s available and what needs sourcing, ensuring your vintage EM machine gets the proper restoration attention it deserves. Additionally, maintaining a detailed parts list can streamline your entire project by preventing delays caused by missing components.
Setting Up a Safe Workspace
Creating a safe workspace is essential for successfully restoring a vintage EM machine. Your environment should minimize risks and promote efficiency. Start by organizing your workspace so tools and parts are within easy reach, reducing clutter and distractions. Guarantee you have the necessary personal protective equipment, like gloves and safety glasses, to protect yourself from electrical hazards and sharp components. Good workspace organization helps prevent accidents and keeps your projects on track. Consider setting up a dedicated area with proper lighting and grounding to avoid static buildup. Keep fire extinguishers nearby, and make sure cords are tidy to prevent tripping. A well-structured, safe workspace not only keeps you protected but also streamlines the restoration process. Additionally, understanding the importance of safety precautions can significantly reduce the risk of injury during restoration.
Testing Electrical Components Carefully
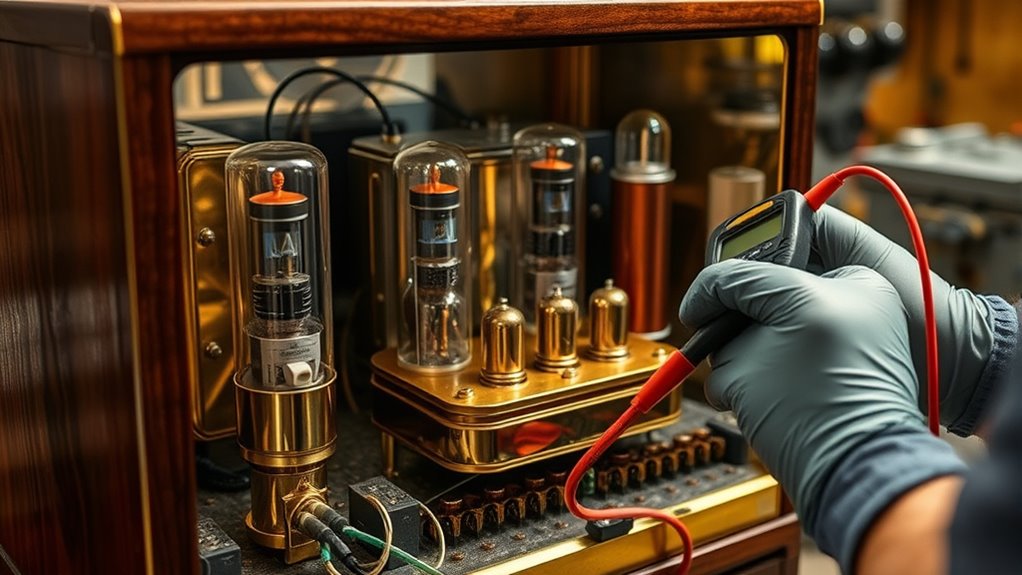
Once your workspace is organized and safe, it’s time to carefully test each electrical component of the vintage EM machine. Begin by inspecting wiring for damage, corrosion, or loose connections. Use a multimeter to test voltage across various points, ensuring readings match specifications. Pay close attention to resistors, capacitors, and switches. Accurate testing helps identify faulty parts before further restoration. Here’s a quick guide to your testing process:
| Component | Action | Key Point |
|---|---|---|
| Wiring | Inspect visually | Look for corrosion or frays |
| Voltage Sources | Test with multimeter | Confirm proper voltage |
| Switches | Check continuity | Ensure they open/close properly |
Additionally, referring to electrical component specifications can assist in verifying correct values and tolerances. This careful testing prevents surprises and guides your restoration steps.
Creating a Restoration Plan and Timeline
Developing a detailed restoration plan and timeline is essential to guarantee your project stays organized and on track. Start by setting a realistic restoration budget, which helps prioritize tasks and avoid overspending. Next, identify key timeline milestones to track progress and ensure timely completion. To keep everything manageable, consider these steps:
- Break down tasks into phases like assessment, disassembly, repairs, and reassembly.
- Assign deadlines to each phase, aligning with your overall timeline.
- Regularly review progress, adjusting milestones if needed to stay within budget and schedule.
Consulting Resources and Experts
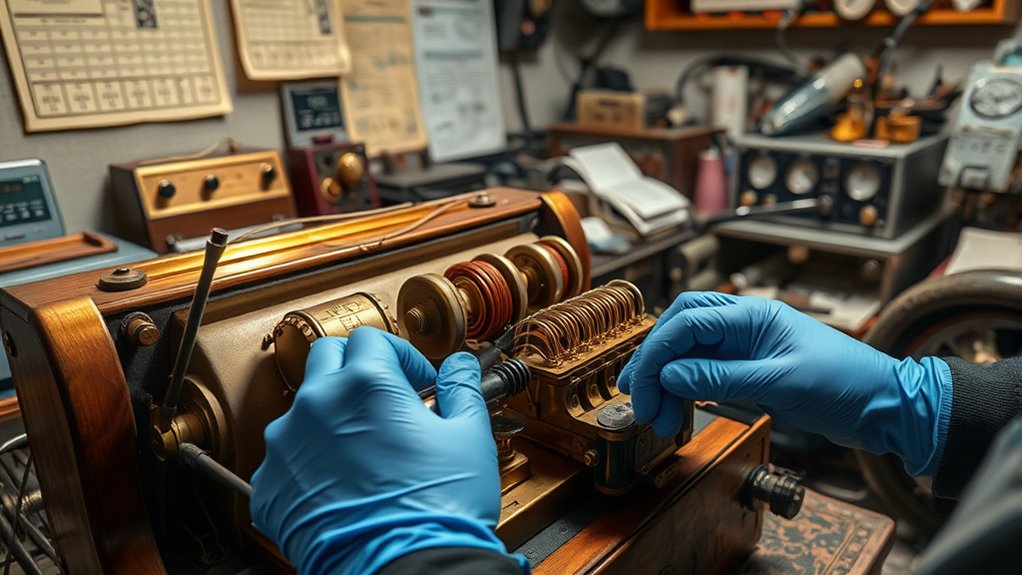
To guarantee your restoration stays on track, it’s important to identify the right resources and experts who can provide guidance and specialized knowledge. Expert consultations with engineers, vintage equipment specialists, or EM machine collectors can offer valuable insights into authentic parts and repair techniques. Additionally, exploring historical archives can uncover original manuals, schematics, and documentation that assure accurate restorations. These resources help you avoid common pitfalls and preserve the machine’s authenticity. Reaching out to museums or preservation societies focused on vintage technology can connect you with experienced professionals. Combining expert advice with historical research ensures your restoration is both precise and respectful of the machine’s legacy. This approach boosts your confidence and increases the chances of a successful, authentic restoration.
Frequently Asked Questions
How Can I Identify Authentic Vintage EM Machines From Reproductions?
To identify authentic vintage EM machines, start by examining vintage markings, which often include serial numbers and manufacturer stamps that match historical records. Look for authentic features like original wiring, aged paint, and craftsmanship consistent with the period. Reproductions may have modern components or inconsistent markings. Trust your knowledge of the machine’s era and compare it to verified images or documentation to confirm you’re getting an authentic vintage piece.
What Safety Precautions Are Essential During Electrical Testing?
Think of electrical testing as walking a tightrope—you need balance and focus. Always prioritize grounding safety to prevent shocks and guarantee your setup is secure. Wear protective gear like insulated gloves and safety glasses to shield yourself from unexpected sparks. Before testing, double-check connections and power sources. Stay vigilant, and remember that safety gear and proper grounding are your safety net, keeping you secure while you work on your vintage EM machine.
Are There Specific Cleaning Methods for Delicate Vintage Components?
When cleaning delicate components, you should use gentle cleaning methods to avoid damage. Use soft brushes, microfiber cloths, or cotton swabs dampened with isopropyl alcohol or distilled water. Avoid harsh chemicals and abrasive materials that can harm vintage parts. Take your time, and carefully clean each component to preserve its integrity. Gentle cleaning guarantees you maintain the vintage machine’s functionality and appearance without risking damage to its delicate parts.
How Do I Prioritize Restoration Tasks for Optimal Results?
Think of restoration planning as mapping out a treasure hunt—you want to follow a careful route. Prioritize tasks by evaluating each component’s condition, starting with critical parts that could cause further damage if neglected. Keep your tools organized like a well-stocked toolkit, so you can swiftly switch from cleaning to checking connections. This approach guarantees you tackle each step logically, making your restoration process smoother and more successful.
What Are Common Pitfalls to Avoid During Initial Restoration Phases?
When planning your restoration, avoid common pitfalls like rushing the initial phase or skipping proper tool selection. Focus on thorough restoration planning to identify key tasks and gather appropriate tools before starting. Don’t overlook inspecting electrical components for safety or damage. Take your time, double-check your work, and stay organized. This approach helps prevent costly mistakes and ensures a smoother restoration process, ultimately leading to better results.
Conclusion
As you complete your restoration journey, you’ll realize how each step mirrors the vintage machine’s own history—full of stories waiting to be uncovered. When you finally see the restored EM machine humming smoothly, it’s like discovering a hidden treasure tucked away beneath years of dust. The process transforms not just the machine, but your appreciation for craftsmanship and history, proving that patience and passion can revive even the most forgotten relics.