
To get big sound without rattles, start by upgrading to high-quality speakers that fit your vehicle and match impedance properly. Secure them tightly using sound dampening materials like foam pads or damping mats to reduce vibrations. Add sound deadening foam to doors and floors to minimize rattles and noise. Fine-tune your audio settings for clarity, and regularly check for loose mounting points. Keep exploring these steps to make your ride noise-free and enjoy crisp, powerful sound.
Key Takeaways
- Choose high-quality, properly matched speakers and ensure correct placement for optimal sound and vibration reduction.
- Securely mount speakers with damping pads or rubber gaskets to prevent movement and rattling.
- Apply sound deadening materials like damping mats and acoustic foam to doors, floors, and trunks for vibration control.
- Use appropriate tools and follow manufacturer guidelines to avoid damaging panels and wiring during installation.
- Fine-tune audio settings and regularly check for loose mounts to maintain loud, clear sound without rattles.
Why Upgrading Your Car Speakers Eliminates Rattles and Boosts Sound
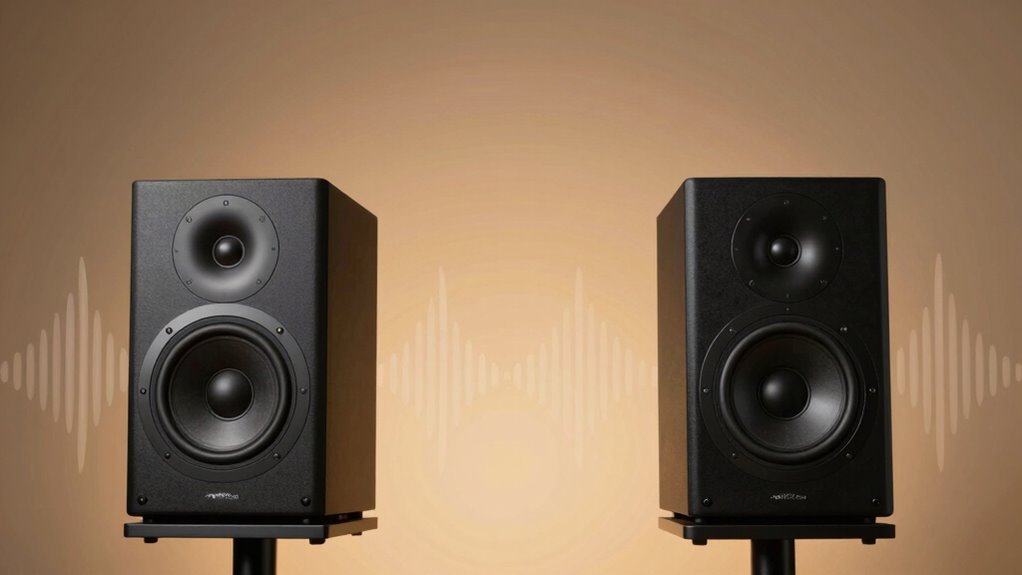
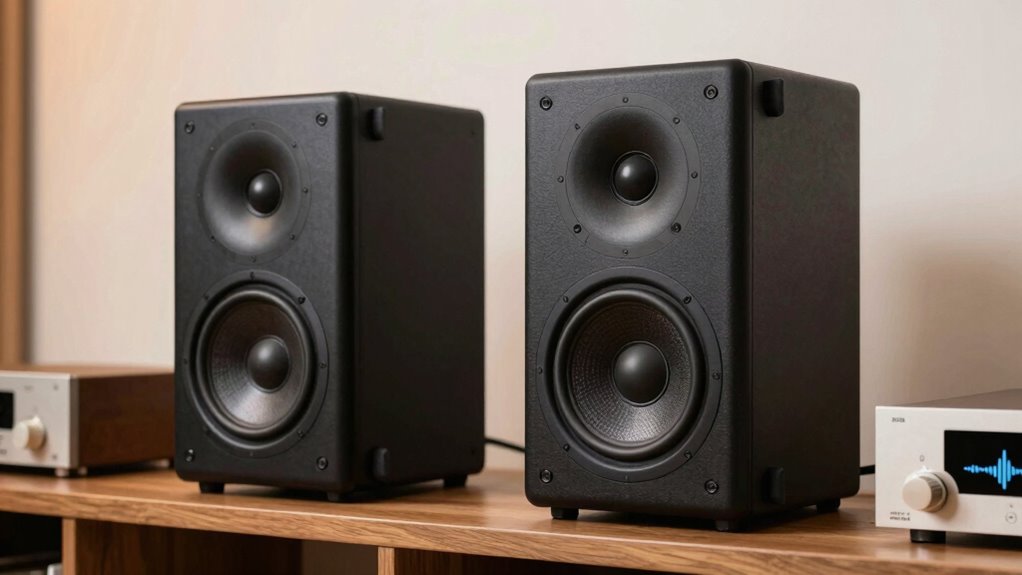
Upgrading your car speakers can considerably reduce rattles and improve overall sound quality. New, high-quality speakers deliver clearer, more balanced audio by minimizing vibrations that cause rattling. Older or cheaper speakers often lack the necessary speaker durability, causing them to vibrate excessively and produce unwanted noise. Upgrading makes certain your speakers are built to withstand the rigors of daily use, maintaining sound integrity over time. Better materials and construction reduce unwanted movement and resonance, resulting in a cleaner, more precise sound experience. When you choose speakers designed for durability, you’re less likely to experience distortion or rattling, which can detract from your listening pleasure. Additionally, selecting speakers with appropriate sound symbolism ensures your audio experience aligns with your preferences, further enhancing enjoyment. Using durable materials, you can significantly extend the lifespan of your speakers and maintain audio quality over time. Proper installation techniques and sound isolation can further enhance the sound quality and prevent rattles. Investing in advanced fabrication techniques can also help improve speaker performance and longevity. Incorporating modern manufacturing methods can lead to better overall sound quality and durability. Overall, an upgrade enhances sound quality and creates a more enjoyable, rattle-free driving environment.
How to Choose the Best Car Speakers for Clear, Rattle-Free Sound
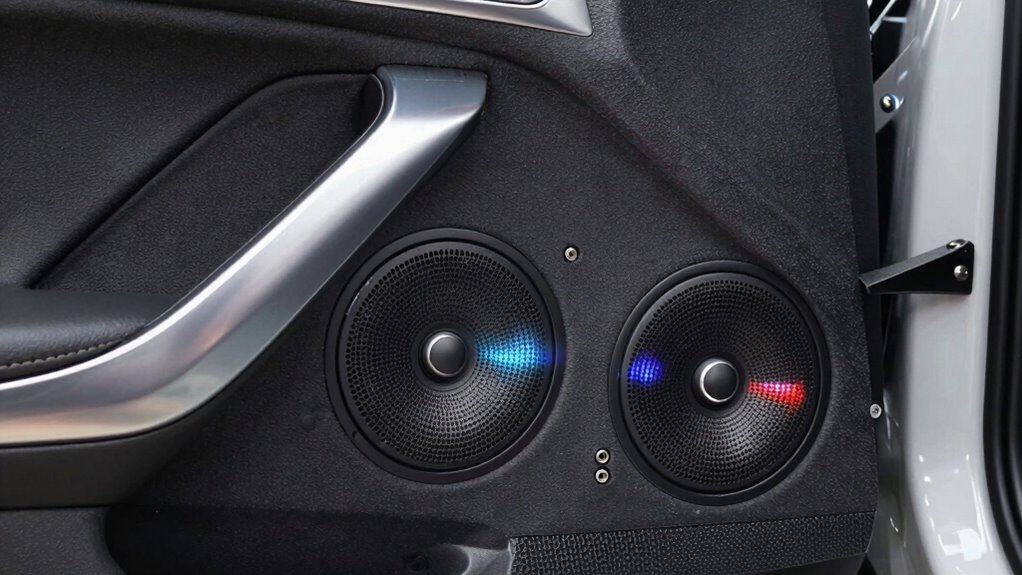
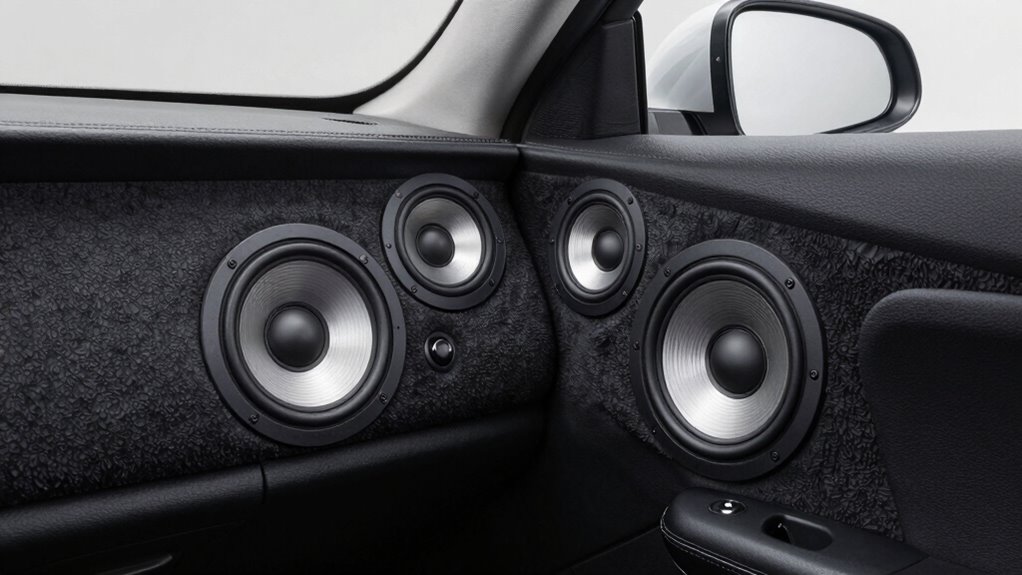
Choosing the right car speakers is essential if you want clear, rattle-free sound on the road. First, consider speaker placement; proper positioning guarantees ideal sound quality and minimizes vibrations that cause rattles. Focus on mounting speakers securely in locations with little movement, like door panels or dashboards. Next, check speaker impedance, which affects compatibility with your car’s audio system. Matching impedance ratings ensures efficient power transfer and prevents distortion or strain. Higher impedance speakers typically draw less power, reducing the risk of rattles caused by vibrations. Also, ensure your chosen speakers fit your vehicle’s specifications and are designed for your desired sound profile. When you combine correct speaker placement with appropriate impedance, you’ll enjoy crisp, clear audio without annoying rattles. Proper speaker installation is another crucial factor in preventing unwanted vibrations and ensuring long-term performance.
Step-by-Step Guide to Installing New Car Speakers
To install new car speakers, you first need to gather the right tools and make certain you have everything on hand. Next, carefully remove your old speakers without damaging surrounding panels. To ensure optimal sound quality, consider speaker placement and how it affects your listening experience. Proper maintenance routines can help keep your speakers in top condition and prevent rattling issues. Finally, install your new speakers and test them to make sure everything sounds perfect.
Gather Necessary Tools
Before you start removing the old speakers, gather all the tools you’ll need for the installation. Having everything ready guarantees a smooth process and prevents unnecessary delays. You’ll need basic hand tools like screwdrivers and a socket wrench, along with wire connectors for secure wiring. A wire stripper is essential for prepping the wires, and a panel removal tool helps access the speaker area without damage. To verify proper speaker placement, consider a drill for mounting, if needed. Here’s a quick overview:
| Tools Needed | Purpose |
|---|---|
| Screwdrivers | Remove screws securing the speaker |
| Wire connectors | Connect new speaker wiring securely |
| Wire stripper | Prepare wires for connection |
| Panel removal tool | Access speaker mounting area |
| Drill (optional) | Make new mounting holes if required |
Additionally, safety tips such as wearing eye protection and disconnecting the vehicle battery are important to ensure a safe installation process. Proper preparation can also prevent damage to your vehicle’s interior during the process. Being aware of content quality and topical authority in your work can help ensure the best results and long-term satisfaction with your upgrade. Incorporating proper audio calibration after installation can significantly enhance sound quality and overall listening experience.
Remove Old Speakers Carefully
Removing your old speakers carefully is essential to avoid damage to your vehicle’s door panels or wiring. Start by removing door panels, which often involves unscrewing screws and gently prying off clips. Be cautious to prevent breaking or cracking the panels. Once the panel is loose, locate the old speakers and disconnect the wiring harness. Carefully unplug any connectors, ensuring you don’t pull on the wires directly. Take your time during this process to avoid tearing or damaging the wiring or mounting surfaces. Keep track of all screws and clips for reinstallation. Understanding the ethical considerations involved in modifying vehicle components can help you make more informed decisions about your upgrades. Additionally, consulting manufacturer guidelines can provide specific instructions tailored to your vehicle model, reducing the risk of accidental damage. Recognizing the importance of proper tools can also make the removal process safer and more efficient. Using specialized removal tools designed for car audio installations can further safeguard your vehicle’s interior during the process. Being aware of safety precautions ensures you handle electrical components safely and avoid injury or damage. Removing door panels and disconnecting old speakers with care will make installing your new speakers smoother and prevent costly repairs down the line.
Install and Test New Speakers
Once you’ve prepared your space and gathered all necessary tools, it’s time to install your new speakers. Begin by carefully placing the speakers in their designated spots, paying close attention to proper speaker placement to maximize sound quality. Confirm that the new speakers are compatible with your vehicle’s existing wiring and mounting points to avoid issues during installation. Secure the speakers firmly, avoiding over-tightening that could damage components. Before reconnecting everything, double-check that all wiring is correct and insulated. After installation, power on your stereo system and test the speakers at various volume levels. Listen for clear, distortion-free sound and verify that the speakers are functioning properly. Making these adjustments ensures your upgrade results in big sound without rattles. Additionally, incorporating Nordic-inspired calming techniques during setup can help maintain focus and patience throughout the process.
How to Use Sound Deadening Materials for a Crisp, Quiet Ride
Have you ever wondered how to achieve a quieter, crisper ride? Using sound deadening materials can greatly reduce road noise and vibrations, enhancing your audio experience. Start with soundproofing techniques like applying automotive-grade acoustic foam applications to key areas such as doors, floors, and trunks. Proper placement ensures better sound quality and minimizes rattles. Here’s a quick guide:
| Area | Material Suggested | Benefits |
|---|---|---|
| Doors | Acoustic foam sheets | Blocks outside noise, improves sound clarity |
| Floor | Damping mats | Reduces vibrations, quieter cabin |
| Trunk | Sound deadening mats | Prevents rattles, enhances bass response |
In addition, understanding acoustic science can help you select the most effective materials for your specific vehicle. This knowledge allows for more precise installation techniques, ensuring maximum performance from your sound deadening efforts. Applying these principles can also help you identify problematic areas that typically cause rattles and noise. Moreover, material properties such as density and absorption coefficients play a crucial role in optimizing soundproofing outcomes. This simple step can make your upgraded speakers sound crisper and your ride more peaceful, especially when considering interdisciplinary insights from acoustic science.
Tips for Securing Your Speakers to Prevent Vibrations
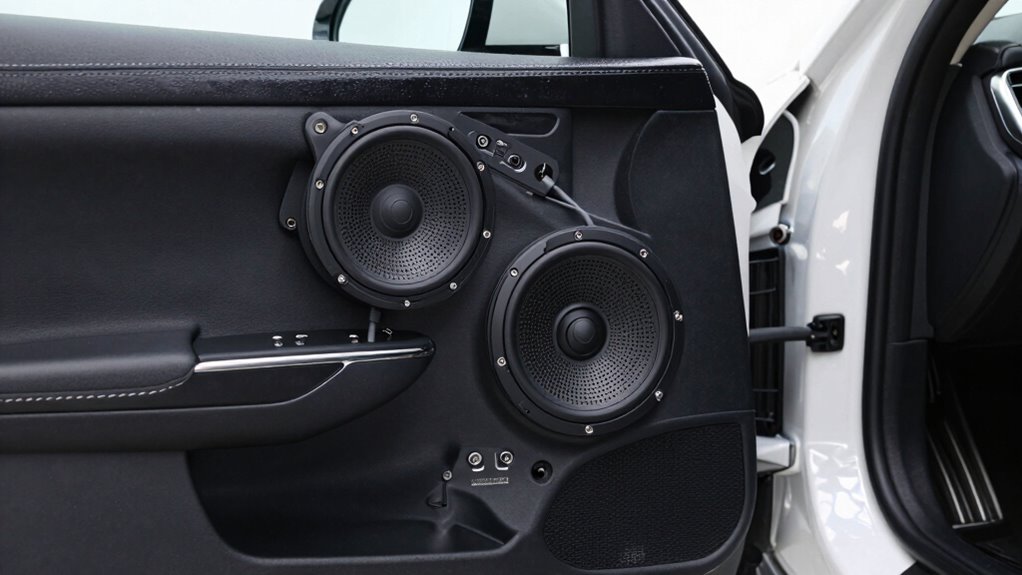
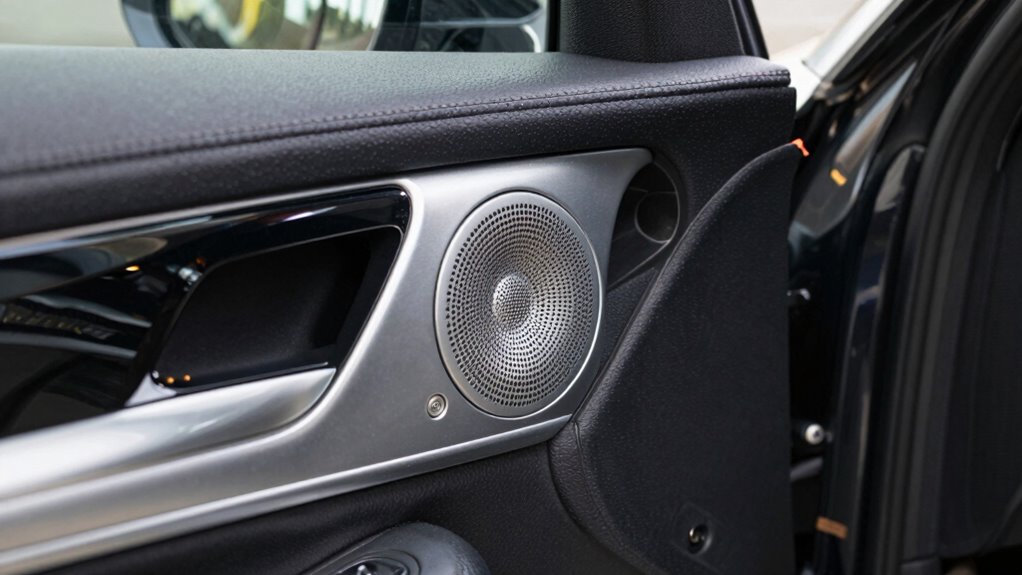
Securing your speakers properly is essential to prevent vibrations that can distort sound quality. Start with the right mounting techniques, ensuring your speakers are firmly attached to a stable surface. Use high-quality screws and brackets designed for your specific speaker model to avoid looseness. Incorporate vibration dampening materials, like foam pads or rubber gaskets, between the speaker and mounting surface. These materials absorb unwanted vibrations, reducing rattles and improving sound clarity. Double-check that all mounting points are tight and secure. Avoid over-tightening, which can damage components. Proper mounting not only stabilizes your speakers but also minimizes vibrations that cause rattles and distortion. Additionally, selecting the appropriate mounting hardware can significantly enhance stability and reduce unwanted noise. With secure mounting and effective vibration dampening, you’ll enjoy clearer, more powerful sound without the unwanted noise.
Adjusting Your Car Audio Settings for Optimal Sound Quality

To get the most out of your upgraded speakers, you need to adjust your car’s audio settings. Start by equalizing your sound to balance each frequency, ensuring clarity across all genres. Then, fine-tune the bass and treble levels to match your preferences and driving environment for ideal sound quality.
Equalize Your Sound Settings
Since every car audio system and listening preference is unique, adjusting your sound settings is essential for achieving the best possible sound quality. Start by equalizing your sound to balance the sound frequency ranges, ensuring that bass, midrange, and treble are properly calibrated. Use your audio calibration tools or built-in equalizer to fine-tune these frequencies, eliminating muddiness or harshness. Focus on creating a natural, clear sound that matches your preferences. Avoid overdoing any one frequency, as it can distort the overall audio experience. Regularly test your adjustments by listening to different genres of music, making small tweaks as needed. Proper equalization will enhance your listening experience, making your upgraded speakers shine without unwanted rattles or distortions.
Fine-Tune Bass and Treble
Ever wonder how to make your music sound more vibrant and balanced? Fine-tuning bass and treble is key. Start by tuning bass levels so they’re full without overpowering vocals or other instruments. Too much bass can cause rattles, so adjust gradually until it’s punchy but clear. Next, focus on adjusting treble; boost it slightly to add crispness and clarity, but avoid overdoing it, which can cause harshness. Use your car’s audio controls or equalizer to make small, incremental changes. Listen carefully to different songs and genres to find the right balance. Remember, the goal is a rich, full sound that feels natural and engaging without rattles or distortion. Fine-tuning bass and treble gives your upgrade the polished, professional sound you’re aiming for.
Troubleshooting Persistent Rattles After Upgrading Speakers
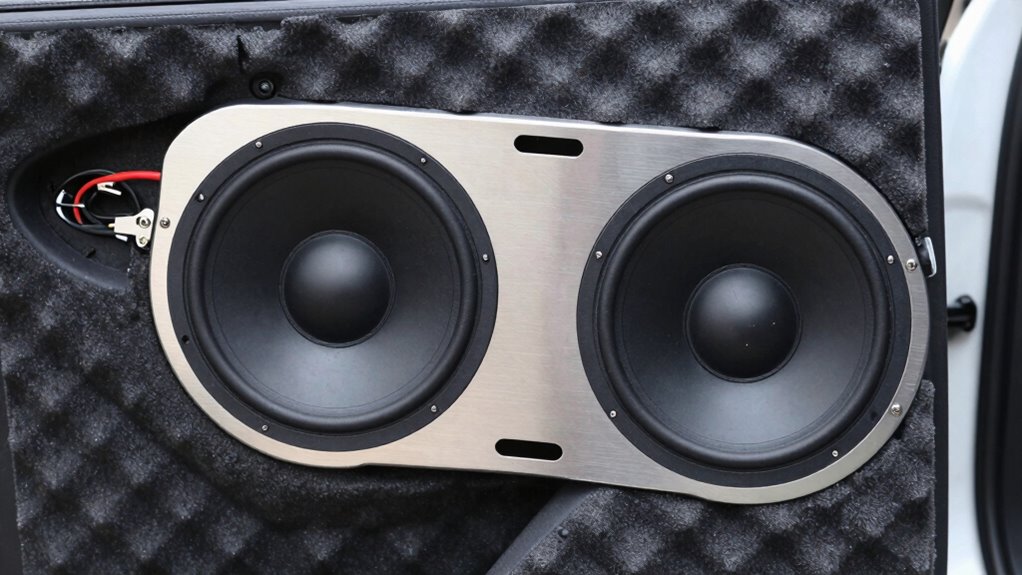
After upgrading your speakers, persistent rattles can be frustrating, but they’re often caused by loose mounts or incompatible mounting surfaces. To troubleshoot, start by inspecting your speaker mounting techniques, ensuring each speaker is securely fastened. Check for rattling noise sources, such as loose screws, brackets, or mounting brackets that aren’t properly aligned. Sometimes, the mounting surface itself may cause vibrations, so consider adding damping materials like foam or rubber padding between the speaker and its mount. Tighten all fasteners and verify they’re snug without over-tightening, which can damage components. If rattling persists, reposition the speaker or adjust its mounting to eliminate contact with other surfaces. Taking these steps helps identify and eliminate common rattling noise sources, restoring clean, rattling-free sound.
Frequently Asked Questions
Can I Upgrade My Speakers Without Professional Help?
Yes, you can upgrade your speakers without professional help. Just make certain you do a proper DIY installation by carefully removing old speakers and checking for speaker compatibility with your vehicle. Follow step-by-step guides and use the right tools to avoid rattles and ensure a secure fit. Taking your time and researching beforehand will help you achieve big sound without needing expert assistance.
What Are the Best Brands for High-Quality Car Speakers?
You’ll want to check out brands like JBL, Pioneer, and Rockford Fosgate for high-quality car speakers. These brands are known for excellent sound quality enhancement and reliable speaker compatibility with most vehicles. To avoid rattles and get the best sound, guarantee proper installation and choose speakers suited for your car’s acoustics. Investing in these reputable brands guarantees a noticeable upgrade without sacrificing clarity or bass.
How Do I Know if My Car’s Wiring Supports New Speakers?
You can determine if your car’s wiring supports new speakers by checking the wire gauge and power capacity. If your wires are at least 16-gauge, they’re generally suitable for most upgraded speakers. Also, verify your wiring can handle the speakers’ power demands; if it’s too thin or old, it might not sustain the needed power, risking rattles or damage. Upgrading wiring or consulting a professional ensures your system performs well without rattles.
Will Upgrading Speakers Affect My Car’s Electrical System?
You might notice your electrical system feels more taxed when upgrading your speakers, but it won’t necessarily cause issues if you check speaker impedance and electrical compatibility first. If your new speakers match the impedance of your system, they’ll draw power properly without overloading your wiring. However, mismatched impedance could strain your electrical system, leading to dimming lights or other performance issues. Always verify compatibility before upgrading.
Are There Specific Tools Needed for Installing New Speakers?
You’ll need basic tools like screwdrivers, a wire stripper, and possibly a drill for speaker mounting. A wiring harness makes installation easier by matching your new speakers to your car’s existing wiring, avoiding complicated splicing. Make sure you have these tools ready to securely mount your speakers and connect the wiring harnesses properly. This way, you get a clean, professional sound upgrade without rattles or issues.
Conclusion
Upgrading your car speakers can transform your driving experience, delivering crisp sound and eliminating those pesky rattles. With the right choices and proper installation, you’ll enjoy music that truly hits the right notes. Just remember, even the best setup needs a little TLC—don’t let small issues snowball. Stay vigilant, tweak your settings, and you’ll keep your ride sounding sweet as a song. Keep at it, and your car will be singing in harmony in no time.