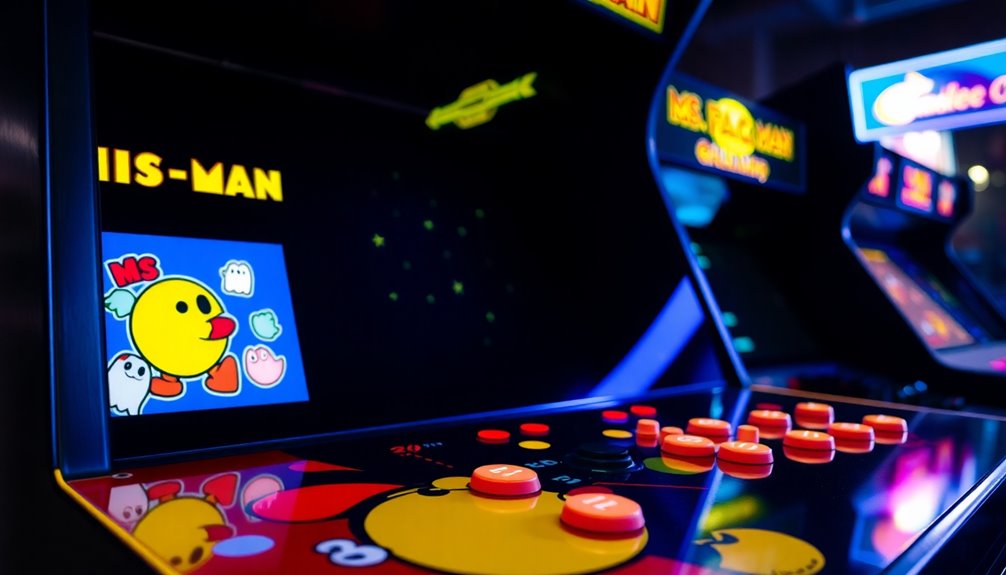
You can absolutely play arcade games on a Raspberry Pi, making it a great choice for fans of retro gaming. By using RetroPie, you can turn your Raspberry Pi into a versatile gaming console that supports over 50 classic systems. Setting it up is easy and suitable for all levels of expertise. Simply flash a RetroPie image onto a microSD card, connect your controller, and transfer your legally acquired game ROMs. With a few adjustments to settings and customization, you can further enhance your gaming experience. Continue reading for more tips and tricks on how to optimize your setup!
Key Takeaways
- Raspberry Pi is a compact, ARM-based computer capable of running retro arcade games using the RetroPie software.
- RetroPie supports over 50 gaming systems, providing extensive emulator compatibility for smooth arcade gaming.
- Setting up RetroPie is user-friendly, allowing easy installation and configuration for users of all skill levels.
- Customization options enable tailored button configurations, themes, and advanced emulator settings to enhance the gaming experience.
- A quality microSD card, reliable power supply, and USB gaming controllers are recommended for optimal performance while gaming.
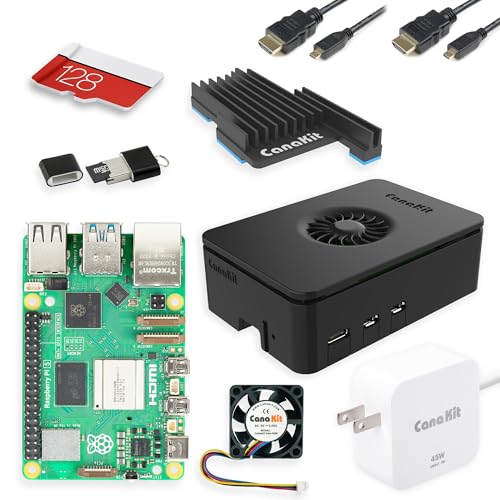
CanaKit Raspberry Pi 5 Starter Kit PRO – Turbine Black (128GB Edition) (8GB RAM)
Includes Raspberry Pi 5 with 2.4Ghz 64-bit quad-core CPU (8GB RAM)
As an affiliate, we earn on qualifying purchases.
As an affiliate, we earn on qualifying purchases.
Overview of Raspberry Pi
The Raspberry Pi is a compact, credit card-sized computer that's perfect for educational projects and low-cost computing. This ARM-based device allows you to explore various computing tasks, from programming to building a retro gaming machine.
With its versatility, you can easily transform your Raspberry Pi into a fun platform for playing arcade games. Additionally, understanding your budget and allocating funds for hardware upgrades can enhance your gaming experience, especially if you're considering saving goals for additional accessories or games.
To get started with retro gaming, you can use software like RetroPie, which runs on Raspbian. RetroPie provides a user-friendly interface that integrates with EmulationStation and RetroArch, making it simple to manage and launch your games.
You'll find it supports a wide range of emulators, allowing your Raspberry Pi to mimic the functionality of multiple gaming consoles. The performance of models like Raspberry Pi 3 and 4 is more than adequate for running arcade games smoothly.
Plus, with various configuration tools available, setting up your gaming environment becomes a breeze. Whether you're reliving childhood memories or discovering classic games for the first time, the Raspberry Pi opens up a world of retro gaming possibilities that you won't want to miss.

KIWITATA 2X Classic SNES USB Controller for PC Gamings, Retro SNES Wired USB Game Emulator Controller for Windows XP 7 8 11 Mac Raspberry Pi
✅【Compatibility】Compatible with Raspberry Pi, PC, Linux ,Mac. Specifically designed for playing classic old school retro snes games on…
As an affiliate, we earn on qualifying purchases.
As an affiliate, we earn on qualifying purchases.
What Is Retropie?
RetroPie turns your Raspberry Pi into a powerful retro gaming console, letting you play games from a variety of arcade, home console, and classic PC systems. This software package integrates essential components like Raspbian, EmulationStation, and RetroArch to create a seamless gaming experience.
With support for over 50 gaming systems, RetroPie boasts extensive emulator compatibility, which means you can enjoy a wide range of classic games. The integration of AI-driven storytelling techniques can enhance the narrative depth of games, creating a more immersive experience AI-driven storytelling techniques that might appeal to modern gaming enthusiasts.
One of the standout features of RetroPie is its user-friendly interface, making it easy for anyone to navigate and start gaming. You can customize your experience using configuration tools, allowing you to tweak settings to suit your preferences.
If you want to expand your gaming library, you can install additional emulators directly from the RetroPie interface, giving you access to even more classic titles.
Whether you're a beginner just getting into retro gaming or an advanced user looking to fine-tune your setup, RetroPie offers a straightforward installation process that caters to all skill levels.
With RetroPie, your Raspberry Pi becomes a gateway to nostalgia and hours of fun with your favorite classic games.

SanDisk Ultra 32GB UHS-I/Class 10 Micro SDHC Memory Card With Adapter – SDSDQUAN-032G-G4A
Up To 48MB/s Read Speed
As an affiliate, we earn on qualifying purchases.
As an affiliate, we earn on qualifying purchases.
Setting Up RetroPie
Transforming your Raspberry Pi into a retro gaming console starts with setting up RetroPie, a straightforward process that can be completed in just a few steps.
First, download the appropriate RetroPie SD image from the official website, making certain to select the Raspberry Pi 2/3 option for compatibility. This process is akin to creating heartfelt memories as you prepare for a nostalgic gaming experience, much like celebrating love and legacy through cherished moments.
Next, use Etcher software to flash the downloaded RetroPie image onto a properly formatted microSD card, guaranteeing it has at least 4 GB of capacity.
Once the flash is complete, insert the SD Card into your Raspberry Pi, connect it to a monitor, and power it up. This will initiate the RetroPie set-up process.
During the initial boot, you'll need to configure your input devices, like USB controllers, by following the on-screen prompts. This guarantees that RetroPie recognizes your devices correctly.
Now that RetroPie is set up, you're ready to plunge into retro gaming.
You can easily transfer game ROMs into the designated ROMS directory by connecting to your Raspberry Pi via Samba shares or using a USB flash drive.
With this set-up complete, you're well on your way to enjoying classic arcade systems!

Sonicon Preloaded RetroPie Batocera Emulator MicroSD Card w/Master System/Genesis/Atari/Arcade for Raspberry Pi, Plug Play – 128GB, 28+ Systems/12,000+ Games (for Pi 3/3B/3B+)
【Important!!!】This SD Card is for Raspberry Pi 3, 3B, 3B+ ONLY.
As an affiliate, we earn on qualifying purchases.
As an affiliate, we earn on qualifying purchases.
Installing Games and Controls
Once you've got RetroPie up and running, adding games and setting up controls is the next exciting step. To enhance your Raspberry Pi arcade experience, you'll need to install ROMs and configure your controls effectively.
Understanding the nuances of different gaming setups can greatly improve your experience, similar to how various brewing methods affect the outcome in coffee preparation (different brewing methods).
Here's how to get started:
- Download ROMs from reputable sources.
- Transfer ROMs using a USB flash drive formatted to FAT32 or exFAT, creating a "retropie" folder on it.
- Connect the USB drive to your Raspberry Pi to auto-copy the ROMs.
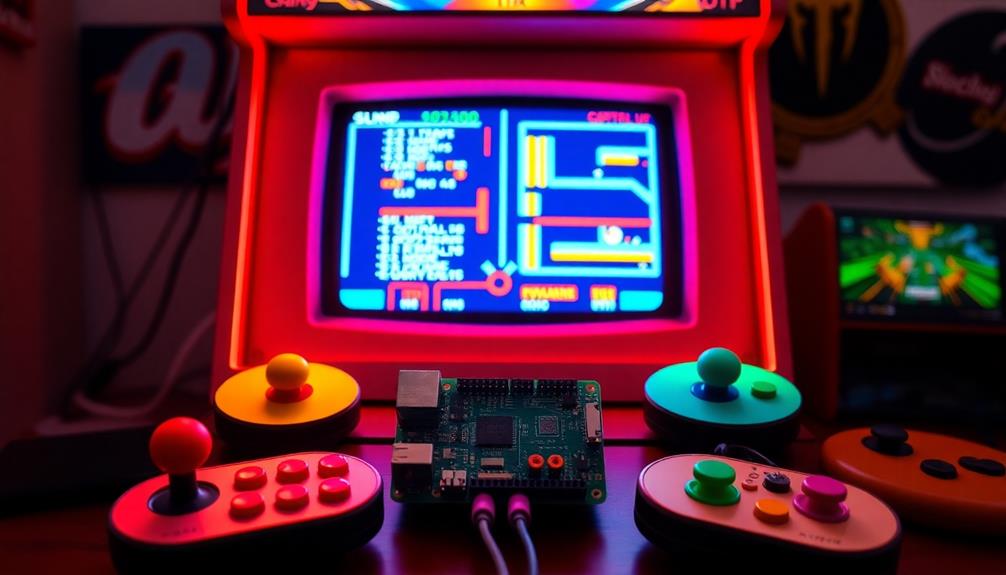
- For arcade controls, you can connect up to 10 buttons, including directional and action buttons, to the GPIO pins.
- Use the RetroPie setup menu or GPIOnext for button configuration and testing.
Once your ROMs are in place and controls are wired, you'll be ready for some retro gaming!
For initial testing of button connections, consider using a breadboard. This allows for easy troubleshooting before you finalize the wiring.
With everything set up, you can plunge into nostalgic arcade games on your Raspberry Pi, enjoying the thrill of classic gaming right at your fingertips!
Configuring Your System

Configuring your Raspberry Pi for arcade gaming starts with downloading the correct RetroPie SD image and flashing it onto a microSD card using software like Etcher. Once that's done, connect your USB gaming controller to the Raspberry Pi; this is essential for maneuvering the RetroPie interface and enjoying your games.
During the initial setup, make sure to configure your wireless LAN settings to enable internet access. This is critical for downloading additional emulators and game ROMs. Use the RetroPie setup menu to customize your controller mappings and button configurations to fit your gaming preferences.
After configuring the system, you'll need to transfer your legally obtained ROMs into the respective console folders in the RetroPie ROMs directory. This step is significant for accessing and playing your arcade games.
Here's a quick overview of the configuration steps:
| Step | Action | Importance |
|---|---|---|
| Download RetroPie image | Get the right SD image | Essential for functionality |
| Connect gaming controller | Plug it into the Raspberry Pi | Enables navigation and play |
| Configure wireless LAN | Set up internet access | Allows emulator and ROM downloads |
| Transfer ROMs | Place them in the ROMs directory | Access to arcade games |
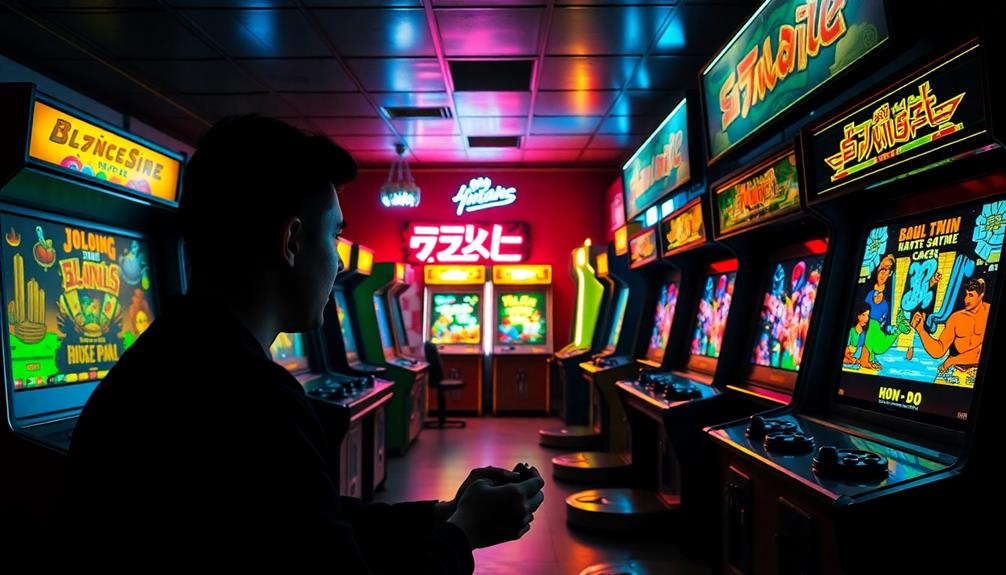
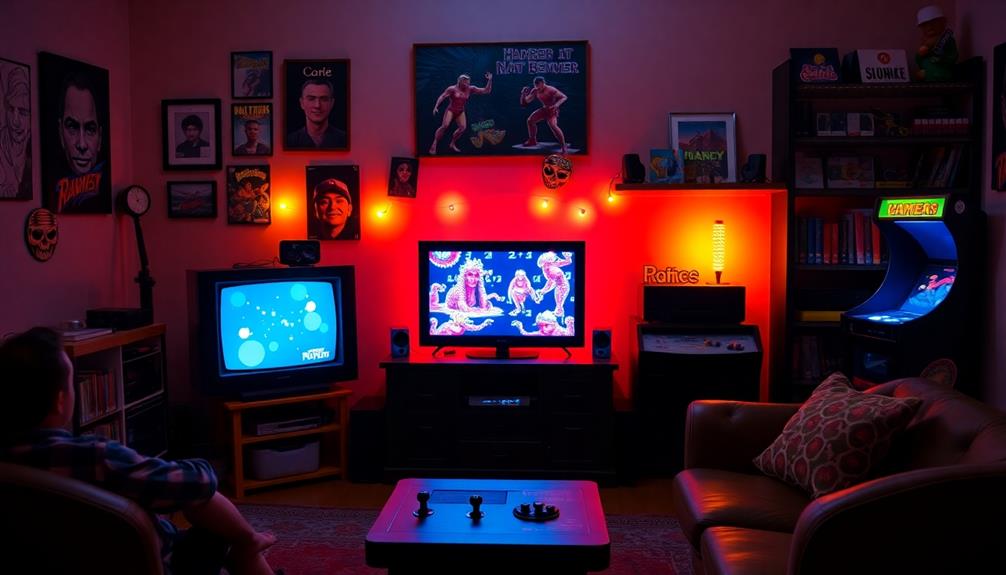
Customizing Your Arcade Experience
When you customize your arcade experience, you can tailor everything from button configurations to the look of your interface.
RetroPie lets you choose themes that match your style and fine-tune advanced emulator settings for a smoother gameplay experience.
By incorporating essential steps for mastering cassette recordings, you can even enhance the audio quality of your arcade games, making your setup truly immersive.
Get ready to make your arcade setup truly your own!
Button Configuration Options
Customizing the button configuration for your Raspberry Pi arcade machine can greatly enhance your gaming experience. With the RetroPie setup, you can easily map specific GPIO pins to your desired button functions, such as A, B, X, Y, Start, and Select.
You'll typically need around ten buttons to create a thorough arcade experience, including directional controls and action buttons. Properly configuring your buttons not only improves gameplay but can also make your setup more enjoyable, especially when considering aspects like high refresh rates for smoother action.
To help you get started, consider these key aspects of button configuration:
- Use GPIO pins effectively: Map them accurately for best performance.
- Test connections with a breadboard: This allows for easy adjustments before final assembly.
- Install GPIOnext within RetroPie: This tool helps configure GPIO pin settings and tests functionality.
- Embrace RetroPie's customizable interface: Tailor your setup for personal preferences.
- Explore different controller layouts: Adapt the button configuration to suit your gaming style.
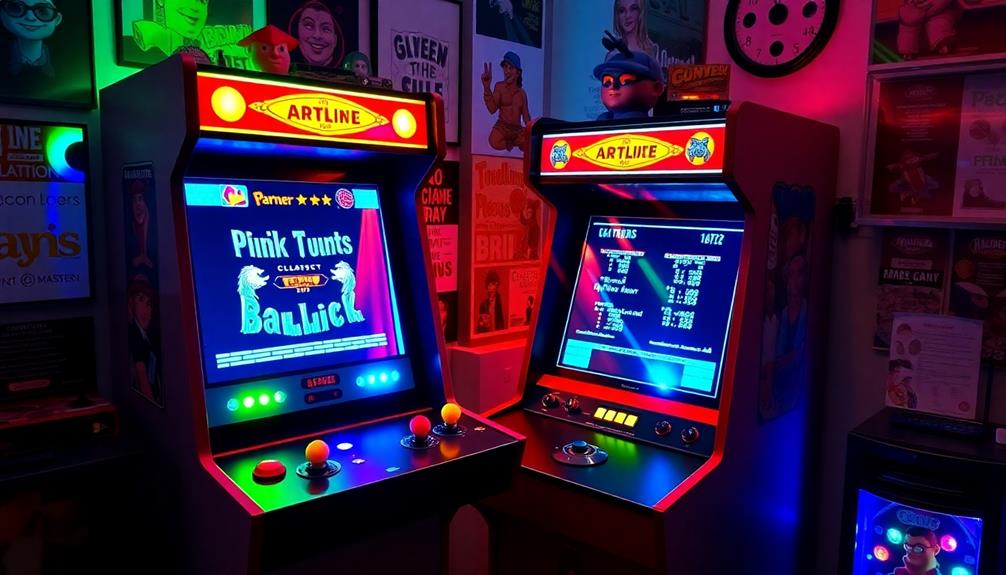
Theming Your Interface
After setting up your button configuration, enhancing the visual appeal of your arcade interface can elevate your gaming experience even further.
With your Raspberry Pi, you can immerse yourself in retro gaming like never before by customizing the EmulationStation interface. RetroPie offers a variety of user-created themes that you can easily install through its built-in installer, allowing you to personalize your gaming environment.
Additionally, you can incorporate elements that reflect your personal interests, such as essential oils for respiratory health, creating a calming atmosphere while enjoying your favorite games.
By downloading and applying these themes, you can change backgrounds, fonts, and icons, greatly enhancing the overall aesthetic of your arcade experience. This customization not only makes your setup look great but also adds a unique flair that reflects your style.
If you're feeling creative, advanced users can even create their own themes by modifying XML and image files. This opens up endless possibilities for customization, letting you design an interface that's truly one-of-a-kind.
Moreover, you can share your themes within the community, encouraging collaborative creativity and inspiration among retro gaming enthusiasts.
Advanced Emulator Settings
Advanced emulator settings can significantly transform your arcade experience on the Raspberry Pi.
By incorporating principles from Design Thinking leadership, you can approach your configuration with an innovative mindset that prioritizes user experience.
With RetroPie's advanced configuration tools, you can fine-tune your emulators to achieve a superior gaming experience.
Here's how you can customize your setup:
- Video Resolution: Adjust the resolution for sharper graphics.
- Audio Output: Configure sound settings to enhance audio quality.
- Control Mappings: Set up custom controls for your arcade buttons and joysticks.
- Shader Settings: Tweak visual effects for a smoother gameplay experience.
- Frame Rate Control: Guarantee consistent performance across different games.
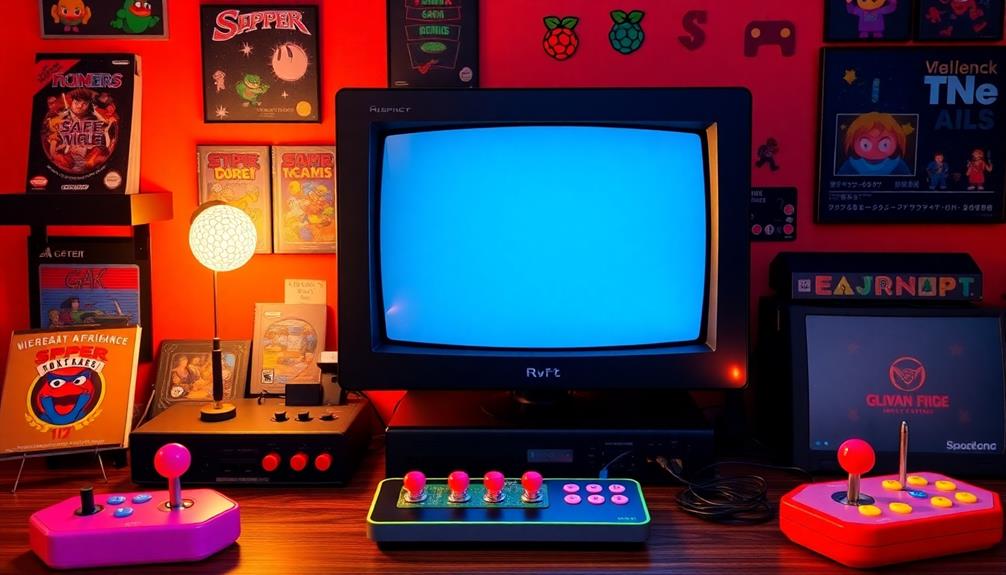
Recommended Hardware and Accessories
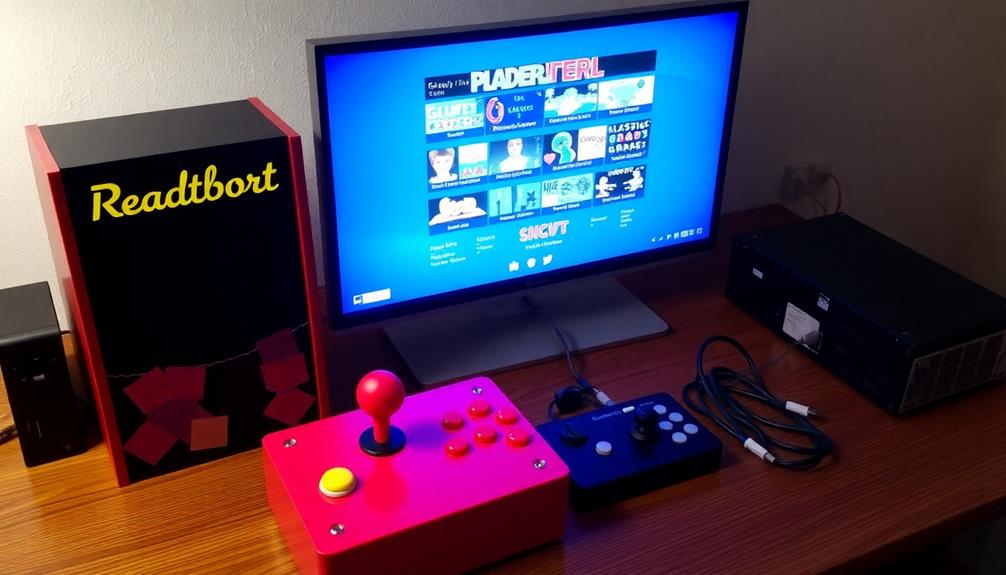
When setting up your Raspberry Pi for arcade gaming, having the right hardware and accessories is fundamental for a superior experience. Start with a reliable power supply; insufficient power can cause performance issues or system instability during your gaming sessions.
Additionally, verify that your gaming environment is clean and free from dust to prevent overheating, much like maintaining an air purifier for peak performance.
Next, invest in a good quality microSD card—at least 4 GB is recommended for installing RetroPie, but larger capacities will give you more room for games and data storage.
USB gaming controllers are essential for peak gameplay, and you'll find over 50,000 compatible options to choose from, allowing you to select the perfect fit for your style.
If you're aiming for an authentic arcade-style gaming experience, consider connecting buttons to your Raspberry Pi GPIO pins; you'll typically need around 10 buttons for full control functionality.
Lastly, don't forget about the display. Using an HDMI cable to connect your Raspberry Pi to a monitor is crucial for enjoying those classic arcade games on a larger screen.
With these recommended hardware and accessories, you're set to plunge into the world of retro gaming and have a blast!
Frequently Asked Questions
Can a Raspberry Pi Play Arcade Games?
Yes, you can definitely play arcade games on a Raspberry Pi. By using RetroPie, you'll easily emulate various systems, download ROMs, and connect controls for an authentic gaming experience right at home. In addition, Raspberry Pi’s small size and low cost make it a convenient and affordable option for creating a retro gaming setup. However, it is important to be cautious when downloading ROMs, as some may contain viruses or malware. It’s best to use trusted sources and do your research to ensure that the arcade games you download are safe for your system. Always be mindful of the potential risks associated with downloading and playing ROMs, as they can arcade games get viruses if not obtained from reputable sources.
Which Raspberry Is Best for Arcade?
You'd think the Raspberry Pi Zero is best for arcade games, but it's actually the Raspberry Pi 4. Its 8GB RAM and quad-core processor make it the true champion for running those retro classics smoothly.
Can You Use a Raspberry Pi to Play Games?
Yes, you can use a Raspberry Pi to play games. It's versatile and supports various gaming systems. With the right setup, you can enjoy classic titles and customize your gaming experience to suit your preferences.
Can Raspberry Pi Be Used as a Gaming PC?
Yes, you can definitely use a Raspberry Pi as a gaming PC. With the right setup, like RetroPie and USB controllers, you'll enjoy a range of classic games in a nostalgic and cost-effective way.
Conclusion
In the world of gaming, the Raspberry Pi stands as a small yet powerful contender, effortlessly bridging nostalgia and modern convenience. With RetroPie, you can transform this mini-computer into an arcade powerhouse, celebrating the classics while embracing the limitless potential of customization. As you set up your system, remember that the joy of gaming isn't just about playing; it's about crafting an experience that resonates with both your past and present. So, plunge into and relive those cherished moments!