
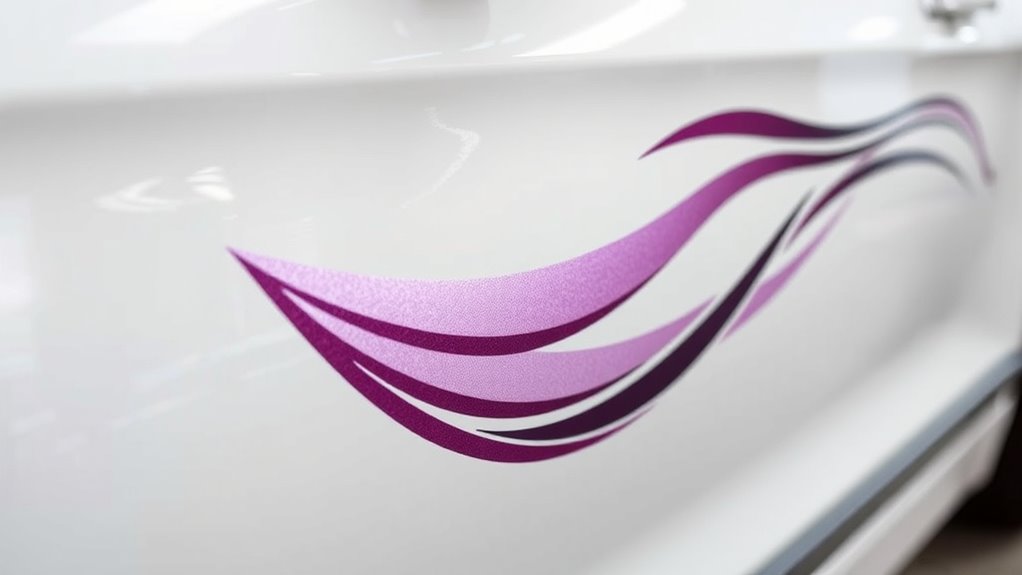
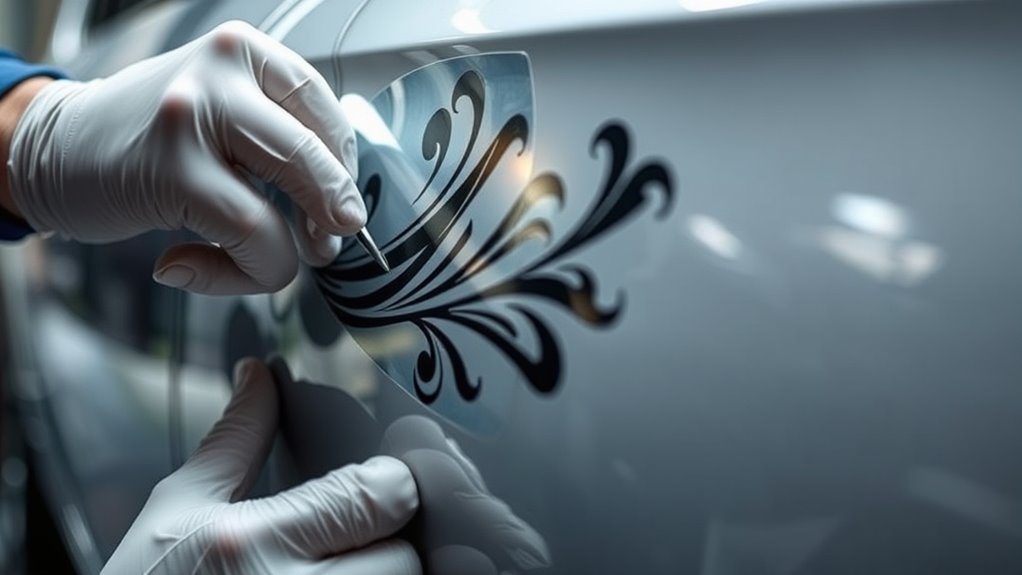
To apply side art without bubbles or creases, start with a thoroughly cleaned and dry surface using alcohol or a degreaser. Measure and mark your design carefully before peeling and aligning the artwork. Use a squeegee to press from the center outward, working slowly and with steady pressure to push out air. If bubbles form, gently puncture and smooth them out. Continuing provides more tips to perfect your application and achieve a flawless finish.
Key Takeaways
- Thoroughly clean and dry the surface, removing dirt, oil, and grease before application.
- Use a squeegee to work from the center outward, applying firm, even pressure to eliminate air pockets.
- Apply the side art slowly and carefully, smoothing out bubbles immediately as they form.
- Puncture stubborn bubbles with a pin and smooth out the trapped air to prevent creases.
- Double-check alignment during application and avoid stretching or pulling the material to maintain a smooth finish.
Preparing Your Vehicle Surface for Application
Before applying side art, you need to make sure your vehicle’s surface is clean and smooth. Dirt, dust, and grease can compromise adhesive longevity and cause bubbles or peeling later on. Wash the area thoroughly with soap and water, then wipe it down with a degreaser or alcohol to remove any residue. Verify the surface is completely dry before proceeding. Proper preparation also helps with color matching; a smooth, clean surface ensures the paint or vinyl aligns correctly and looks seamless. Take your time to inspect the area for imperfections, sanding down any rough spots if needed. When the surface is pristine, your side art will adhere better, last longer, and match the intended colors perfectly. Additionally, ensuring the surface has a consistent texture can improve color fidelity and overall visual appeal.
Selecting the Right Side Art Material and Tools

Choosing the right side art material and tools is vital for a smooth application. You need to guarantee your materials are compatible with your vehicle’s surface and climate conditions. Equipping yourself with the essential tools will make the process easier and help achieve a professional-looking result. Incorporating industry-standard techniques ensures a more durable and seamless finish.
Material Compatibility Tips
Selecting the right side art material and tools is crucial to guarantee your design adheres well and looks professional. Focus on choosing a material with appropriate adhesive strength to ensure it sticks securely without bubbling or peeling over time. Material flexibility is equally important; flexible materials conform better to curved or uneven surfaces, reducing the risk of creases. Verify that the side art is compatible with your vehicle’s surface and climate conditions. Using incompatible materials can lead to poor adhesion or damage. Test a small section first to confirm compatibility. Additionally, understanding the application environment can help you select the most durable and suitable material for your project. By selecting a material with the right adhesive strength and flexibility, you’ll set a strong foundation for a smooth, bubble-free application that lasts.
Essential Application Tools
To guarantee a smooth side art application, you need the right tools to handle your chosen materials effectively. Using proper application tools helps prevent air bubbles and ensures crease-free results. A squeegee or application card is essential for evenly pressing out air bubbles and smoothing the surface. A craft knife or precision blade helps with crease removal techniques, trimming excess material neatly. The right tools make a significant difference in achieving a professional finish. Additionally, selecting appropriate materials compatible with your vehicle’s surface can significantly influence the ease of application and durability.
Properly Measuring and Planning Your Design
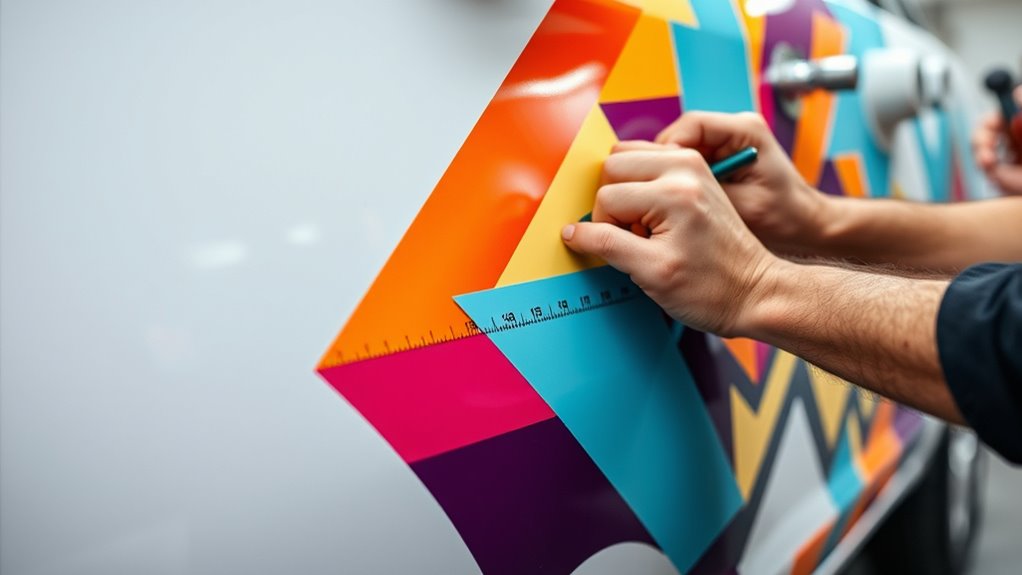
To guarantee your side art looks perfect, start by taking accurate measurements of the surface area. Use these measurements to plan your design carefully, keeping in mind how it will fit and flow. Strategize your alignment to ensure everything lines up smoothly and looks professional. Additionally, consider the essential oils for proper adhesion that can help ensure your design stays in place without bubbles or creases.
Accurate Surface Measurements
Have you ever underestimated the importance of precise measurements when applying side art? Measurement accuracy is vital for a smooth, professional finish. To achieve this, carefully assess the surface contours of your vehicle or object. Curved surfaces can distort your design if not measured correctly, so use flexible measuring tapes or contour gauges to follow every curve accurately. Take multiple measurements at different points to ensure consistency. Mark your measurements clearly and double-check before cutting or applying the decal. Accurate surface measurements help prevent misalignment, bubbles, and creases. The more precise your initial measurements, the easier it is to apply your side art seamlessly. Remember, investing time in accurate measurements now saves you frustration and rework later. Additionally, proper surface preparation is key to ensuring your design adheres smoothly and lasts longer.
Design Alignment Strategies
Once you’ve taken accurate measurements, the next step is planning your design to guarantee proper alignment. To do this effectively, you should consider these key strategies:
- Color matching: Use complementary or matching colors to hide minor misalignments and ensure a seamless look.
- Measure carefully: Double-check your measurements and mark guiding lines to keep the design straight during application.
- Assess adhesive strength: Ensure your side art has the right adhesive strength to stay in place without bubbles or wrinkles, but not so strong that adjustments become impossible.
- Consider sound vibrations during application, as they can influence adhesive performance and help smooth out any imperfections.
Cleaning and Degreasing the Application Area
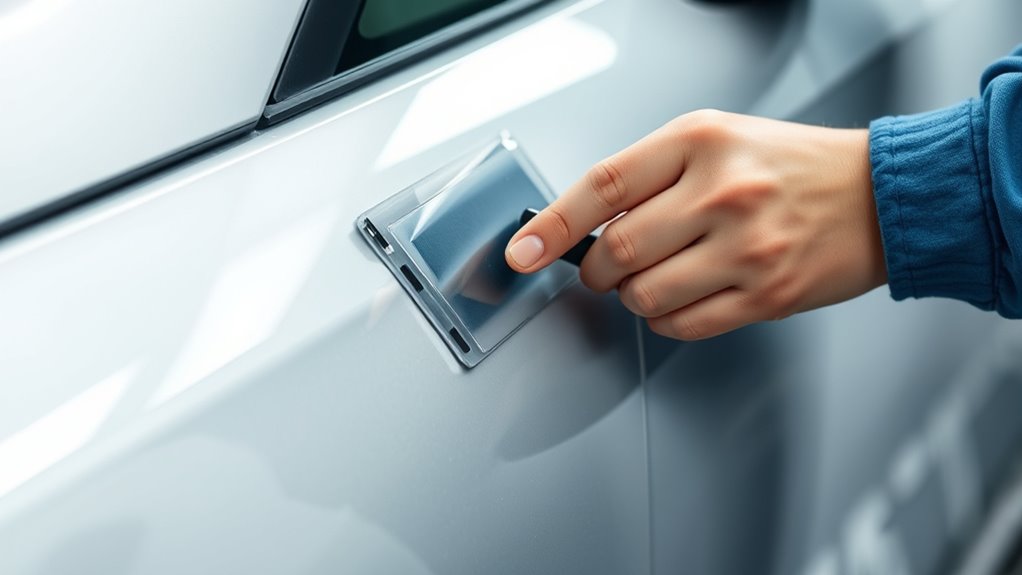
Before applying side art, it’s essential to thoroughly clean and degrease the application area. Surface contamination like dirt, oil, or grease can cause adhesion issues, leading to bubbles or peeling later. Use a clean, lint-free cloth and an appropriate cleaner, such as isopropyl alcohol, to wipe down the surface. Avoid harsh chemicals that might leave residues or damage the material. Ensure the area is completely dry before proceeding. Proper cleaning removes oils and dirt that can interfere with the adhesive’s bond. If you skip this step, you risk poor adhesion, which can cause the art to lift or bubble over time. Taking the time to clean and degrease guarantees your side art adheres smoothly and lasts longer without imperfections.
Using Primer or Adhesion Promoters for Better Bonding
After thoroughly cleaning and degreasing the application area, applying a primer or adhesion promoter can considerably improve the bond between the surface and your side art. Proper surface preparation with adhesion promoters enhances adhesion, especially on tricky surfaces like plastics or glossy finishes. To maximize effectiveness, consider these steps:
- Choose the right adhesion promoter suited for your surface type.
- Apply a thin, even layer to ensure complete coverage.
- Allow it to dry fully before applying your side art.
- Using adhesion promoters helps eliminate bubbles and creases by creating a stronger, more durable bond. They prepare the surface for better adhesion, reducing the risk of peeling or lifting over time. Proper surface preparation with these products is essential for a smooth, bubble-free application. Surface preparation is a key factor in achieving a flawless finish and long-lasting results.
Applying the Side Art With Proper Technique and Tools

To achieve a smooth, professional-looking application, you need to use the right technique and tools carefully. Start by aligning the side art precisely, avoiding stretching or misplacement. Use adhesion techniques like smooth, even pressure with a squeegee or application tool to ensure proper contact with the surface. Work from the center outward, gradually pressing out air and moisture. This helps prevent bubbles and ensures good adhesion. Keep your tools clean and dry for ideal results. Take your time, applying firm, consistent pressure to minimize wrinkles or creases. Proper technique involves patience and attention to detail, which are key for bubble prevention. Be mindful of the air entrapment that can occur if the application isn’t done carefully. With careful handling and the right tools, you’ll achieve a flawless, bubble-free side art application that lasts.
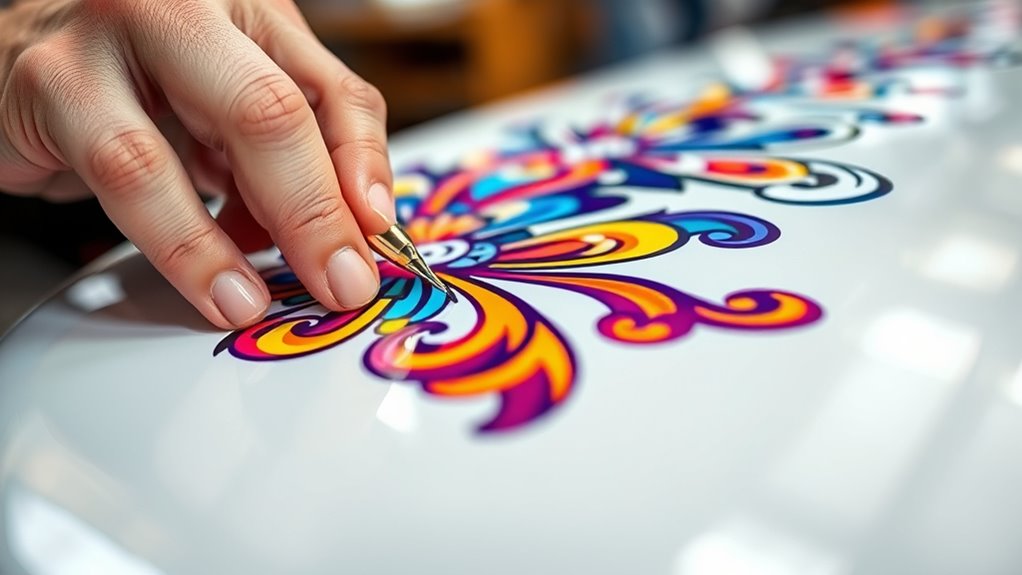
Eliminating Bubbles and Creases During Installation

Careful application techniques play a vital role in preventing bubbles and creases from forming during installation. To achieve this, focus on effective air bubble prevention and crease removal techniques. First, guarantee you’re using a squeegee to smooth the art from the center outward, pushing air bubbles to the edges. Second, work slowly and steadily, lifting and reapplying sections if needed to avoid trapped air. Third, use a pin to carefully puncture stubborn bubbles, then smooth out the area to release trapped air. These steps help maintain a flawless finish. Proper technique minimizes creases and air bubbles, making the side art look professional and smooth. Patience and precision are key to achieving a bubble-free, crease-free installation every time.
Finishing Touches and Long-Term Care Tips
Once you’ve completed the installation, adding finishing touches can enhance the overall appearance and durability of your side art. Start by checking for any misaligned edges or small bubbles, gently smoothing them out for a seamless look. To guarantee your design remains vibrant, match the colors as closely as possible when touching up or making adjustments. Proper color matching preserves the artwork’s original intent and prevents it from looking mismatched over time. For long-term care, avoid harsh chemicals and washing machines; instead, wash gently with mild soap and water. Regularly inspect your side art for signs of peeling or fading, and address issues promptly to maintain your design customization’s impact. Additionally, utilizing professional services can ensure a flawless finish and expert maintenance, prolonging the life of your artwork. These simple steps help your side art stay striking and intact longer.
Frequently Asked Questions
Can Side Art Be Applied Over Existing Graphics or Decals?
You can apply side art over existing graphics if the decals are compatible and in good condition. First, guarantee the current graphics are clean, dry, and free of bubbles or creases. Check decal compatibility to prevent peeling or lifting. If the existing decals are stubborn or damaged, removing them before applying new side art is best. This approach helps achieve a smooth, professional look without damaging your vehicle’s surface.
What Are the Best Weather Conditions for Installation?
Think of installing side art like planting a garden; the right weather makes all the difference. Ideally, you want mild temperatures between 60-80°F and low humidity, as harsh weather can cause bubbles or wrinkles. Avoid rainy or very windy days, because environmental factors like moisture and wind can ruin the application. Clear, dry conditions guarantee your side art adheres smoothly, just like a well-tended garden thriving in perfect weather.
How Long Should I Wait Before Washing the Vehicle After Application?
You should wait at least 24 to 48 hours before washing your vehicle after applying side art. This curing time allows the adhesive to set properly, ensuring the side art stays smooth and bubble-free. For ideal waiting, avoid harsh washes or high-pressure water during this period. Giving it enough time helps the side art adhere securely, preventing damage and preserving a professional appearance.
Is It Possible to Reposition the Side Art During Installation?
Funny how sometimes, you find yourself needing to reposition side art mid-installation. Yes, you can do that! Use gentle repositioning techniques to remove bubbles and align the design perfectly. Just lift the edge carefully, smooth out bubbles as you go, and reapply. Take your time—repositioning during installation is possible and helps achieve a sleek, bubble-free result without damaging the vinyl.
How Can I Remove Side Art Without Damaging the Paint?
To remove side art without damaging the paint, you should carefully peel it off, starting at a corner. Use a heat gun or hairdryer to soften the adhesive, making it easier to remove. Gently work in small sections, and avoid pulling too hard. After removing the adhesives, clean the area with a gentle solvent like isopropyl alcohol to protect the paint and maintain your paint protection.
Conclusion
By following these steps, you can achieve a flawless side art application without bubbles or creases. Remember, studies show that properly installed vehicle graphics last 30% longer and look more professional. Take your time, use the right tools, and double-check measurements. With patience and attention to detail, you’ll enjoy a sleek, bubble-free finish that enhances your vehicle’s appearance and durability for years to come.