
Creating custom artwork for your arcade cabinet allows you to showcase your personality and passion for gaming. Start by designing a cohesive theme that complements your favorite games, and consider incorporating custom graphics, logos, or illustrations. Use high-quality stickers or decals for durability and attention to detail. Be mindful of proper application, ensuring surfaces are clean and applying carefully to avoid misalignment. If you want to learn step-by-step tips, keep exploring further.
Key Takeaways
- Develop a cohesive theme or concept that reflects your favorite games or personal style.
- Use high-resolution graphics and custom illustrations to enhance visual appeal.
- Plan the layout to ensure artwork complements monitor design and surrounding cabinet areas.
- Incorporate branding, logos, or nostalgic elements for authenticity and uniqueness.
- Apply durable, quality vinyl stickers or decals carefully, ensuring proper surface preparation and alignment.
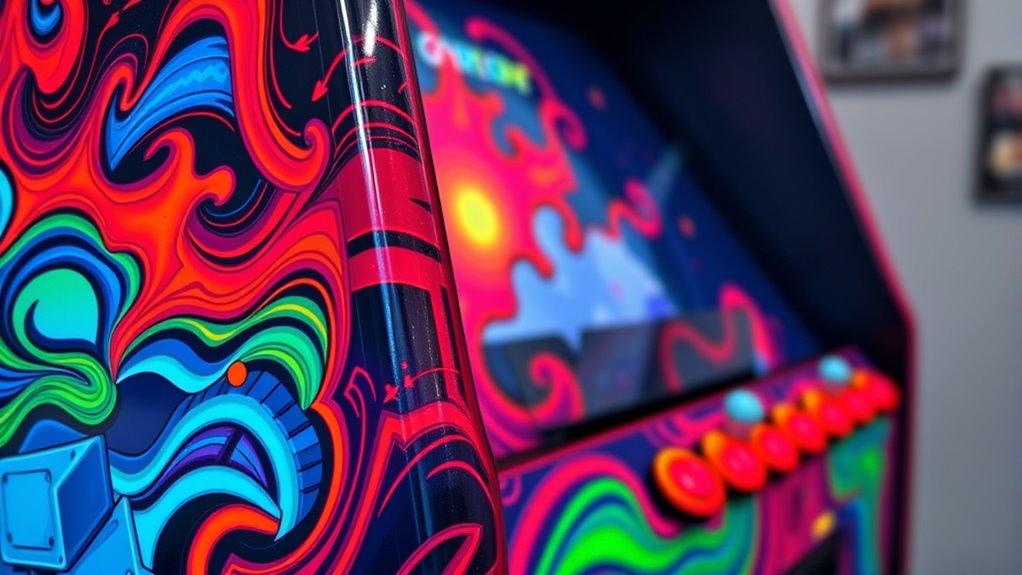
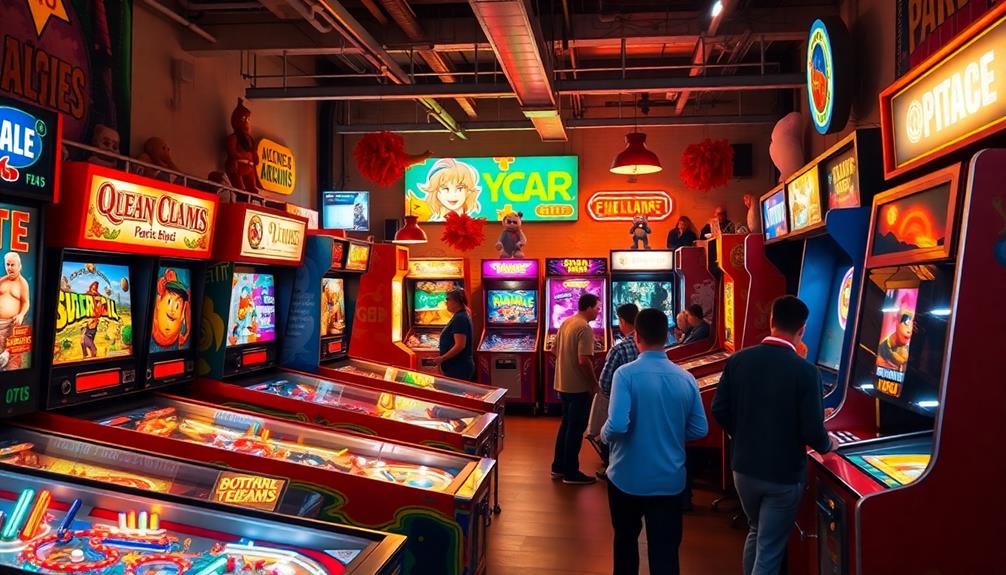
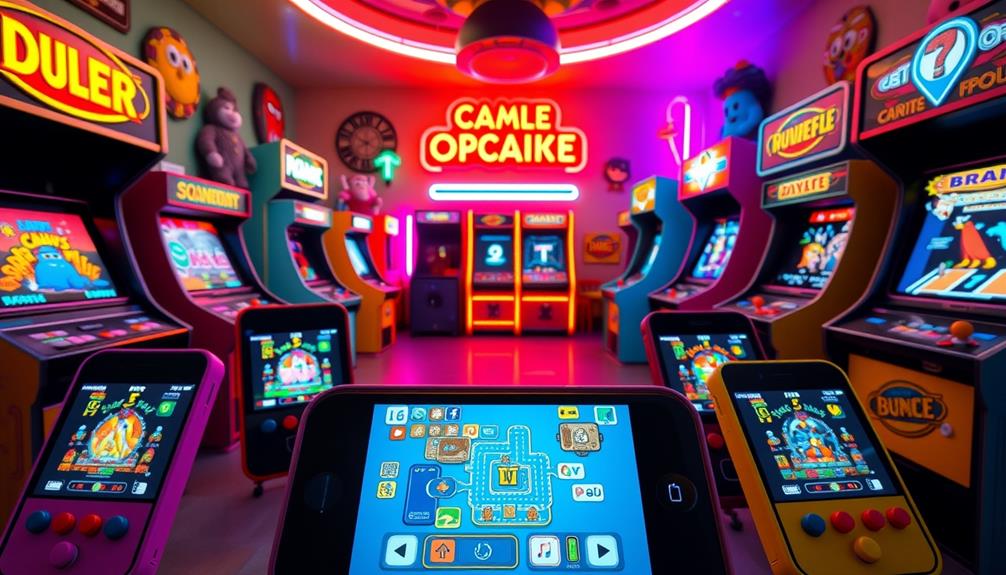
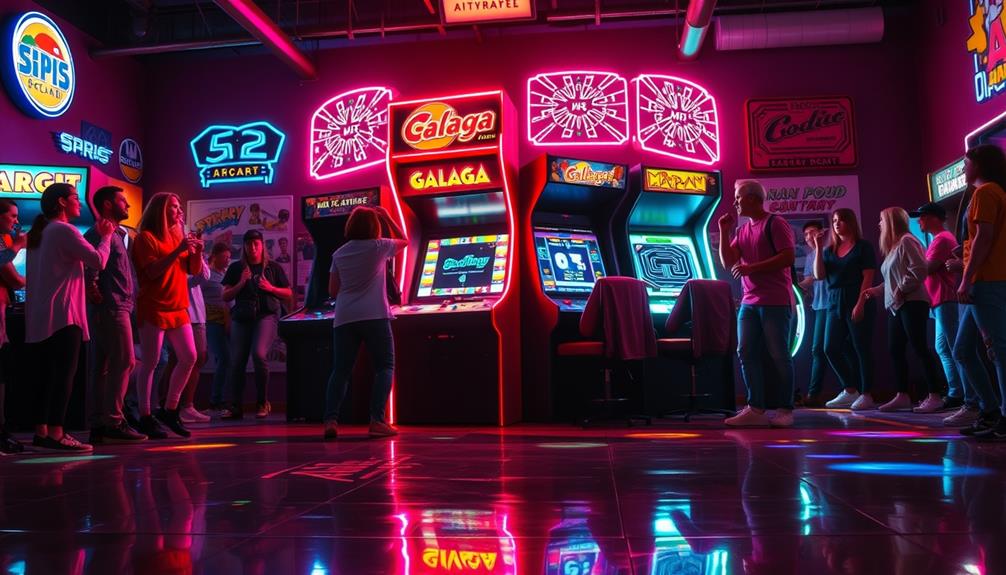
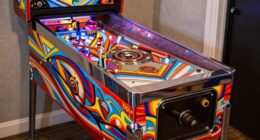
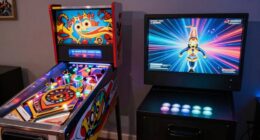
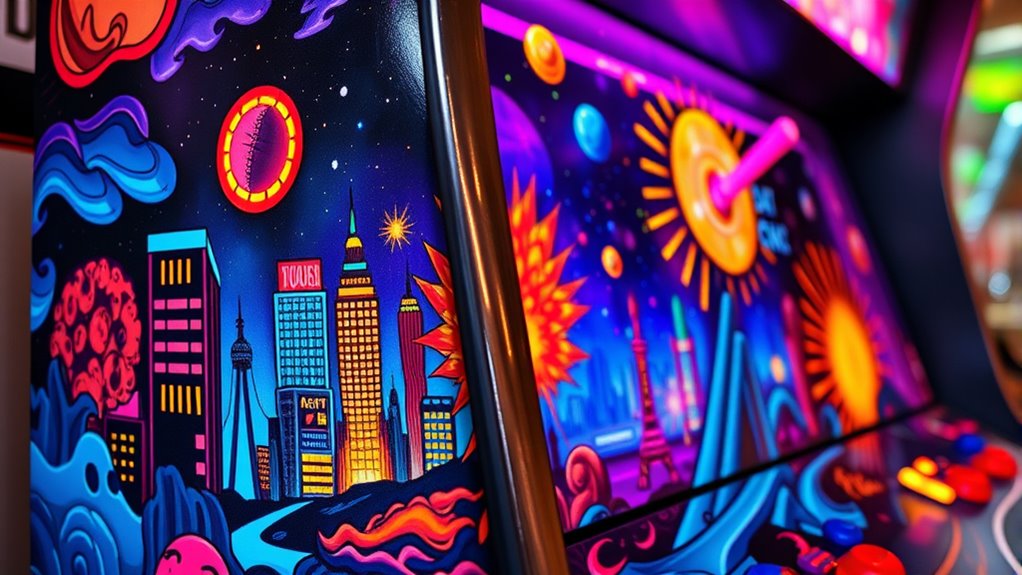
Custom artwork can transform your arcade cabinet from basic to eye-catching, giving it a unique personality that reflects your style. One of the most impactful ways to achieve this is through thoughtful monitor design. The monitor is the focal point of your arcade setup, so customizing its appearance can make a huge difference. You can opt for a vibrant, themed background that complements your overall artwork or create a design that highlights your favorite games. When working on monitor design, consider how colors, graphics, and branding elements align with your vision. You might even incorporate custom illustrations or logos that add character and authenticity to your cabinet. Keep in mind that the monitor’s bezel and surrounding areas are prime locations for embellishments that enhance the visual appeal. Incorporating nostalgic elements into your design can also evoke memories and deepen the connection to classic arcade culture.
Once you’ve settled on your monitor design, the next step is applying stickers or decals to bring your artwork to life. Sticker application is a straightforward yet highly effective way to add detail and personality. Use high-quality vinyl stickers that are durable and weather-resistant to ensure your artwork lasts over time. Before applying, clean the surface thoroughly to remove dust, grease, or fingerprints, which can cause bubbles or misalignment. Carefully position your stickers, smoothing out air bubbles as you go to achieve a professional look. You can layer stickers, combining different shapes, logos, or characters to create a dynamic, layered effect. If you’re feeling more ambitious, custom-cut stickers can give you precise control over shapes and images, allowing for intricate designs that perfectly fit your cabinet’s contours.
When designing your artwork, consider the overall theme and how each element interacts. Your monitor design should be cohesive with the stickers you apply, creating a unified aesthetic. Avoid cluttering the surface; instead, aim for a balanced composition that draws the eye without overwhelming it. Take your time during sticker application—rushing can lead to misaligned edges or creases that detract from the professional look. If you make a mistake, most stickers can be carefully peeled away and repositioned, or replaced altogether.
Frequently Asked Questions
What Materials Are Best for Durable Arcade Cabinet Artwork?
For durable arcade cabinet artwork, vinyl with high durability is your best choice. It’s flexible, resistant to scratches, and withstands wear over time. Make sure the vinyl has strong adhesive strength to stick securely without peeling. You want a material that resists moisture and UV damage, ensuring your artwork stays vibrant and intact through years of gaming. Choose high-quality, laminated vinyl for maximum longevity and protection.
How Do I Measure My Cabinet for Custom Artwork?
Sure, you’re practically a master at measuring, right? Grab a measuring tape and carefully note every curve, edge, and corner of your cabinet. To avoid surprises, cut a cardboard template based on these measurements—think of it as a sneak peek before the real artwork. Fit the template onto your cabinet, adjust as needed, then use those precise dimensions to create your custom artwork—no more guesswork, just perfect fits.
Can I Design Artwork Without Graphic Design Experience?
Yes, you can definitely design artwork without graphic design experience. DIY design is easier than ever with user-friendly software options like Canva, Adobe Spark, or GIMP. These tools offer templates and simple interfaces that help you create professional-looking artwork. Just choose a template, customize it with your images and text, and you’re good to go. No fancy skills needed—just a bit of creativity and patience!
What Is the Typical Turnaround Time for Custom Artwork?
Think of your custom artwork as a journey, and the turnaround time as the map. Typically, after you approve the artwork, it takes about 1-3 weeks for the printing process to bring your vision to life. The timeline can vary depending on complexity and print shop workload. Keep in mind, timely artwork approval speeds things up, ensuring your vibrant design lands on your arcade cabinet without delay.
How Should I Properly Apply and Seal the Artwork?
To properly apply and seal your artwork, start with clean, dry surfaces. Use adhesive application to firmly attach the artwork, ensuring no bubbles or wrinkles. Once in place, apply laminate sealing to protect it from scratches and moisture. Work smoothly and evenly, pressing out air bubbles. Allow the adhesive to dry fully before sealing. Finish by trimming excess laminate for a clean, professional look.
Conclusion
Remember, a picture is worth a thousand words, so take your time designing your perfect arcade cabinet artwork. When you put your personal touch into it, your cabinet becomes more than just a game; it becomes a reflection of your style and passion. Don’t be afraid to get creative and experiment. After all, Rome wasn’t built in a day—so enjoy the process and watch your custom masterpiece come to life!