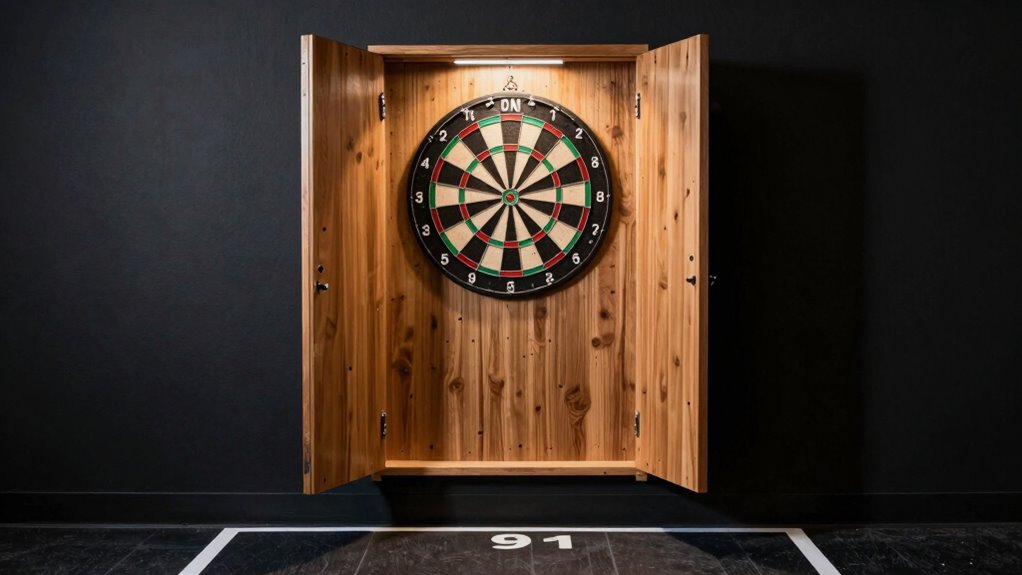
To properly install your dartboard cabinet, mount it so the bullseye is 5 ft 8 in (173 cm) from the floor, ensuring it’s level and secure using a level and appropriate hardware. Position the throw line 7 ft 9 ¼ in (2.37 meters) from the face of the dartboard, marking it clearly for consistent gameplay. Accurate setup promotes safety and fairness. Keep in mind that adjustments may be needed based on room size and player preferences as you continue exploring these tips.
Key Takeaways
- Mount the dartboard at 5 ft 8 in (173 cm) from floor to bullseye, ensuring it’s level and securely attached to a sturdy wall or cabinet.
- Use a measuring tape and level to position the throw line exactly 7 ft 9 ¼ in (2.37 meters) from the dartboard face.
- Ensure the dartboard cabinet is mounted at the correct height and level to maintain fair gameplay and prevent wobbling.
- Mark the throw line clearly with chalk or tape and verify its position regularly for consistency.
- Confirm ample space around the dartboard and proper lighting to enhance safety and visibility during play.

Quacc Portable Dartboard Mounting Bracket Kit, Includes Screws, Nails and Stabilisers Dart Board Hanging Kit Dart Board Hardware Wall Bracket for Hanging Dartboard
- Secure and Easy to Install: Hangs securely with anti-slip pads
- Sturdy and Rust-Resistant: Made of durable metal and plastic
- Compact Size: Measures 4.2 x 2.8 cm for the bracket
As an affiliate, we earn on qualifying purchases.
As an affiliate, we earn on qualifying purchases.
Why Proper Dartboard Mounting and Throw Line Setup Matter

Proper dartboard mounting and a correctly set throw line are essential for an enjoyable and fair game. The dartboard materials you choose, such as sisal or cork, influence how securely it can be wall-mounted. A stable wall mounting guarantees the board stays level and doesn’t wobble when you throw, maintaining accuracy. Incorrect mounting can lead to uneven play and potential damage to your wall or board. The throw line, or oche, must be positioned at the proper distance to keep gameplay consistent. When you set up your dartboard correctly, it’s easier to focus on your game and improve your skills. Proper mounting and line setup create a safe, fair environment, making your dart-playing experience more enjoyable and competitive. Additionally, understanding the standards for mounting height ensures your setup aligns with official regulations, enhancing fairness and consistency. Ensuring the correct placement of the throw line contributes to a more standardized and enjoyable game experience. Proper installation techniques can also extend the lifespan of your dartboard and improve overall play quality, especially when considering wall compatibility to prevent damage. For optimal safety and durability, selecting the right wall type is crucial to support the weight and prevent damage over time.
How to Measure and Mount Your Dartboard at the Correct Height

To guarantee your dartboard is positioned correctly for accurate play, you need to measure and mount it at the right height. Proper dartboard calibration ensures consistent throws, so precise measurements matter. Follow these steps:
- Find the bullseye height: measure 5 feet 8 inches (173 cm) from the floor.
- Mark this height on the wall using a pencil.
- Use a level to ensure your mark is perfectly horizontal.
- Apply the right wall mount techniques to securely attach the dartboard, keeping it straight and stable.
Accurate mounting prevents calibration errors and maintains the correct throwing angle. By carefully measuring and employing proper wall mount techniques, you’ll ensure your dartboard is at the ideal height for best gameplay.
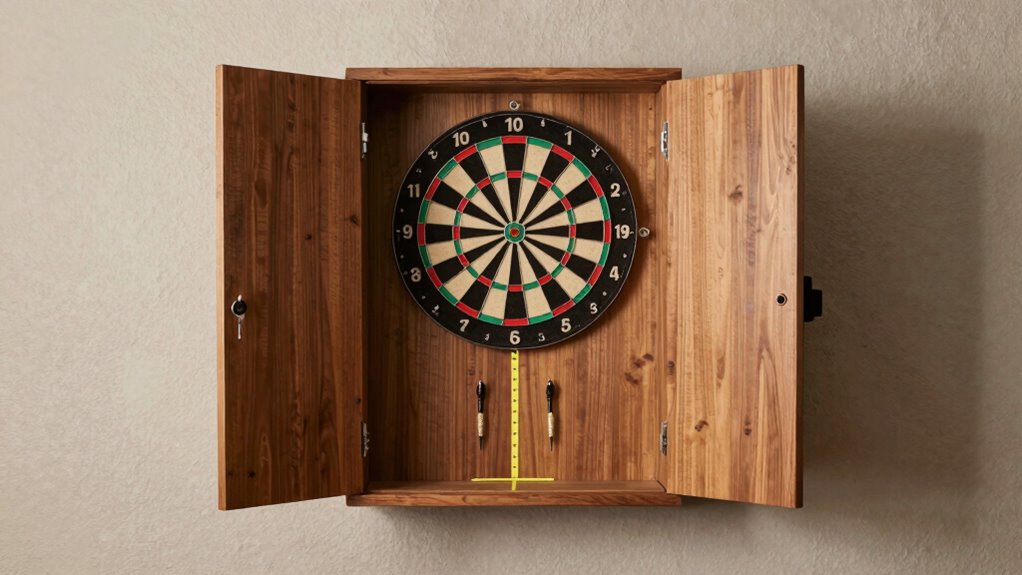
How to Set Up the Dartboard Throw Line for Accurate Play
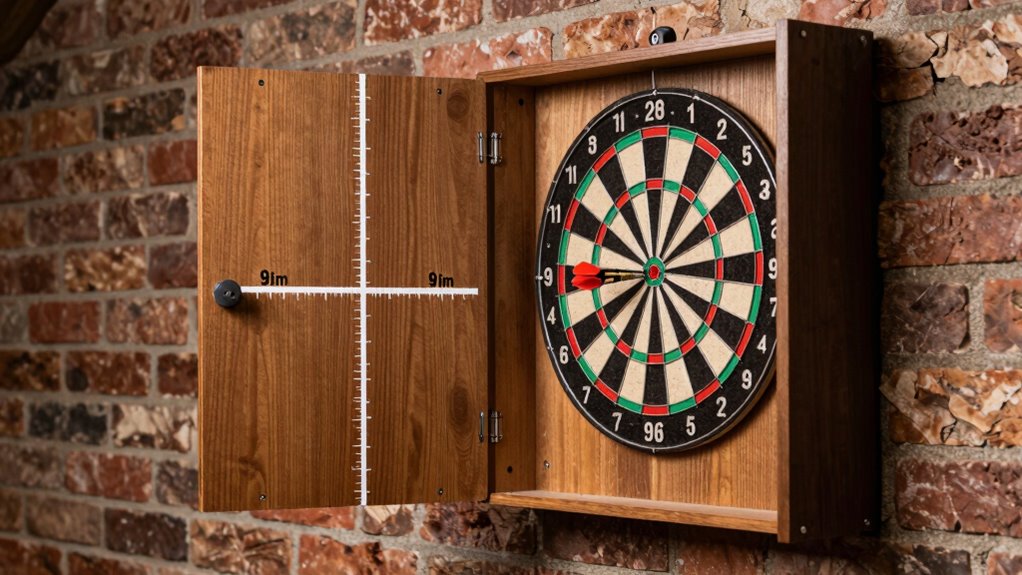
Setting up the dartboard throw line correctly is essential for accurate gameplay. First, measure 7 feet 9 ¼ inches from the face of the dartboard to the throw line, using a tape measure. Mark this spot clearly on the floor with chalk or tape, ensuring it’s level and stable. Use dartboard accessories like a chalk line or a laser pointer to help maintain consistency. Make sure your dart scoring systems are set up properly so you can easily track points during play. Keep the throw line straight and at the correct distance to avoid unfair advantages. Regularly check the line’s position, especially after moving furniture or re-mounting the board. Proper setup ensures fair, competitive play and improves your accuracy over time.
Adjusting Your Dartboard Setup for Different Room Sizes and Wall Space

When working with different room sizes and wall space, you need to adjust your dartboard setup to maximize safety and playability. First, ensure adequate wall clearance around the dartboard—at least 2-3 feet on each side—to prevent damage and allow free movement. Second, consider lighting placement; position lights to minimize shadows and glare on the dartboard. Third, evaluate the distance from the dartboard to surrounding furniture or walls, adjusting the throw line if space is limited. Fourth, make sure the wall behind the dartboard is sturdy enough to handle missed throws without damage. Additionally, indoor air quality and humidity levels can impact the comfort and safety of your gaming area, so maintaining proper airflow and humidity helps create an optimal environment. Proper ventilation not only preserves equipment but also contributes to overall room comfort. Ensuring adequate ventilation reduces dust and airborne particles, improving the air quality in your game space. In addition, monitoring humidity levels can prevent damage to the dartboard and surrounding walls over time. Maintaining these factors can also help prevent accidental injuries during gameplay. These adjustments help optimize gameplay, reduce accidents, and guarantee your dartboard fits comfortably within your room’s dimensions. Proper setup enhances safety and enjoyment for every game.
How to Use a Level for Accurate and Safe Dartboard Installation
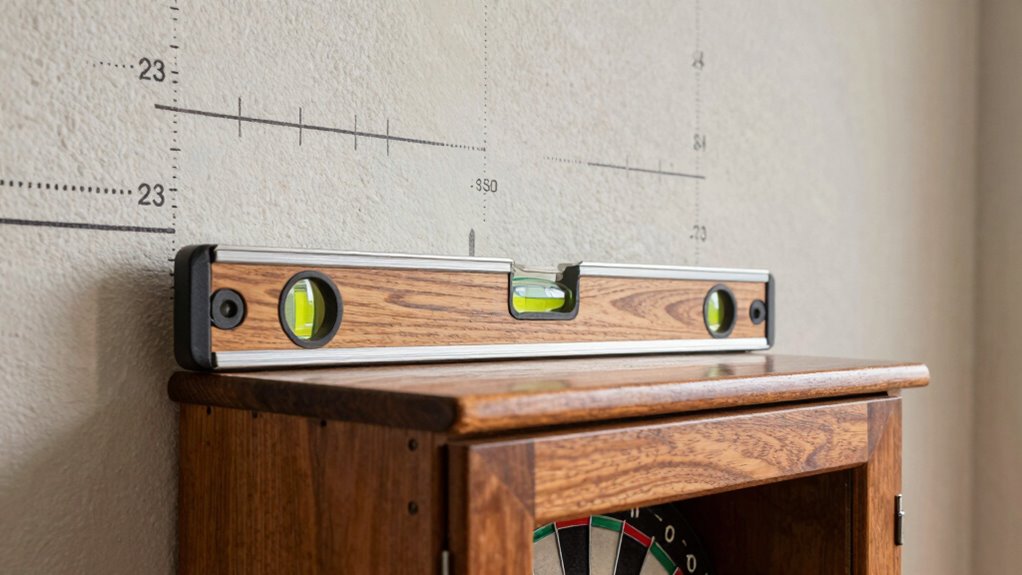
Using a level is essential for guaranteeing your dartboard is installed straight and safe to play on. Proper use of a level helps with dartboard calibration, making sure the board hangs at the correct height and angle. Start by placing the level on the mounting surface or directly on the dartboard to check its alignment. When wall mounting, use the level to verify that the mounting bracket or board is perfectly horizontal. This prevents tilting that could affect gameplay. Consistent leveling ensures the dartboard remains stable and safe during play. Accurate wall mounting techniques, combined with regular checks using the level, help you avoid misalignment and ensure your dartboard is both functional and secure. Proper calibration enhances your game and prolongs the dartboard’s lifespan. Additionally, understanding the environmental impact of tissue paper can inspire eco-friendly choices in your craft projects, promoting sustainability. Regularly inspecting and maintaining your setup aligns with the principles of energetic alignment, ensuring your space remains harmonious and conducive to enjoyable play. To further improve safety and accuracy, consider using a measuring tape to verify the correct mounting height before finalizing your setup. Incorporating these tools and techniques will help you achieve a professional-quality installation that ensures safety and optimal gameplay. Moreover, taking the time to double-check your setup can help prevent accidental misalignment that may occur over time.
Common Mistakes When Mounting Your Dartboard and How to Avoid Them
One common mistake is neglecting to use a level during installation, which can result in a crooked or unstable dartboard. This affects dartboard orientation and gameplay. To avoid this, consider these points:
Neglecting to use a level can lead to a crooked, unstable dartboard and affect gameplay.
- Ignore proper wall padding, risking damage and instability.
- Mount without checking the dartboard’s orientation, leading to misaligned throws.
- Forget to mark the correct height before drilling.
- Overlook the importance of a secure, level mounting surface, causing wobbling or falling.
- Failing to account for proper mounting techniques can compromise the entire setup.
Ensuring the dartboard is level and properly padded helps maintain stability and safety. Proper wall padding also protects the cabinet and wall from stray darts. Pay attention to these details to create a safe, accurate, and enjoyable setup.
How to Customize Your Setup for Different Player Heights and Skill Levels

Adjusting your dartboard setup to suit different player heights and skill levels guarantees everyone can enjoy the game comfortably and accurately. To promote player comfort and skill adaptation, consider modifying the mounting height or throw line for individual players. For example, shorter players may need the dartboard slightly lower, while beginners benefit from a more forgiving setup. Use this table to guide your adjustments:
| Player Height | Recommended Dartboard Height | Skill Level | Recommended Throw Line Distance |
|---|---|---|---|
| Shorter players | 5 ft 8 in (173 cm) | Beginner | 7 ft 6 in (229 cm) |
| Taller players | 5 ft 10 in (178 cm) | Intermediate | 8 ft (244 cm) |
Tweaking these elements guarantees better player comfort and skill adaptation, making the game more enjoyable for everyone. Additionally, accurate measurements ensure consistency and fairness across different setups. When setting up your dartboard, it’s important to consider standardized measurements to maintain fairness and accuracy for all players. Understanding individual player needs can further enhance the overall experience and encourage skill development. Moreover, being aware of common setup mistakes can help prevent unfair advantages and improve overall gameplay.
Tips for Maintaining and Adjusting Your Dartboard Setup Over Time
To keep your dart game sharp, you should regularly check that your dartboard remains at the correct height. Make sure the throw line stays consistent and the distance is accurate for your style. Don’t forget to adjust your setup as the board wears or shifts over time to maintain ideal play. Additionally, consider ethical considerations when choosing equipment or accessories to ensure your game aligns with responsible and fair play standards. Monitoring your equipment’s performance efficiency can also help identify when maintenance or replacement is needed to preserve optimal game quality. Being aware of electric dirt bike horsepower can inspire you to incorporate innovative equipment that enhances your overall gaming experience. Regularly inspecting your setup and understanding accessibility features can further help accommodate players of all skill levels and abilities.
Regular Height Checks
Regular height checks are essential to guarantee your dartboard remains at the proper playing level. Over time, shifts can occur, affecting both dartboard height and throw line alignment. To maintain ideal setup, consider these steps:
- Measure the current dartboard height to ensure it’s still at 5 feet 8 inches (1.73 meters) from the floor to the bullseye.
- Confirm the throw line remains 7 feet 9¼ inches (2.37 meters) from the dartboard’s face.
- Check if the mounting bracket has shifted, causing the dartboard to tilt or sit unevenly.
- Use a level to verify the dartboard’s vertical alignment and adjust if needed.
Performing these checks regularly keeps your setup consistent, improving your game and ensuring compliance with standard measurements.
Correct Throw Line Distance
Maintaining the correct throw line distance is essential for consistent gameplay, especially as your setup can shift over time. Proper distance ensures your dartboard design functions as intended, preserving the game’s challenge and fairness. To verify your setup, measure from the face of the dartboard to the front of the throw line, typically 7 feet 9 ¼ inches (2.37 meters). Regularly check this distance, especially if you move furniture or rearrange wall decorations that might affect placement. Keep the throw line clear and at the right height, avoiding any obstructions. Adjustments are simple but vital for ongoing accuracy. A consistent throw line distance helps you develop proper technique and keeps your dartboard as a reliable wall decoration for years to come.
Adjusting for Wear
Ever notice your dartboard’s scoring areas becoming less accurate over time? That’s normal with wear, but you can keep it precise by adjusting for it. First, inspect the board regularly for signs of wear and tear. Second, perform wear compensation by rotating the board to distribute impact evenly. Third, adjust the height if the board has shifted or sagged over time, ensuring your throw line remains accurate. Fourth, recalibrate the mounting height if the board’s position has changed, maintaining proper alignment. By staying attentive to these factors, you’ll preserve your game’s accuracy and prolong your dartboard’s lifespan. Regular adjustments help prevent scoring errors and keep your setup consistent, so your game stays sharp and enjoyable.
Essential Tools and Materials for a Precise Dartboard Mounting
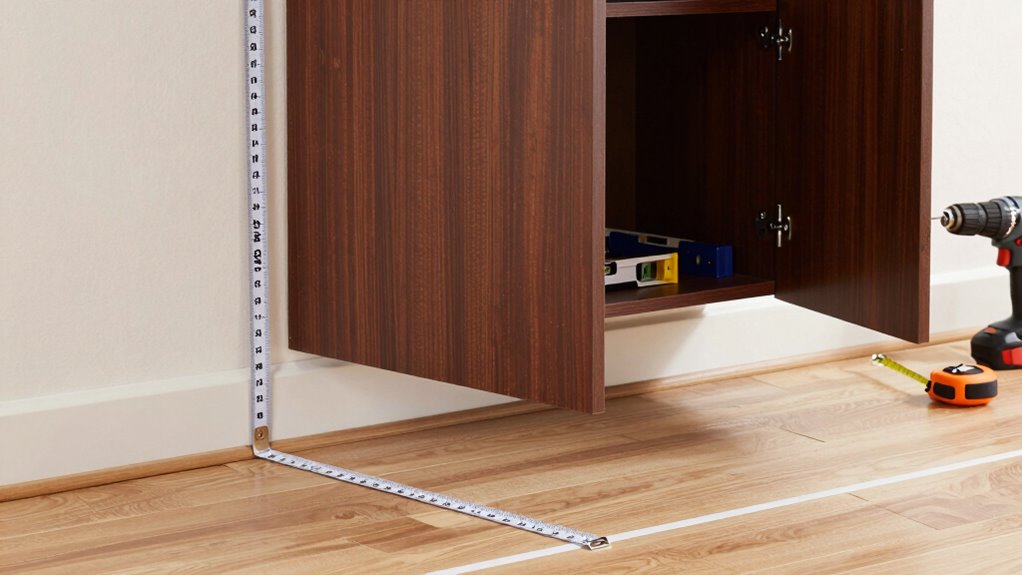
To guarantee your dartboard is mounted accurately and securely, you’ll need a few essential tools and materials. First, gather the right dartboard materials, including a sturdy backing board if needed, and the mounting bracket designed for your dartboard. You’ll also need reliable mounting tools such as a level, a measuring tape, a pencil for marking, and a drill with appropriate bits. A stud finder can help locate wall studs for a more secure installation. Make sure to have screws and anchors suitable for your wall type. These tools and materials ensure that you can position your dartboard at the correct height and alignment, providing a safe and professional setup that lasts. Proper preparation makes all the difference in achieving a perfect, stable mount.
Troubleshooting Common Dartboard Setup Issues
If your dartboard isn’t level or the throw line isn’t set correctly, your game can suffer. Common mounting mistakes, like improper spacing or misaligned brackets, can cause frustration. Let’s go over how to identify and fix these issues to improve your setup.
Common Mounting Mistakes
Many common dartboard mounting mistakes can lead to frustrating gameplay and even damage the board. First, verify you use proper dartboard accessories for wall mounting—incorrect hardware can cause instability. Second, avoid hanging the dartboard too low or high; incorrect height affects gameplay. Third, neglecting to secure the mounting brackets tightly can make the board wobble or fall. Fourth, misaligning the bullseye with eye level throws off your accuracy. Double-check the mounting instructions and use a level to keep the dartboard straight. Remember, proper wall mounting isn’t just about aesthetics but also about safety and playability. Taking care with these details prevents damage and ensures your game is smooth and enjoyable.
Correct Throw Line Setup
Properly setting up your throw line is key to consistent gameplay and accurate throws. Start by ensuring your dartboard positioning is correct, with the bullseye at eye level and centered on a blank wall. The throw line, or oche, should be exactly 7 feet 9 ¼ inches from the face of the dartboard. Use a measuring tape to mark this distance clearly on the floor. Make sure the line is straight and unobstructed, so your stance remains consistent. Correct throw line setup helps improve dartboard positioning and enhances throw line accuracy. If your throws are inconsistent or off-target, double-check your measurements and adjust the throw line as needed. Proper alignment guarantees your gameplay remains fair and your skills improve over time.
Frequently Asked Questions
What Is the Standard Height for Mounting a Dartboard?
The standard height for mounting a dartboard, according to dartboard regulations and mounting guidelines, is 5 feet 8 inches (173 cm) from the floor to the bullseye. When setting up, make sure your throw line is 7 feet 9.25 inches (237 cm) away from the board. Following these measurements guarantees proper gameplay and adherence to official standards, making your setup both legal and comfortable for players.
How Far Should the Throw Line Be From the Dartboard?
To align with regulation standards, you should position the throw line about 7 feet 9.25 inches from the dartboard’s face. Think of this as setting the perfect distance for your throw line, creating a balanced challenge. Keep in mind, this throw line distance guarantees fair play and consistency, so use a tape measure for precision. Adjust your stance accordingly, and you’ll find that sweet spot for enjoyable, regulation-style dart games.
Can I Mount a Dartboard on a Textured Wall?
You can mount a dartboard on a textured wall, but be aware of mounting challenges. Textured surfaces may make it harder to secure the board firmly, so use appropriate anchors or mounting hardware designed for uneven surfaces. Consider sanding or smoothing the area beforehand to guarantee a secure fit. Proper mounting is essential to prevent the dartboard from shifting or falling, ensuring safety and ideal gameplay.
What Safety Precautions Should I Take During Installation?
Think of your installation as forging a shield for safe play. You should wear protective gear like goggles and gloves to guard against accidental hits. Make certain the dartboard is securely mounted on a sturdy wall, using appropriate anchors and tools. Double-check all fixtures for stability before use. Taking these precautions keeps your setup safe, so you can enjoy your game without worries, knowing your equipment is both protected and secure.
How Often Should I Check and Re-Adjust the Setup?
You should check your dartboard calibration and setup at least once every few months, especially if you notice gameplay issues. Regularly inspecting the mounting height and throw line ensures the board remains accurate and safe. Incorporate a maintenance schedule to re-adjust your setup as needed, particularly after moving or if you observe wear. Consistent checks help maintain ideal play conditions and prevent potential safety hazards.
Conclusion
Think of your dartboard setup like tuning a musical instrument—you want perfect harmony for the best game. When you get the mounting height and throw line just right, every throw resonates with precision. I once watched a friend struggle until we adjusted his setup, and suddenly, the darts found their mark. Proper alignment isn’t just about rules; it’s about creating a smooth, enjoyable playing experience. With a little care, your setup will hit the right note every time.