
To get started with PCB repair, learn to identify key components like resistors, capacitors, and ICs by their symbols and layout. Use essential tools like a soldering iron, magnifier, and multimeter for diagnostics and fixes. Always follow safety precautions and handle boards carefully. Practice visual inspections for damage, broken traces, or cold solder joints, then use proper techniques to replace components or mend traces. Keep practicing, and you’ll become confident in troubleshooting and fixing circuit boards.
Key Takeaways
- Learn to identify common PCB components and read circuit diagrams for accurate troubleshooting.
- Use proper tools like soldering irons, multimeters, and magnifiers for precise repairs.
- Conduct thorough visual and electrical inspections to locate broken traces, damaged parts, or shorts.
- Practice safe handling and anti-static precautions to prevent further damage during repair.
- Test and verify repairs with voltage checks and circuit calibration before reassembling.
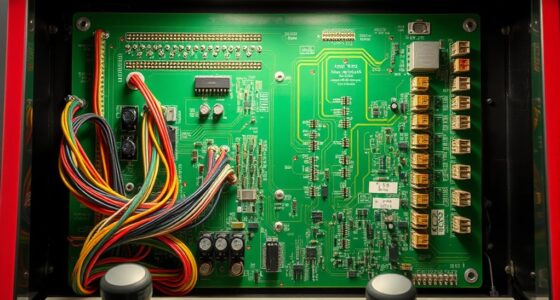
Understanding PCB Components and Layouts
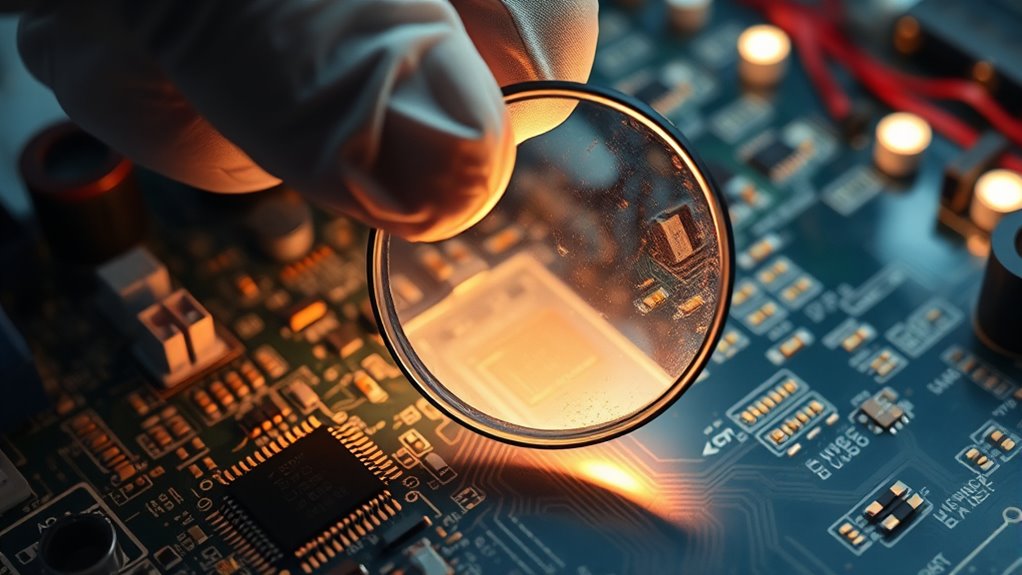
Understanding PCB components and layouts is essential for effective repair. By studying the circuit diagram, you can see how different parts connect and function together. This diagram guides you in component identification, helping you recognize resistors, capacitors, ICs, and other elements quickly. Familiarity with layouts allows you to trace signals and spot potential issues more efficiently. As you examine a PCB, look for labels and symbols that match the circuit diagram, making component identification easier. Knowing the layout helps prevent mistakes during troubleshooting and repairs. Mastering these basics ensures you can diagnose problems accurately and make precise repairs, saving time and reducing errors. Clear understanding of components and layouts is the foundation for any successful PCB repair. Additionally, referencing vetted resources can provide valuable insights into the best practices for identifying and handling various PCB components.
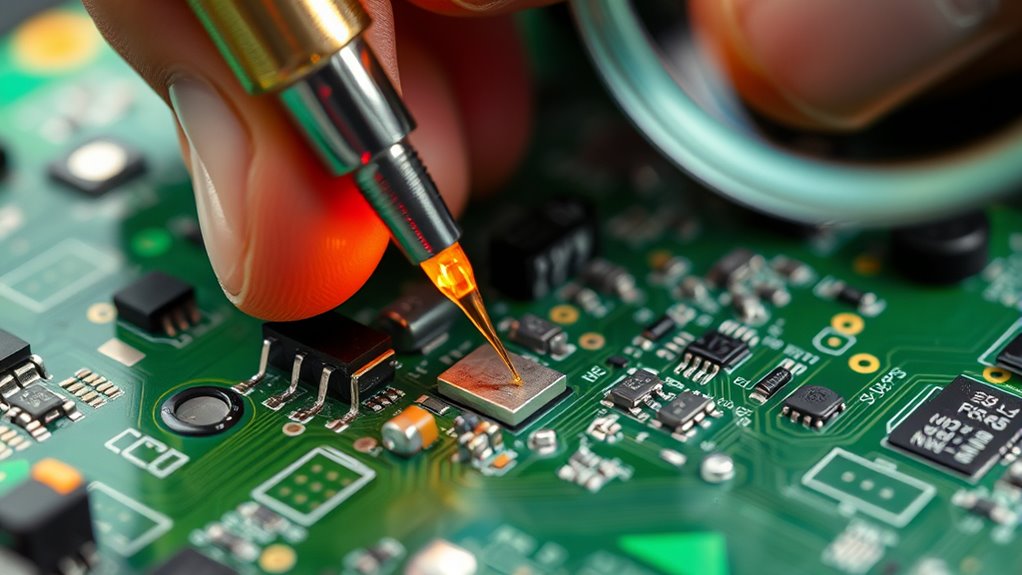
Essential Tools and Equipment for PCB Repair
Having the right tools is essential for effective PCB repair, as it guarantees you can diagnose issues accurately and perform precise repairs. A good soldering iron with adjustable temperature settings is crucial for mastering soldering techniques, ensuring clean and reliable connections. You’ll also need a fine-tipped soldering iron for intricate work and a desoldering pump or wick to remove excess solder efficiently. Precision tools like tweezers, magnifying glasses, and PCB holders help you work carefully. For cleaning methods, use isopropyl alcohol and soft brushes to remove flux residue and dirt without damaging components. Proper tools enable you to work confidently, minimize mistakes, and achieve professional-quality repairs. Investing in quality equipment simplifies the repair process and improves your overall success rate. Additionally, understanding industry trends can help you stay updated on the latest repair techniques and tools.
Identifying Common PCB Issues and Symptoms
When troubleshooting a PCB, recognizing the most common issues and their symptoms is essential to diagnosing problems quickly. A common fault might be a broken trace, which often results in intermittent or lost connections, causing device malfunctions. Overheating components can produce visible signs like discoloration or a burnt smell, indicating potential damage. Shorts or solder bridges often cause unexpected behavior or complete failure, with visible solder splashes or blobs as clues. If a component is faulty, you may see physical damage or corrosion. Symptom identification helps you narrow down the cause efficiently, saving time and effort. Understanding these signs allows you to prioritize inspections and repairs, making your troubleshooting process more effective and accurate. Additionally, being familiar with Honda Tuning modifications can help you recognize signs of custom or aftermarket parts that might influence troubleshooting outcomes.
Basic Safety Precautions and Handling Techniques
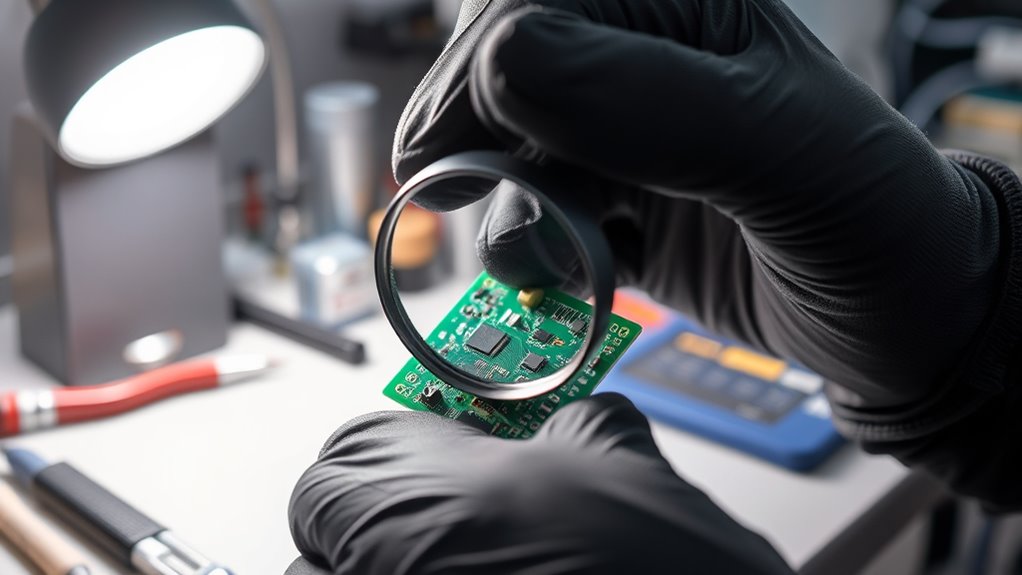
When repairing PCBs, always wear proper safety gear like gloves and goggles to protect yourself from hazards. Use the correct tools to avoid damaging components or causing injury, and handle each part with care to prevent static or physical damage. Following these safety precautions helps make sure your work is safe and effective. Being aware of global disruptions like outages can also help you plan repairs more effectively and minimize downtime.
Wear Proper Safety Gear
Wearing proper safety gear is indispensable to protect yourself from potential hazards while repairing PCBs. Always use personal protective equipment such as safety glasses and gloves to prevent injury from solder splashes, sharp components, or chemical exposure. Following safety protocols helps minimize risks like electric shock or inhaling harmful fumes. Ensure your workspace is well-ventilated, and wear a mask if solder fumes are present. Keep your protective gear on throughout the repair process, especially when handling soldering irons or working near energized circuits. Remember, safety gear isn’t just an extra step—it’s a crucial part of your safety routine. Proper equipment keeps you safe and allows you to focus on the task without unnecessary concern about potential hazards. Additionally, understanding electronics safety best practices can further reduce the risk of accidents during PCB repairs.
Use Correct Tools
Using the correct tools is essential for safe and effective PCB repair. Proper soldering techniques help you make solid connections without damaging components or traces. Invest in a quality soldering iron with adjustable temperature control, and always use the right tip for the task. A magnifying glass or microscope can assist with accurate component identification, preventing mistakes. Precision tweezers help handle small parts safely, reducing the risk of damage. Use anti-static tools and mats to protect sensitive components from static discharge. Avoid using makeshift tools, which can cause injury or damage the PCB. Remember, selecting the right tools not only ensures safety but also improves your repair quality, making the process smoother and more reliable. Additionally, understanding the horsepower of electric dirt bikes can help you appreciate the importance of proper handling and safety precautions when working with high-performance electronics.
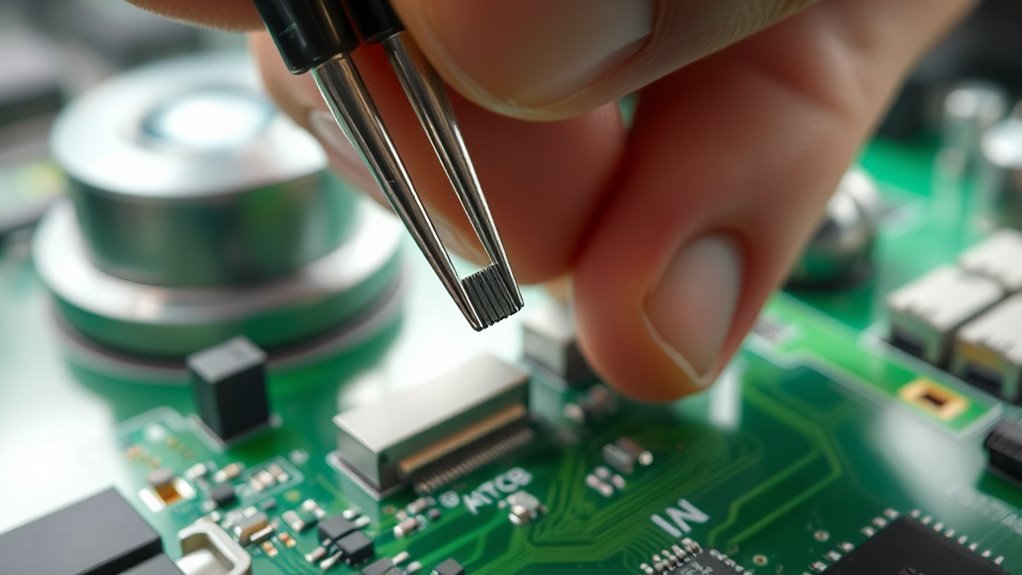
Handle Components Carefully
Handling components carefully is essential to prevent damage that can compromise your PCB repair. Mishandling can lead to broken pins, static damage, or poor soldering connections. Always hold components by their edges, avoiding contact with the pins or solder pads. Use anti-static wrist straps and work on ESD-safe mats to protect sensitive parts. Proper component handling ensures your soldering techniques produce reliable connections. Remember, even slight pressure or improper grip can cause damage. Here’s a quick guide:
| Tip | Why it Matters | Best Practice |
|---|---|---|
| Use tweezers | Prevents bending pins | Handle delicate parts with tweezers |
| Avoid static | Protects sensitive components | Wear an anti-static wrist strap |
| Support during soldering | Prevents overheating | Use proper heat sinks or clips |
| Handle by edges | Prevents damage | Always grasp components by their edges |
Being careful with component handling boosts your PCB repair success. Additionally, understanding the best practices in component handling can significantly reduce errors during repairs.
Techniques for Diagnosing PCB Faults
To diagnose PCB faults effectively, you’ll start with visual inspection methods to spot obvious damage or corrosion. Then, use electrical testing techniques to check for faulty connections or component failures. Combining these approaches helps you identify issues quickly and accurately. Incorporating data-driven strategies can further improve your diagnostic precision by analyzing patterns and historical fault data.
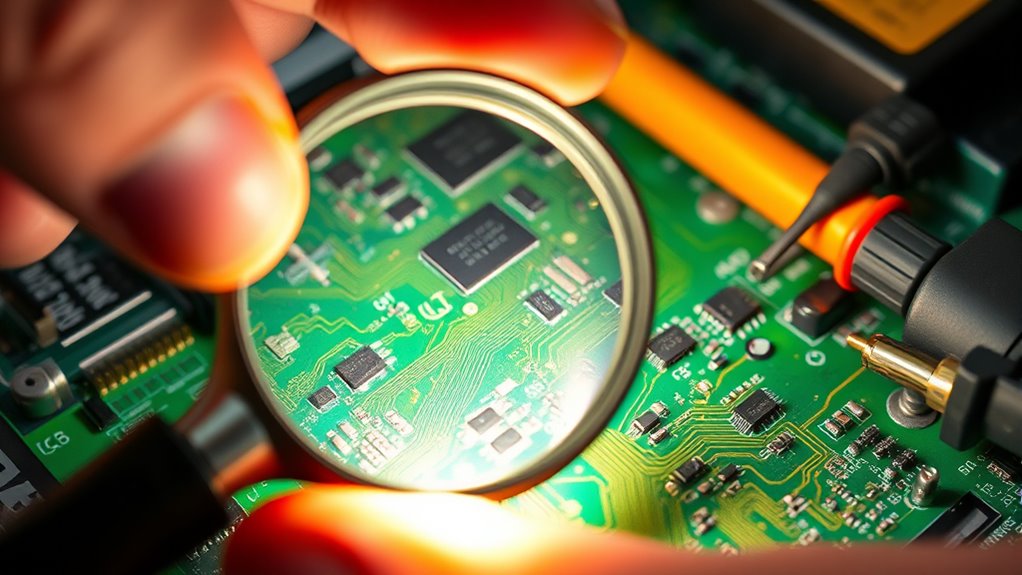
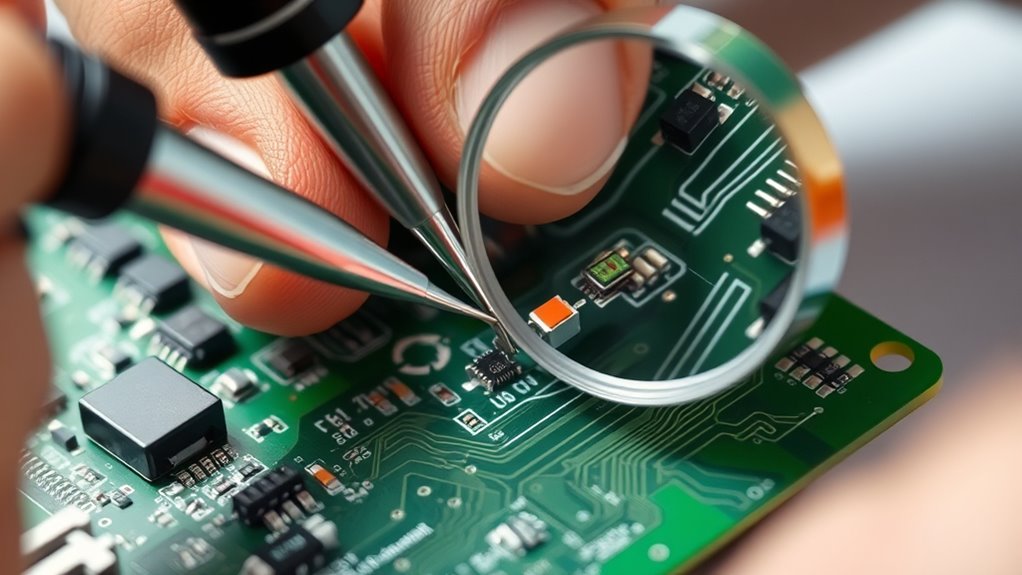
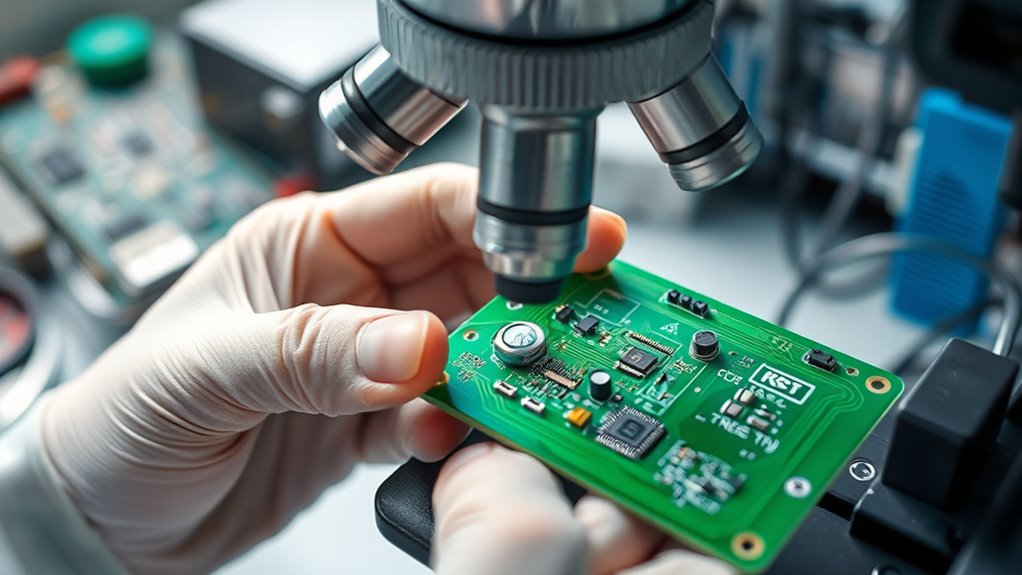
Visual Inspection Methods
Visual inspection is often the first step in diagnosing PCB faults, as many issues manifest visibly before impacting functionality. Carefully examine solder joints for cracks, cold solder joints, or bridging that can cause intermittent faults. Burn mark analysis helps identify overheating or component failure, revealing discoloration or charred areas. To improve your inspection, consider these steps:
- Use a magnifying glass or microscope for detailed solder joint inspection.
- Look for burn marks, discoloration, or melting around components.
- Check for physical damage like cracks, corrosion, or broken traces.
- Understanding component failure signs can help predict potential issues before they cause complete malfunction.
Electrical Testing Techniques
Electrical testing techniques are crucial for pinpointing faults that may not be visible through visual inspection alone. You can use a multimeter to check circuit continuity, guaranteeing that electrical paths are complete and unbroken. If continuity is interrupted, it indicates a broken trace or faulty component. Voltage measurement is another key method; by measuring voltage levels at various points, you can identify where power isn’t reaching the circuit as it should. For example, low or no voltage at a component may signal a fault upstream. These techniques help you quickly isolate issues, saving time and preventing unnecessary repairs. Always turn off power before testing and double-check your connections to guarantee accurate readings. Proper electrical testing is essential for diagnosing PCB faults effectively. Additionally, understanding the role of the father in nurturing and guiding can inspire patience and precision during troubleshooting.
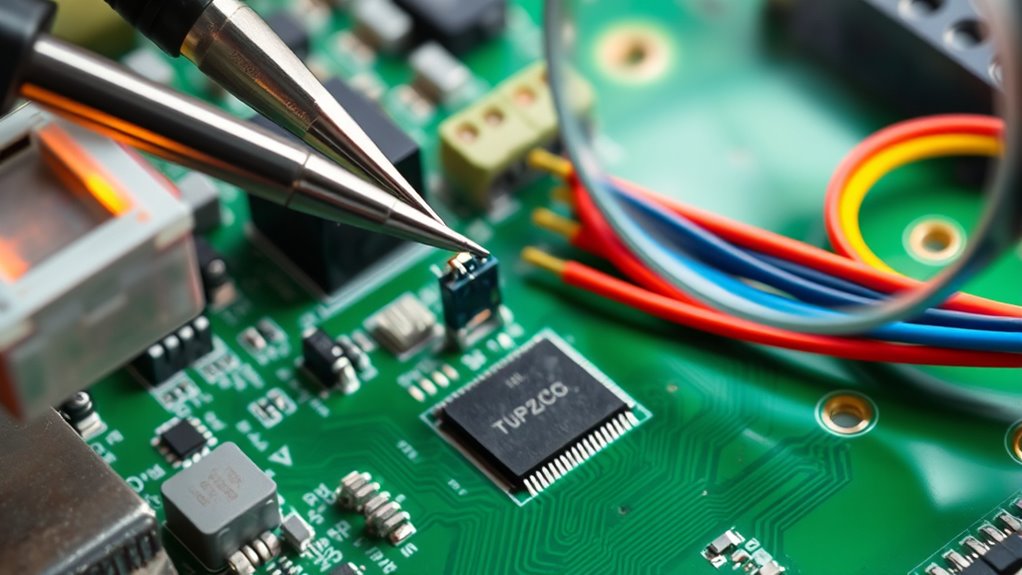
Methods for Repairing Broken Traces and Pads
When traces or pads on a PCB become broken or damaged, quick and effective repair methods are essential to restore functionality. One approach is applying conductive ink to bridge broken traces, creating a conductive pathway. For small damage, trace reflow involves heating the damaged area to re-melt and reattach the trace, restoring its integrity. You can also use a thin wire or jumper wire to bypass damaged sections, connecting intact traces directly.
Repair broken PCB traces with conductive ink, trace reflow, or jumper wires for quick restoration.
- Use conductive ink to fill cracks or gaps, ensuring good contact.
- Perform trace reflow by carefully heating the damaged area with a soldering iron.
- Add jumper wires for larger breaks, securing with solder for stability.
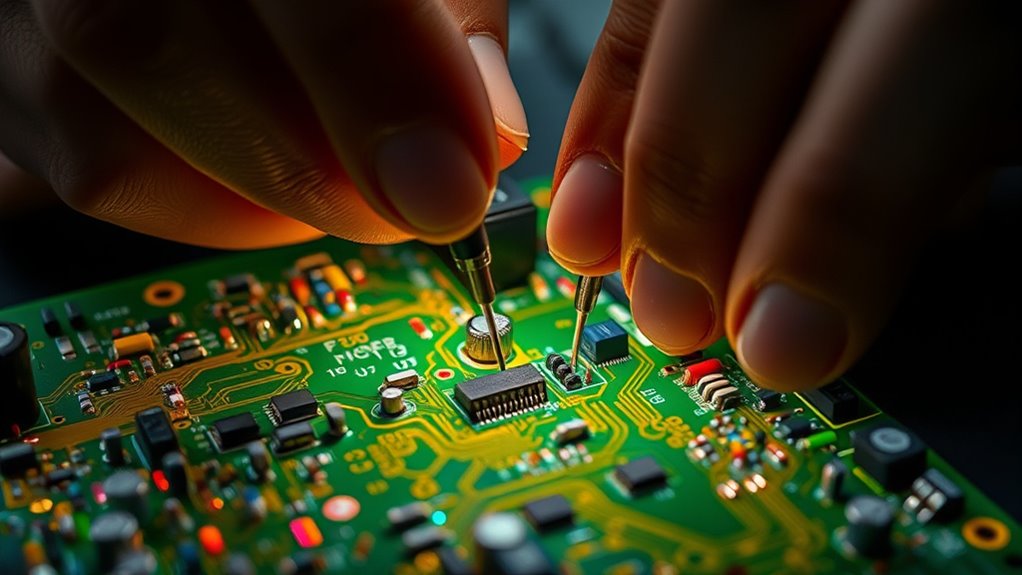
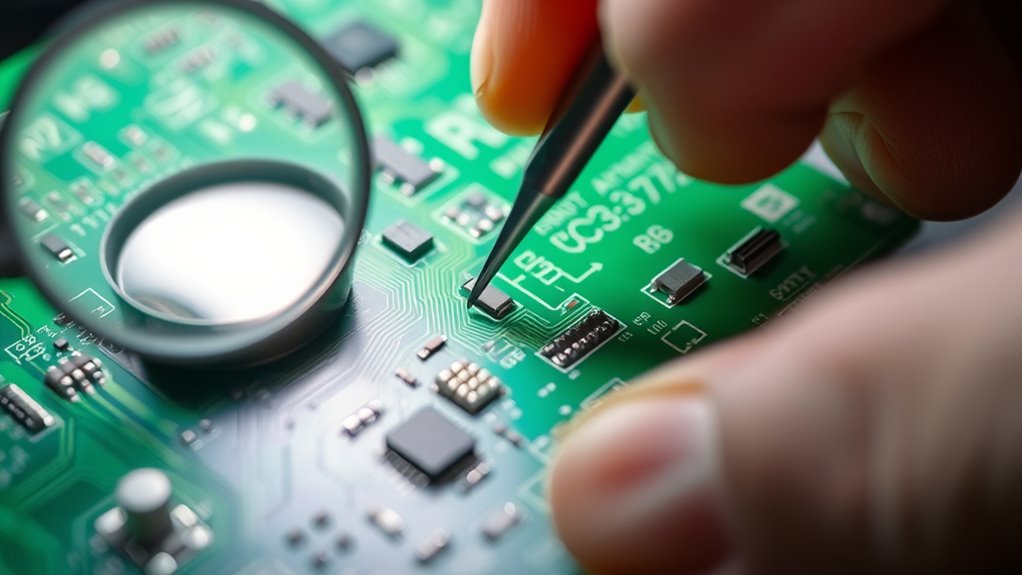
Replacing Damaged Components Safely
Replacing damaged components safely is crucial to prevent further damage and guarantee proper circuit operation. First, accurately identify the damaged component using clear component identification techniques. Once identified, select the correct replacement part. Use proper soldering techniques to remove the faulty component without damaging surrounding traces or pads. Confirm your soldering iron is at the right temperature and apply heat evenly. Handle the new component carefully, aligning pins precisely before soldering.
| Step | Description | Tips |
|---|---|---|
| Identify | Confirm the damaged component using labels or markings | Double-check part numbers |
| Remove | Desolder the faulty component carefully | Use the right soldering techniques |
| Install | Position the new component correctly | Use a steady hand |
| Solder & Inspect | Solder pins securely and inspect for bridges | Ensure solid connections |
Testing and Verifying Your Repairs
After completing the replacement of damaged components, it’s time to verify that your repair works correctly. Start by performing a thorough solder joint inspection to ensure all connections are solid, free of cold joints or bridges. Next, conduct circuit board calibration to confirm the PCB functions as intended and that signals are accurate. Finally, power up the device and run targeted tests, such as checking voltage levels and signal continuity, to verify the repair’s success. If issues arise, revisit solder joints or calibration settings. Proper inspection and calibration help prevent future failures and ensure your repair is reliable. Remember, meticulous testing is key to a durable, professional-quality PCB repair.
Tips for Preventing Future PCB Damage
Preventing future PCB damage starts with understanding common stress points and handling your board carefully. One major risk is electrostatic discharge, which can easily harm sensitive components. Always wear an anti-static wrist strap and work on an ESD-safe surface to minimize this risk. Proper storage is equally important; keep your boards in anti-static bags or containers, away from moisture, dust, and extreme temperatures. Avoid stacking PCBs directly on top of each other, as pressure can cause physical damage. Handle your PCB by the edges to prevent accidental contact with delicate circuitry. Regularly inspect your storage conditions and ensure your workspace remains clean. Taking these precautions helps extend your PCB’s lifespan and reduces the likelihood of future damage.
Frequently Asked Questions
Can I Repair Any Type of PCB at Home?
You can repair many types of PCBs at home, but it depends on your skill level and the complexity of the circuit. With DIY soldering and careful component replacement, you can fix simple boards. However, more advanced or fragile PCBs might require professional tools and expertise. Always assess the damage first, guarantee you have the right supplies, and follow safety precautions to avoid further damage.
What Are the Signs of a Failing PCB?
Ever notice your device acting up unexpectedly? That’s a clue your PCB might be failing. Look for signs like flickering screens, unexpected shutdowns, or strange noises. You should also check for solder joint issues, which cause unstable connections, or component corrosion that damages circuits. These signs point to underlying problems, and catching them early helps prevent further damage. Regular inspection keeps your electronics running smoothly longer.
How Long Does a Typical PCB Repair Take?
Typically, a PCB repair takes anywhere from a few hours to a full day, depending on the complexity. You’ll need to use proper soldering techniques to remove and replace damaged components accurately. Start with component testing to identify faulty parts before making repairs. Carefully work through each step, double-check your connections, and allow sufficient drying time for any adhesives or coatings. Patience guarantees a reliable and long-lasting repair.
Are There Specific Cleaning Methods for PCB Repair?
When it comes to PCB repair, you should use appropriate cleaning solutions like isopropyl alcohol to remove flux and debris. Inspection techniques, such as magnification or a microscope, help guarantee thorough cleaning and identify hidden issues. Proper cleaning prevents corrosion and ensures reliable connections. Always handle cleaning carefully, avoid aggressive chemicals, and double-check the cleaned area before proceeding with repairs to maintain the integrity of your PCB.
When Should I Seek Professional PCB Repair Services?
You should seek professional PCB repair services when DIY safety becomes a concern or if your attempts aren’t fixing the issue. Attempting repairs without proper tools or experience can risk further damage or personal injury. While DIY can be cost-effective, sometimes professional help guarantees a reliable fix, saving you money in the long run. If the problem persists or involves complex components, it’s safer and more efficient to consult experts.
Conclusion
Mastering PCB repair is a valuable skill, saving you money and extending device lifespan. Did you know that over 50% of electronic failures are due to simple PCB issues? By understanding components, using the right tools, and following safety tips, you can confidently troubleshoot and fix common problems. Keep practicing, stay patient, and you’ll become proficient at restoring your circuits efficiently—saving time, money, and frustration along the way.