
To wire a two-player control panel, start by planning a clear layout, sketching connections from each button and joystick to the PCB or controller. Secure wires with cable ties and label them for easy troubleshooting. Connect each control to its designated terminal, verifying tight and correct connections. Test each input with a multimeter or test switch to guarantee proper functionality. Follow organized wiring practices to avoid common issues—more tips will help you perfect your setup.
Key Takeaways
- Sketch a wiring diagram to map all buttons, joysticks, and their connections to the PCB or controller.
- Use color-coded wires and label each connection point for easy identification and troubleshooting.
- Connect each button and joystick wire securely to the designated terminals on the wiring harness, following the layout plan.
- Test all connections with a multimeter to ensure proper signal transmission before final assembly.
- Address common issues like ground loops and loose wires to ensure a reliable and noise-free control panel.

Acrylic Control Panel and Metal Arcade Case kit for 2 Player
- 8-Button Layout: Includes 8 buttons for gameplay
- Metal Base Box: Sturdy metal construction for durability
- Acrylic Control Panel: Clear acrylic panel for easy access
As an affiliate, we earn on qualifying purchases.
As an affiliate, we earn on qualifying purchases.
Planning Your Control Panel Wiring Layout

Before you start connecting wires, it’s essential to plan your control panel wiring layout carefully. Good planning guarantees smooth cable management and prevents clutter. Begin by sketching wiring diagrams that map out every connection, from buttons to the PCB or controller. This visual guide helps you identify potential issues and streamline the wiring process. Consider how cables will run across the panel, aiming for neat, organized routing that minimizes tangling and interference. Use cable ties or sleeves to secure wires and keep them out of the way. Label each wire and connection point clearly to make troubleshooting easier later. A well-thought-out wiring layout saves time, reduces mistakes, and results in a clean, professional-looking control panel. Incorporating visual planning techniques can further optimize your wiring efficiency and accuracy.
Gathering Necessary Tools and Components

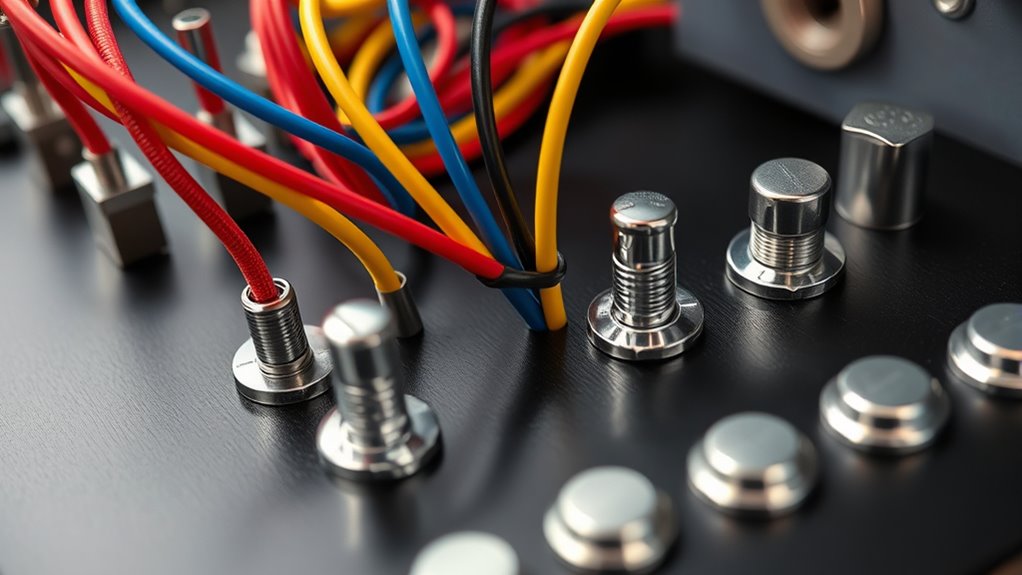
To begin wiring your control panel smoothly, gather all the tools and components you’ll need. You’ll want wire cutters, crimpers, screwdrivers, and a multimeter for testing connections. Collect the necessary wiring harnesses, switches, and buttons, making sure they match your layout. Good cable management is essential; use zip ties or cable sleeves to organize wires neatly and prevent tangling. Employ color coding for wires—assign specific colors to signals, grounds, and power lines—to simplify troubleshooting and future modifications. Double-check that you have enough wire length to reach all components comfortably. It’s also helpful to familiarize yourself with wiring best practices to ensure a safe and reliable setup. Having everything ready before starting ensures a smooth workflow and reduces interruptions, making your wiring process more efficient and less error-prone.
Connecting Buttons and Joysticks to the Wiring Harness

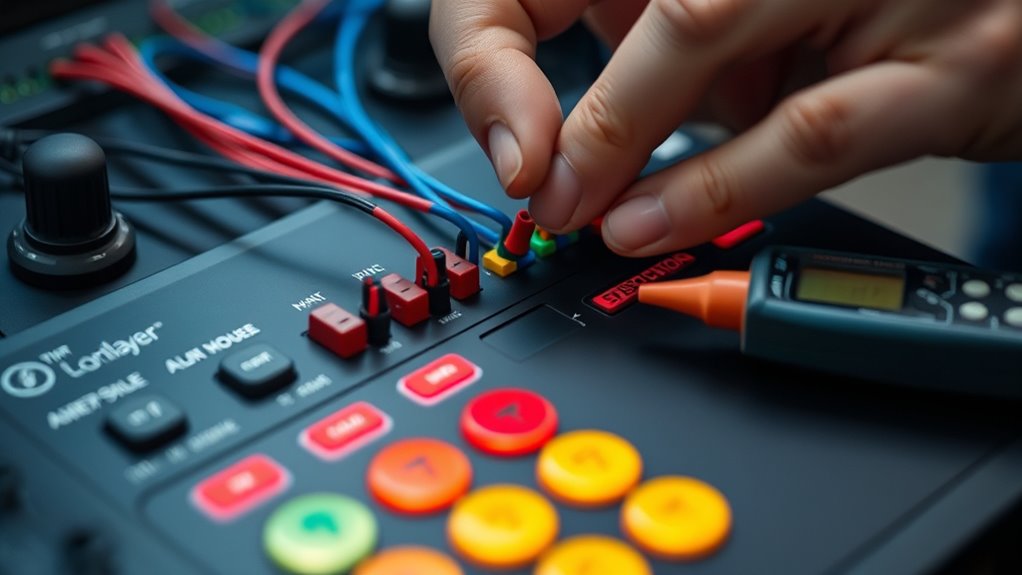
Connecting buttons and joysticks to the wiring harness involves attaching each control’s wires to the appropriate terminals, guaranteeing reliable signal transmission. For button wiring, connect each button’s wire to its designated terminal, matching color codes if available. For joystick connections, secure the wires from each direction to the corresponding terminals on the harness. Visualize this setup with the table below, helping you keep track of connections:
| Control Type | Terminal 1 | Terminal 2 |
|---|---|---|
| Button 1 | Signal | Ground |
| Joystick Up | Up Signal | Ground |
| Button 2 | Signal | Ground |
Double-check all connections for tightness. Proper wiring ensures your controls respond accurately during gameplay. Ensuring your wiring is reliable is essential for optimal performance and responsiveness.
Testing Your Wiring Connections for Functionality
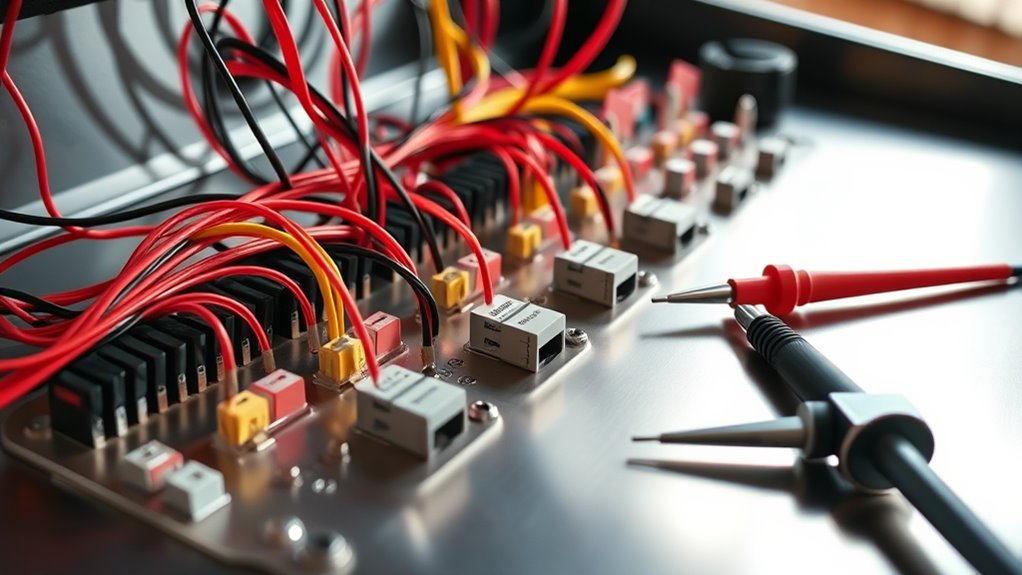
Testing your wiring connections is a vital step to guarantee everything works correctly before final assembly. Start by carefully following your wiring diagrams to ensure each connection matches the intended setup. Use a multimeter or a test switch to check each button and joystick for proper conductivity and response. Good cable management during testing makes it easier to identify and troubleshoot potential issues. Keep cables organized and avoid tangling to prevent false readings. Once you verify that all controls respond correctly, you can confidently proceed to secure the wiring and assemble the control panel. Proper testing helps you catch problems early, saving time and effort later. Remember, a well-organized wiring setup simplifies testing and future maintenance. Incorporating color accuracy considerations into your wiring setup can also help ensure consistent visual performance in your gaming environment.
Troubleshooting Common Wiring Issues
When you encounter problems with your control panel, pinpointing common wiring issues can save you time and frustration. One frequent problem is a ground loop, which causes hum or noise in your signals. To fix this, ensure all grounds are connected to a common point and avoid creating multiple ground paths. Another issue relates to wire gauge; using wires that are too thin can lead to voltage drops and unreliable connections. Always select the appropriate gauge for your components, typically 22-24 AWG for control signals. Check for loose or damaged wires, and verify that connections are secure and properly insulated. Proper wiring practices, including avoiding ground loops and choosing the right wire gauge, help prevent issues and ensure your control panel functions smoothly. Additionally, understanding the importance of grounding and avoiding ground loops is essential for maintaining signal integrity.
Frequently Asked Questions
Can I Use Wireless Components for My Control Panel?
Using wireless components for your control panel can be convenient, but you should check for compatibility issues first. Wireless controllers and connections might introduce latency or interference, affecting gameplay. Make sure the wireless components you choose are compatible with your system and can handle the control panel’s demands. Keep in mind that wired connections tend to be more reliable, especially for fast-paced or competitive gaming, so weigh the pros and cons carefully.
What Safety Precautions Should I Take While Wiring?
When wiring your control panel, safety is key. You should always use proper safety gear like gloves and eye protection. Make sure to follow correct grounding techniques to prevent electrical shocks or damage. Turn off power before working on circuits, and double-check connections. Working carefully and respecting electrical standards keeps you safe and ensures your control panel functions smoothly. Prioritize safety to avoid accidents and ensure a successful setup.
How Do I Differentiate Between Signal and Ground Wires?
You might wonder how to differentiate between signal and ground wires, and grounding techniques can help. Usually, wire identification involves checking wire color codes—ground wires often have green or bare copper insulation, while signal wires vary. Use a multimeter to test continuity and voltage. Proper grounding guarantees safety and proper function, so always double-check your wiring against standard color codes and grounding practices before connecting your control panel.
Is It Possible to Upgrade My Control Panel Later?
Yes, you can upgrade your control panel later if it has a modular design. This allows you to easily add or replace components, supporting future expansion. With a modular setup, you won’t need to overhaul the entire system, saving time and money. Just make sure your current wiring and connections are adaptable for upgrades, and follow proper procedures to ensure compatibility and safety during modifications.
What Are the Best Practices for Labeling Wires?
Think of your wires as a well-orchestrated symphony—each needs clear guidance. Use color coding to make identification intuitive, assigning specific colors to functions for quick recognition. Follow consistent labeling conventions, like numbering or descriptive tags, to keep everything organized. Write legibly and place labels close to connectors. This approach guarantees your wiring remains a harmonious, easily manageable system, saving you time and frustration during upgrades or troubleshooting.
Conclusion
By carefully planning your layout, gathering your tools, connecting your components, and testing your work, you guarantee a smooth wiring process. Addressing issues early and troubleshooting thoroughly helps prevent future problems. With patience and attention to detail, you’ll create a control panel that’s reliable, responsive, and ready for action. Remember, precision in wiring, consistency in testing, and persistence in troubleshooting are key to a successful build and a satisfying gaming experience.