To fix sticky inputs, start by diagnosing the switches with a multimeter and inspecting for dirt, corrosion, or damage. Carefully remove old buttons and microswitches using the right tools, then clean or replace them with new, compatible parts. Properly install the replacements, ensuring they’re aligned and secured. Test the device afterward to confirm smooth operation. For detailed steps and tips, follow the full guide to make sure a lasting fix and improved responsiveness.
Key Takeaways
- Diagnose switch issues with multimeter and visual inspection to identify dirt, corrosion, or damage causing stickiness.
- Carefully remove old buttons and microswitches using appropriate tools, ensuring proper disconnects and organization.
- Select correct replacement components, align them properly, and secure screws without overtightening during installation.
- Test button responsiveness and electrical continuity after installation to confirm proper function before reassembling.
- Regularly clean, lubricate, and inspect switches to prevent future buildup and extend switch lifespan.

2-Pack KW7-0 Micro Switch, Replacement for Air Fryer XL, Power XL, Vortex, Microswitches for Microwave Oven & Induction Cooker – Normally Open, 16A 125V/250V, 2Pins 1NO 1NC
HIGH CURRENT CAPACITY: Rated at 16A 250VAC/125VAC, this KW7-0 micro switch ensures reliable performance for high-demand electrical applications…
As an affiliate, we earn on qualifying purchases.
As an affiliate, we earn on qualifying purchases.
Why Do Buttons and Microswitches Become Sticky or Unresponsive?
Buttons and microswitches often become sticky or unresponsive over time because dirt, dust, and grime accumulate inside them. This buildup can lead to button corrosion, where moisture and debris cause metal parts to corrode, making pressing difficult. Additionally, lack of switch lubrication accelerates wear and tear, resulting in increased resistance and unresponsiveness. When contaminants enter the switch housing, they hinder smooth movement, causing buttons to stick or fail to register presses reliably. Over time, corrosion worsens, further impairing contact points. Regular maintenance, including cleaning and applying proper switch lubrication, can prevent these issues. Recognizing these common causes helps you understand why your device’s buttons might malfunction and the importance of preventing dirt buildup and ensuring proper lubrication to keep switches functioning smoothly. Proper switch maintenance is essential to extend the lifespan of your devices and ensure reliable operation. Additionally, using electric bikes with lightweight designs and proper maintenance can help avoid mechanical issues that lead to unresponsiveness. Moreover, understanding how sound vibrations influence mechanical components can lead to better maintenance practices and longer-lasting switches. For example, contaminant buildup can be minimized through routine cleaning, reducing the likelihood of corrosion and sticking. Implementing humidity management in your environment can also help prevent moisture-related corrosion, further safeguarding your switches.

QTETAK 200 Pcs 10 Value Micro Momentary Tactile Push Button Switch Tact Assortment Kit
Micro Switch Car Remote Control Button Switches SMD DIP Assortment Kit with 10 values 200pcs in total
As an affiliate, we earn on qualifying purchases.
As an affiliate, we earn on qualifying purchases.
How to Diagnose Button and Microswitch Failures in Your Device
To diagnose button and microswitch failures, start by checking for signs of wear like sticking or difficulty pressing. Then, test the switch’s functionality to see if it registers presses correctly. These steps help you identify whether a switch needs replacement or repair. Additionally, understanding cybersecurity strategies can help protect your devices from potential tampering or malicious interference that could cause switch malfunctions. Regularly inspecting electrical connections and ensuring proper grounding can also prevent issues related to electrical faults affecting switch performance. Ensuring that switches are made from durable materials can further extend their lifespan and reliability. Conducting regular maintenance on your device can help spot early signs of switch wear before they cause failure. Incorporating proper testing procedures can ensure switches operate correctly over time and prevent unexpected failures.
Signs of Button Wear
Over time, signs of button wear become noticeable when your device starts responding inconsistently or requires extra force to activate. One common issue is button corrosion, which can cause sticking or unresponsiveness due to buildup of dirt or moisture. You might also notice that pressing the button feels less smooth or requires more pressure than usual. Additionally, micro switch fatigue can lead to unreliable activation; the switch’s internal components weaken with repeated use, causing intermittent or no response. Cracks or visible damage on the button surface or microswitch casing are clear indicators of wear. If you experience these symptoms, it’s a sign that your buttons or microswitches are nearing the end of their lifespan and may need replacing for reliable operation. Regular maintenance and cleaning can help extend the lifespan of these components and prevent premature failure. Performing early diagnostics and addressing issues promptly can save you time and money by avoiding complete device failure. Recognizing these signs early allows for timely replacement, ensuring consistent device performance and avoiding potential damage to other components. To further prevent wear, consider implementing protective covers or using devices less prone to physical stress. Additionally, consulting the device’s manufacturer guidelines can offer specific advice for troubleshooting and repairs.
Testing Switch Functionality
Diagnosing switch failures starts with testing their responsiveness to confirm they’re functioning correctly. To do this, examine the button design and switch mechanics carefully. First, check if the button feels loose or sticky, indicating potential wear. Next, use a multimeter to test continuity—press the button and see if the circuit completes. Finally, observe the switch’s response: it should activate smoothly without hesitation. Be aware that poor button design can cause inconsistent contact, while faulty switch mechanics may lead to failure over time. Remember, a responsive switch is essential for proper device operation. Additionally, understanding the contrast ratio of your device can help determine if visual issues are related to switch or display performance, guiding more effective troubleshooting. Proper switch testing techniques can help identify the root cause of the problem more efficiently. Conducting regular maintenance checks can also help prevent future switch failures and ensure consistent device performance. Recognizing common failure signs early can save time and prevent more extensive repairs.

AstroAI Digital Multimeter Tester 2000 Counts with DC AC Voltmeter and Ohm Volt Amp Meter; Measures Voltage, Current, Resistance, Continuity and Diode, Blue
Additional Tips – The following incorrect operations may cause the multimeter not to show results: Firstly, the plugs…
As an affiliate, we earn on qualifying purchases.
As an affiliate, we earn on qualifying purchases.
Tools and Materials Needed for Replacing Buttons and Microswitches
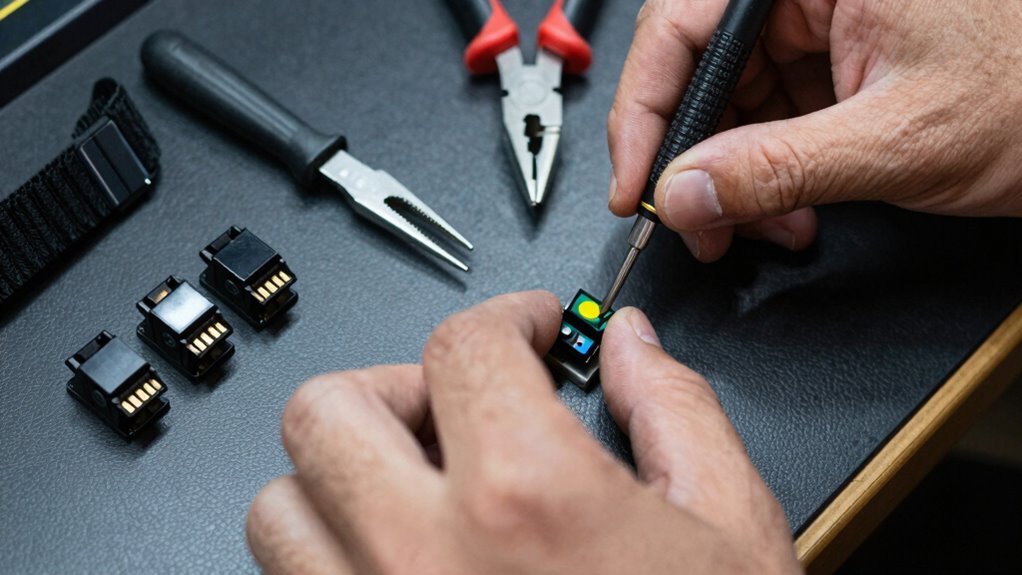
Replacing buttons and microswitches requires having the right tools and materials on hand. You’ll need a small Phillips or flat-head screwdriver to remove panels and screws, along with tweezers for handling tiny components. A multimeter helps test switch functionality, ensuring you’re replacing the right parts. Keep button lubricants nearby to reduce friction and prevent future sticking, and use switch cleaning solutions to clear away dirt and debris. Soldering tools may be necessary if you’re replacing surface-mounted switches, so have a soldering iron and desoldering pump ready. Don’t forget cleaning cloths or brushes to keep your workspace tidy. With these tools and materials, you’ll be prepared to replace your buttons and microswitches efficiently, reducing the risk of damage and ensuring a smooth repair process. Understanding power tool components can also help you identify issues more accurately during repairs. Additionally, handling electronic components carefully is crucial to avoid further damage during the replacement process.
A good understanding of circuit design can help you troubleshoot issues more effectively while working on switches.

Maxima Citrus Electrical Contact Cleaner (Net Wt. 13.0oz)
Formulated specifically to clean and dry electrical components
As an affiliate, we earn on qualifying purchases.
As an affiliate, we earn on qualifying purchases.
Preparing Your Workspace for a Smooth Replacement
Before you start swapping out buttons and microswitches, set up a clean and organized workspace. This helps you work efficiently and prevents losing small parts. Make sure your surface is free of dust and debris, which can interfere with cleaning contacts or choosing replacements. Keep tools, replacement switches, and cleaning supplies within arm’s reach. Use a tray or container to hold screws and tiny components safely. Clear the area of clutter to avoid accidents or misplaced parts. When cleaning contacts, do it on a tidy surface to prevent dirt from spreading. Choosing replacements becomes easier when your workspace is organized, allowing you to compare options quickly. A clean setup minimizes the risk of damaging your device and ensures each step of the replacement process goes smoothly. Additionally, maintaining a precise workspace environment reduces the chances of static or contamination that could affect sensitive components. Ensuring proper workstation setup can also prolong the lifespan of your tools and components, making future repairs more straightforward.
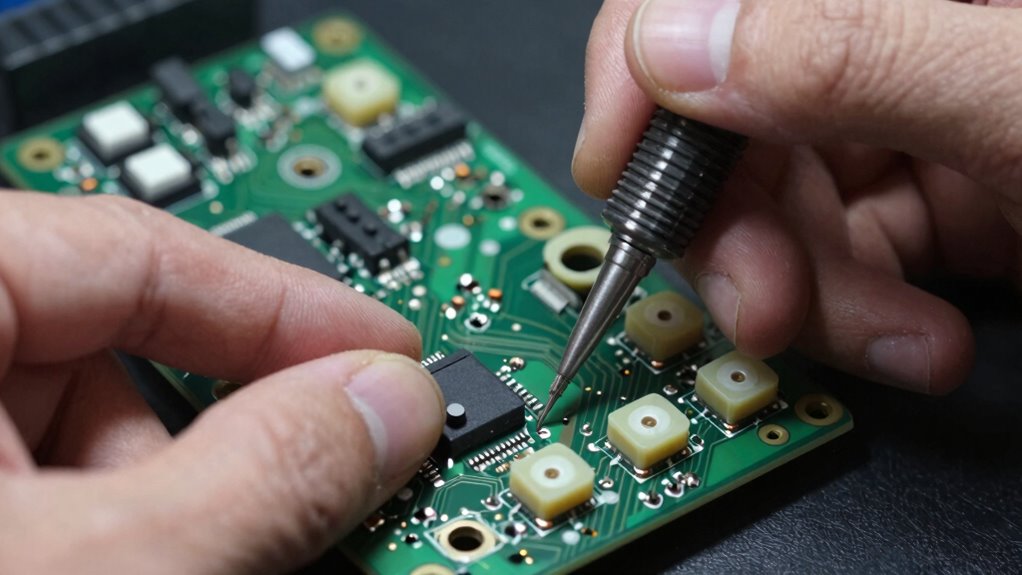
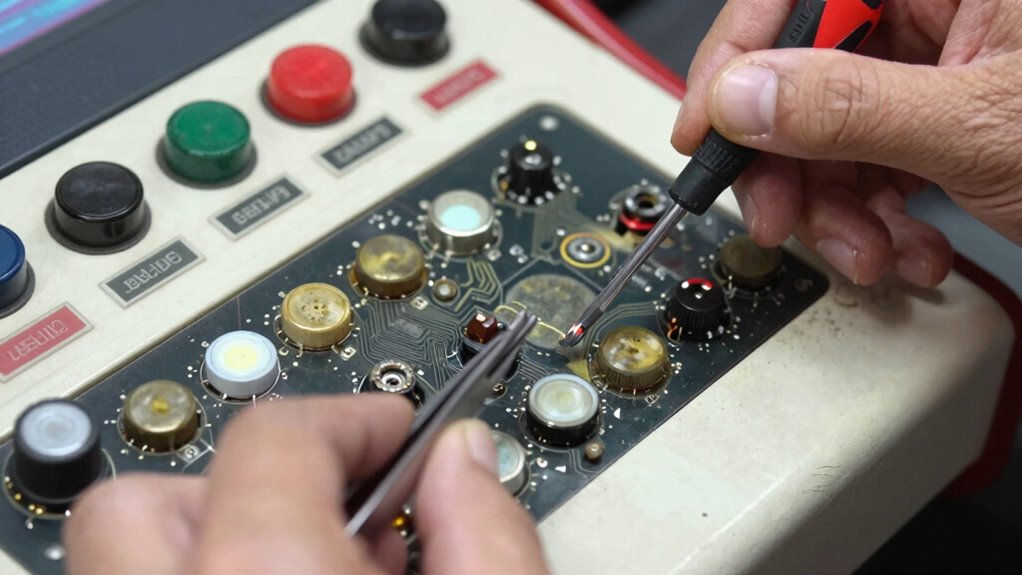
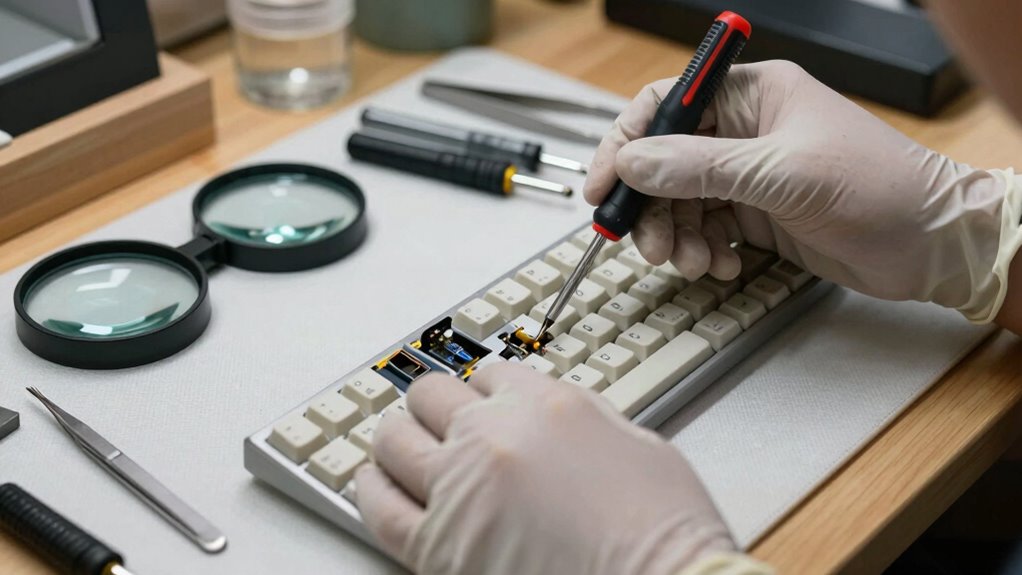
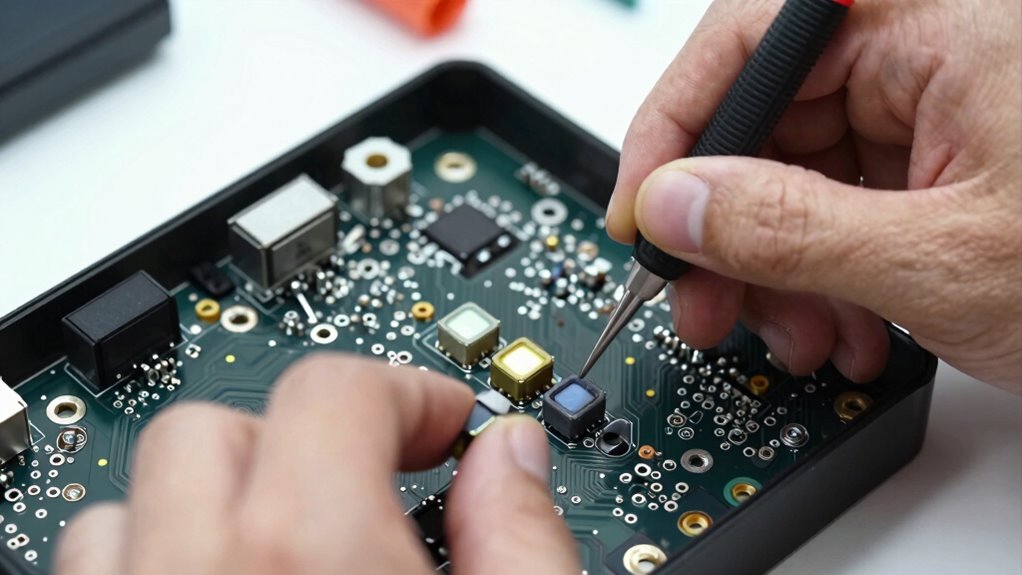
Removing Old Buttons and Microswitches Step-by-Step
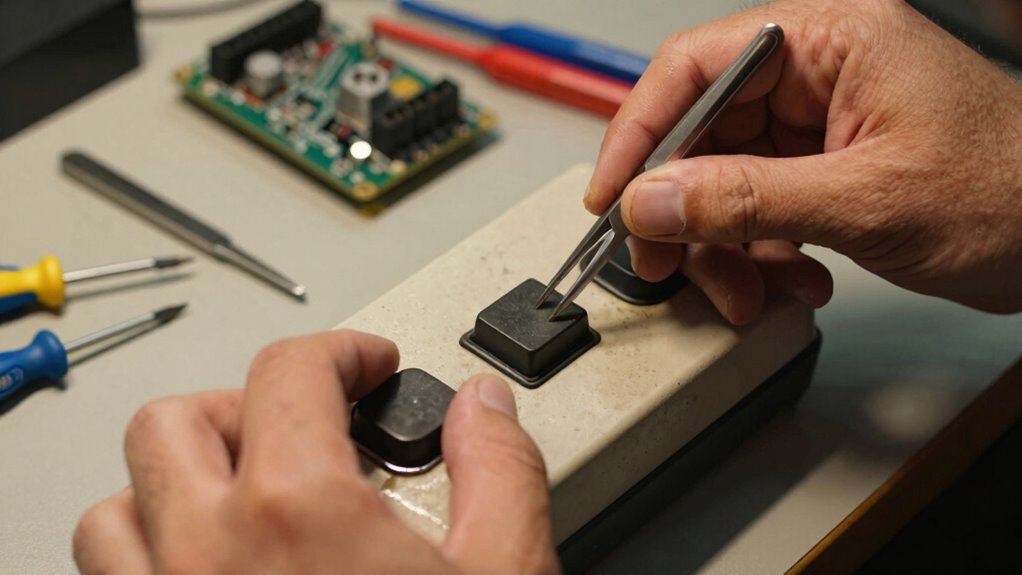
To remove old buttons and microswitches, start by turning off and unplugging your device to prevent any electrical hazards. Carefully examine the button placement to understand how each component is attached. If your device uses different microswitch types, identify each type’s mounting method, such as screws or clips. Use a small screwdriver or tweezers to gently detach the buttons, taking care not to damage surrounding parts. For microswitches, disconnect any wires or connectors first, then remove mounting screws or clips. Keep track of how each element was installed for easier reassembly. Be patient and handle everything gently to avoid breaking fragile components. Once removed, inspect the old buttons and microswitches for wear or damage before proceeding with replacements.
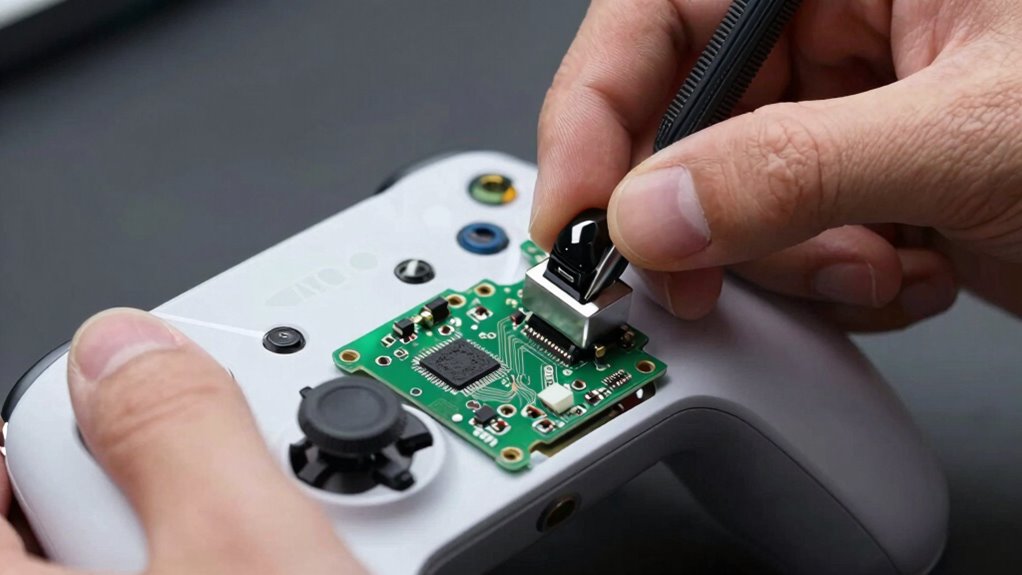
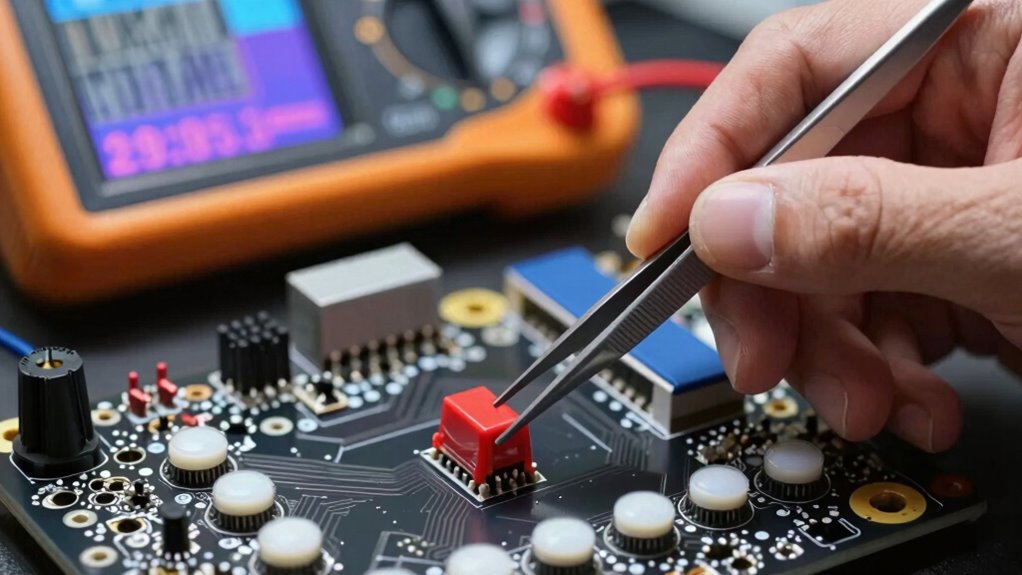
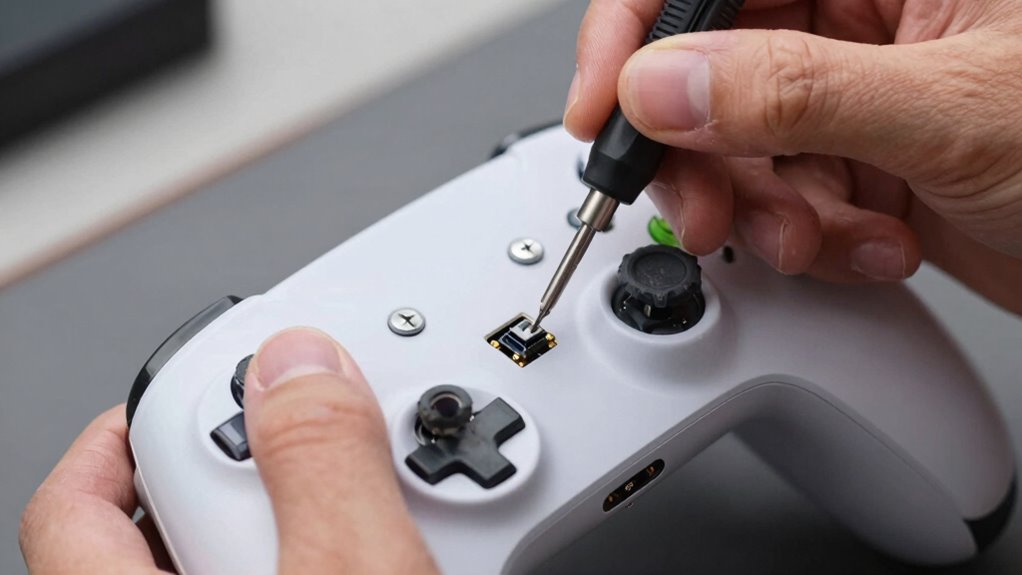
Installing New Buttons and Microswitches Correctly
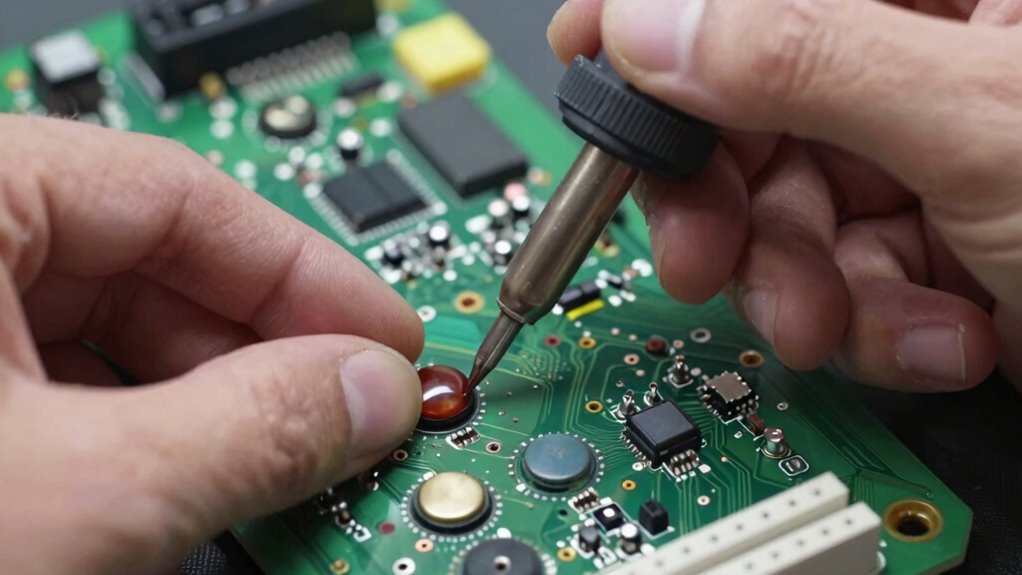
When installing new buttons and microswitches, make sure you have the correct components ready and that the device is powered off and unplugged. Proper installation guarantees maximum button durability and ideal switch ergonomics, preventing future sticking issues. Keep these tips in mind:
- Align the switch carefully to avoid unnecessary stress on the contacts
- Secure screws firmly but don’t overtighten, to maintain switch integrity
- Test the button’s feel and responsiveness before reassembling fully
How to Test Your Device After Replacement
Once you’ve replaced your buttons or microswitches, it is crucial to test them thoroughly. You should verify that each button functions correctly and that the connections are stable. This way, you can confirm your device works reliably before finalizing the repair.
Verify Button Functionality
Ever wonder if your replacement button or microswitch works correctly before reassembling your device? To verify, press the button repeatedly and observe its response. Guarantee it registers commands smoothly without sticking or delay. Check the switch debounce to confirm it doesn’t cause multiple signals from a single press, which could lead to unintended inputs. Keep these tips in mind:
- Test the button across multiple presses to assess consistency.
- Use a multimeter to verify electrical continuity if needed.
- Confirm the button’s response doesn’t degrade over time, considering its button lifespan.
Performing these checks helps prevent future issues and ensures your device functions reliably, avoiding premature wear or failure from a faulty switch. Proper testing now saves headaches later.
Test Connection Stability
After verifying your button functions correctly, it’s important to confirm that the connections are stable and reliable. Perform connection testing by gently moving or flexing the cables and connectors to ensure they don’t loosen or crack. Use your device as intended and observe the signal consistency—press the buttons repeatedly and watch for any missed inputs or inconsistent responses. If you notice any signal fluctuations or irregularities, double-check your solder joints or connection points. Good connection stability guarantees your inputs register accurately and consistently. Remember, loose or weak connections can cause sticky or unresponsive buttons over time. Taking these steps helps verify that your repairs are solid, preventing future issues and ensuring your device remains responsive long-term.
Troubleshooting Sticky Inputs After Repair
Sticky inputs can be frustrating, especially when they persist even after you’ve replaced buttons or microswitches. First, check if the switch needs proper calibration—sometimes, a tiny adjustment can resolve the issue. Next, consider button lubrication; applying a small amount of suitable lubricant can reduce stickiness caused by dirt or corrosion. Finally, inspect the alignment of the switch; misaligned components can cause constant contact, leading to sticky inputs.
- Verify switch calibration to ensure proper activation
- Use appropriate button lubrication to reduce friction
- Confirm correct alignment of buttons and microswitches
Tips to Maintain Buttons and Microswitches for Longer Life
Regular maintenance can substantially extend the lifespan of your buttons and microswitches. To boost button durability, keep the switch design in mind—choose models with reinforced materials and proper sealing. Regularly clean the contacts and surrounding areas to prevent dust, dirt, and grime buildup that can cause sticky inputs. Use compressed air or a soft brush to remove debris without damaging the switch. Avoid excessive force when pressing buttons, as this can wear out switch components faster. Applying a small amount of lubricant designed for switches can help maintain smooth operation, but avoid over-lubricating to prevent dirt attraction. By understanding your switch design and performing routine upkeep, you ensure longer-lasting, reliable performance from your buttons and microswitches.
Frequently Asked Questions
Can Replacing Buttons Improve Overall Device Performance?
Yes, replacing buttons can improve your device’s overall performance by enhancing button longevity and switch durability. When you switch out worn or sticky buttons, you guarantee smoother, more responsive inputs. This reduces lag and prevents input errors, making your device more reliable. Additionally, new buttons typically last longer, so you won’t have to replace them as often, keeping your device working at its best for a longer time.
Are There Compatible Replacements for Specific Button Models?
Yes, you can find compatible models for your specific button. When searching for replacement options, check compatibility with your device’s make and model. Many brands offer compatible models that fit various devices, making installation straightforward. Confirm the replacement buttons match your original in size, shape, and function to avoid issues. This way, you’ll restore proper performance and prevent sticky inputs, improving your device’s overall usability.
How Often Should Buttons or Microswitches Be Replaced?
You should replace buttons or microswitches in your gaming controllers or wearable technology as soon as they become sticky or unresponsive. Imagine a controller with squeaky, uncooperative buttons—it’s frustrating and hampers your gaming experience. Typically, expect to replace them every 1-2 years with regular use, but if you notice inconsistent inputs or sticking, it’s time to swap them out to keep your device functioning smoothly.
Do Different Devices Require Different Replacement Procedures?
Yes, different devices often require different replacement procedures due to device compatibility. You need to follow specific instructions tailored to each device’s make and model to guarantee proper installation. Doing so helps maximize replacement longevity and prevents damage. Always consult the manufacturer’s guidelines or a professional if you’re unsure about the procedure. Properly matching parts and procedures guarantees your device functions smoothly and lasts longer.
Can DIY Repairs Void My Device’s Warranty?
While your enthusiasm for fixing things is admirable, DIY repairs can sometimes carry warranty risks, potentially voiding your device’s coverage. Manufacturers often see unofficial repairs as a deviation from standard care, making professional repair a safer choice. If you want to protect your device’s warranty, consider consulting authorized service centers. This way, you can enjoy peace of mind knowing your device stays protected while keeping it in top shape.
Conclusion
Now that you’ve replaced those stubborn buttons and microswitches, your device will feel smoother than a rollercoaster ride through a silk cloud! Say goodbye to sticky, unresponsive inputs and hello to lightning-fast responses that make you wonder how you ever tolerated the glitchy chaos before. With your new, perfectly functioning controls, you’ll be gaming, typing, or clicking like a superhero armed with the power of flawless tech—no more stuck buttons holding you back!