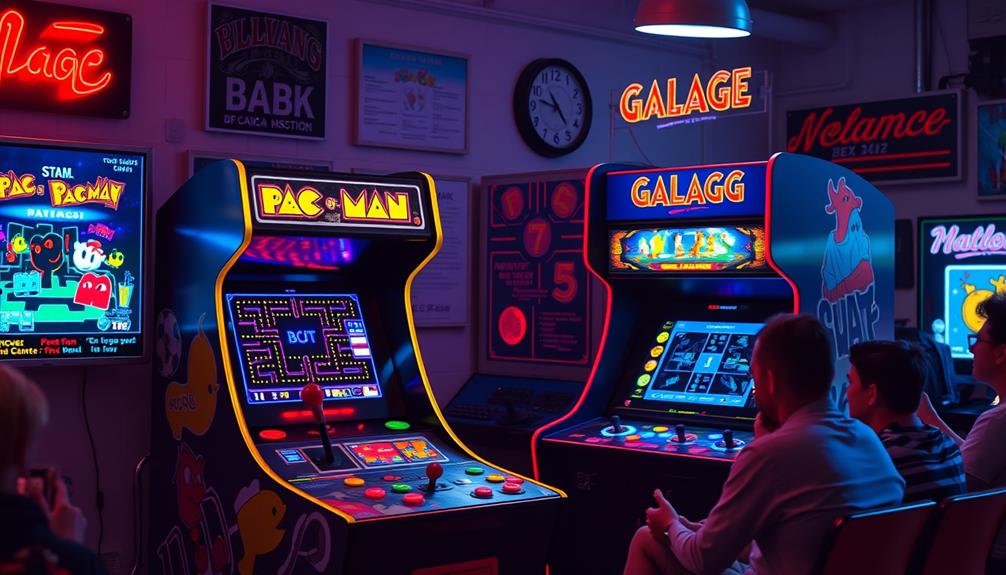
Wiring a JAMMA harness is a vital first step in building or restoring an arcade cabinet, as it connects the game PCB to controls, power, and the display for reliable operation. You’ll need to follow standardized pinouts, use quality wiring, and keep everything organized for easy troubleshooting. Proper wiring ensures your game runs smoothly and avoids costly damage. Keep going to discover detailed techniques and tips for a professional, long-lasting setup.
Key Takeaways
- Understand the JAMMA standard to ensure proper pinout and compatibility with arcade components.
- Use quality connectors and organized wiring techniques for reliable connections.
- Follow official schematics carefully, double-checking each connection before powering up.
- Properly ground and shield wiring to prevent electrical noise and interference.
- Test all connections thoroughly to confirm functionality and prevent damage or malfunctions.

Wiring a JAMMA harness is a crucial step in building or restoring arcade cabinets, and doing it correctly guarantees reliable gameplay. Whether you’re into arcade game repair or creating custom setups, understanding how to wire a JAMMA harness properly is essential. The process might seem complex at first, but with careful attention to detail and the right techniques, you can ensure your arcade machine functions flawlessly. Proper wiring not only enhances game performance but also prevents future issues and makes troubleshooting easier.
To start, you need to familiarize yourself with the JAMMA standard itself. The JAMMA connector is designed to simplify the wiring process by providing a unified interface between the game PCB and the cabinet’s controls and power supply. When wiring a JAMMA harness, your goal is to connect all necessary signals—power, ground, controls, and video—according to the official pinout. This is where custom wiring techniques come into play. Instead of relying solely on pre-made harnesses, you may find it beneficial to tailor your wiring to suit specific arcade game repair needs or to adapt components from different cabinets. Custom wiring techniques allow you to modify or extend the harness, ensuring compatibility with various hardware setups.
Familiarize with the JAMMA standard for simplified, reliable wiring and custom modifications.
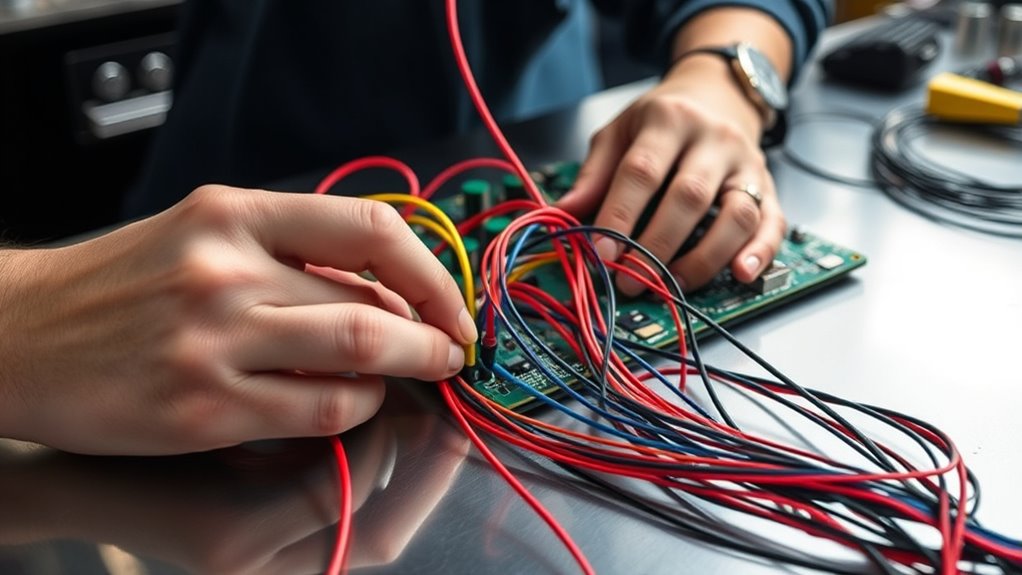
Before you begin, double-check the schematic for your specific game or cabinet. Accuracy is critical—miswired connections can cause malfunction or damage to the PCB or other components. Use quality connectors and wire, and keep your wiring neat and organized. Good cable management not only looks professional but also makes future repairs or modifications easier. When connecting wires, ensure solid, secure solder joints or crimp connections. Insulate exposed wires thoroughly to prevent shorts, especially around high-voltage areas. Additionally, use proper shielding techniques to reduce electrical noise and interference that could affect gameplay.
During the wiring process, pay close attention to the power supply lines. Proper grounding and voltage regulation are essential for arcade game repair, as unstable power can lead to erratic behavior or damage. You should also test continuity at each connection before powering up the system. This step helps catch wiring mistakes early, saving time and avoiding costly repairs later. When wiring controls, such as joysticks and buttons, confirm that each input corresponds correctly to its function, referencing the JAMMA pinout. For video signals, ensure the wiring matches the standard video output, and test with a monitor to verify image quality.
In the end, wiring a JAMMA harness is about precision and patience. Custom wiring techniques empower you to adapt and troubleshoot effectively, making your arcade repair projects more manageable. Take your time, follow the schematics carefully, and you’ll create a reliable, playable arcade cabinet that stands the test of time. Proper wiring sets the foundation for a smooth gaming experience, whether you’re restoring a vintage machine or building a new arcade setup from scratch.
Frequently Asked Questions
Can I Reuse an Old JAMMA Harness for a Different Arcade Game?
You can sometimes reuse an old JAMMA harness for a different arcade game, but you need to verify harness compatibility first. Different games may have unique wiring configurations or additional connections, so reuse considerations include verifying pinouts, connectors, and compatibility with your new game’s PCB. If the harness isn’t compatible or if modifications are needed, it’s best to create or buy a new harness to ensure proper operation and avoid damage.
What Tools Are Essential for Wiring a JAMMA Harness?
Imagine holding the key to a smooth connection—your essential tools. You’ll need a multimeter for testing continuity and voltage, ensuring each connection sings in harmony. Wire stripping tools gently reveal the copper core, ready for precise connections. A crimping tool helps secure wires firmly. These tools work together like a well-oiled orchestra, making your wiring process seamless and reliable, so your arcade game runs perfectly.
How Do I Troubleshoot if the Game Board Doesn’t Power On?
If your game board doesn’t power on, first check for power supply issues by measuring voltage at the JAMMA edge. Verify wiring continuity between the power supply and the board, looking for loose or broken connections. Confirm that all connectors are seated properly. If voltage is absent or inconsistent, replace or repair the power supply. These steps help identify whether the problem stems from wiring issues or a faulty power source.
Is It Necessary to Solder Connections on the JAMMA Harness?
You don’t always need to solder connections on the JAMMA harness, but doing so can improve connection reliability. For example, if you notice flickering or intermittent gameplay, soldering the power and ground wires guarantees a solid connection. Using proper soldering techniques, like keeping the tip clean and applying heat evenly, helps secure the wires firmly. This prevents loose contacts and ensures your arcade setup runs smoothly without power issues.
What Are Common Mistakes to Avoid When Wiring a JAMMA Harness?
When wiring a JAMMA harness, avoid common mistakes like incorrect wiring and poor grounding. Double-check all connections to confirm they match the pinouts precisely, as incorrect wiring can cause short circuits or malfunction. Also, make sure your ground connections are solid; poor grounding can lead to display or audio issues. Take your time and verify each step to prevent these issues, ensuring a safe and reliable setup.
Conclusion
Wiring a JAMMA harness might seem complex at first, but with patience, you’ll master it in no time. Did you know that over 10,000 arcade cabinets worldwide still use JAMMA connections? This shows how reliable and timeless this wiring standard truly is. Once you’ve got the hang of it, you’ll appreciate how easily you can troubleshoot and upgrade your arcade setup. Keep practicing, and you’ll be a JAMMA wiring pro before you know it!