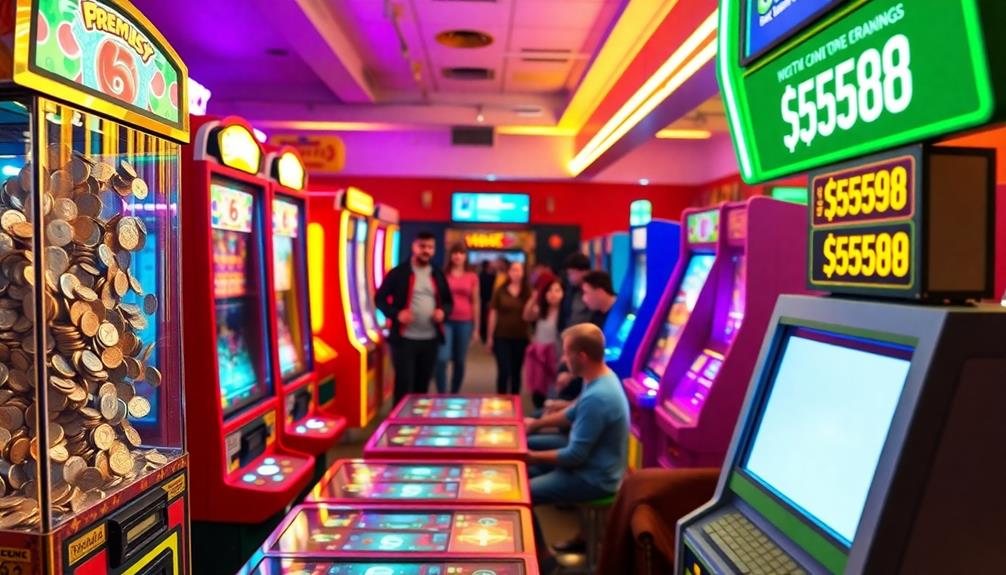
To restore vintage arcade machines, start by carefully evaluating their condition, checking the cabinet, monitor, and internal components. Source authentic parts when possible, and gather essential tools for cleaning, repairing, and aesthetic work. Clean all surfaces gently and restore graphics and paint as needed. Repair electronics by replacing capacitors, fixing wiring, and testing controls to ensure full functionality. Reassemble the machine and polish it for display — continue exploring for detailed steps and tips.
Key Takeaways
- Conduct a thorough inspection of the cabinet, monitor, and internal wiring to identify necessary repairs and authentic parts.
- Clean and surface-restoration using gentle cleaning agents and aesthetic tools to preserve artwork and improve appearance.
- Repair electronics by replacing capacitors, fixing wiring, and testing circuit boards for proper functionality.
- Reassemble and re-test all components, including controls, display, and sound, ensuring game responsiveness and visual accuracy.
- Finalize with polishing, reattaching marquee, and restoring the arcade to its original condition, preserving its historical and cultural value.

Restoring vintage arcade machines is a rewarding process that combines technical skill with a passion for gaming history. When you take on this project, you’re not just fixing a piece of equipment—you’re helping preserve a essential part of arcade culture and history. Every step you undertake is a contribution to keeping these classic machines alive for future generations to enjoy. Your goal is to restore the arcade game to its original condition, but more importantly, to honor the legacy it represents. This process requires patience, attention to detail, and a genuine appreciation for the history behind these machines.
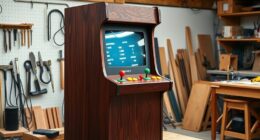
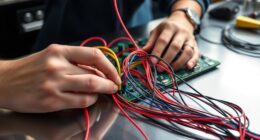
The first step is assessment. You need to carefully examine the arcade machine to identify its current condition and pinpoint what needs repair or replacement. Check the cabinet for structural damage, fading paint, or wood rot. Inspect the monitor for display issues, such as flickering or dead pixels. Test the controls, buttons, and joysticks to see if they respond properly. Inside, look for corrosion, damaged wiring, or burned-out components on the circuit boards. This initial assessment helps you plan your restoration approach and guarantees you don’t overlook any hidden problems that could compromise the machine’s functionality or authenticity.
Once you know what needs fixing, you can gather the necessary parts and tools. Authentic replacement parts are essential to maintain the integrity of the arcade machine and support history preservation. Search for vintage or reproduction components—these keep the machine true to its original design and help sustain arcade culture. You’ll need basic tools like screwdrivers, soldering irons, cleaning supplies, and possibly a paint sprayer or stencils for aesthetic restoration. It’s important to use original or period-appropriate parts whenever possible to uphold the authenticity of the machine and to respect the craftsmanship of the era. Additionally, understanding relationships within the arcade community can help you source rare parts and share restoration tips.
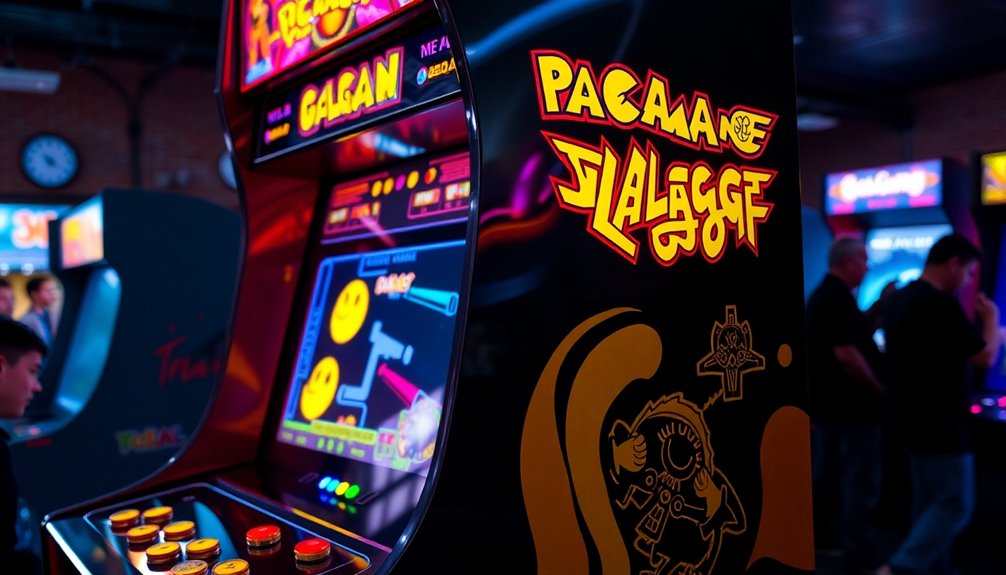
Cleaning is a key step in the restoration process. Carefully remove dirt, dust, and grime from the cabinet, control panel, and internal components. Use gentle cleaning solutions to avoid damaging labels or artwork. This not only improves the appearance but also helps prevent further deterioration. For the monitor, you might need to perform adjustments or even replace the flyback transformer if it’s faulty. Restoring the display ensures it accurately represents the game’s original graphics and contributes to the overall experience.
Rebuilding or repairing the electronics is where your technical skills come into play. Whether you’re replacing capacitors, fixing wiring, or restoring circuit boards, your work directly impacts the machine’s functionality. Once everything is repaired, test the machine thoroughly. Play the game to ensure controls are responsive, graphics display correctly, and sound functions properly. Finally, reassemble the cabinet, reattach the marquee, and give the machine a final polish. When you finish, you’ll have not only a restored arcade game but also a piece of history that continues to embody the spirit of arcade culture.
Frequently Asked Questions
How Do I Identify the Original Parts for Vintage Arcade Machines?
You identify the original parts by closely examining the machine for labels, serial numbers, and unique markings. Use component matching to compare parts with original schematics or photos from trusted sources. Sourcing authentic parts involves hunting through vintage arcade part suppliers, online marketplaces, and arcade forums. Confirm the authenticity by checking the materials, logos, and manufacturing details, ensuring you’re getting components that match the original specifications for a true restoration.
What Safety Precautions Are Necessary During Restoration?
You should wear safety gear, guarantee electrical safety, and work in a well-ventilated area. Gloves protect your hands from sharp edges and electrical shocks, goggles shield your eyes from debris, and insulated tools minimize electrical risks. Always unplug the machine before working on electrical components, test circuits with a multimeter, and avoid working alone. These precautions keep you safe while restoring your vintage arcade machine.
How Can I Test the Electrical Components Safely?
To guarantee safe electrical testing, unplug the machine before inspecting components, and wear insulated gloves and eye protection. Use a multimeter set to the correct voltage range to check circuits, avoiding contact with live parts. Follow safety measures by testing one component at a time, and keep your workspace dry. Always double-check your tools and connections, so you minimize risks during the electrical testing process.
What Are Common Issues Faced During Restoration?
Imagine battling a stubborn ghost haunting your arcade cabinet—common issues during restoration include cracked cabinets needing repair, and flickering displays that demand precise calibration. You might find wiring tangled like a jungle or buttons stuck like glue. These problems can be overwhelming, but with patience, you’ll restore the cabinet’s former glory. Focus on cabinet repair and display calibration, and you’ll conquer the restoration process, turning chaos into a nostalgic masterpiece.
How Do I Ensure Authenticity in Restored Arcade Machines?
To guarantee authenticity in your restored arcade machines, focus on authenticity verification by carefully examining original manufacturer markings, labels, and serial numbers. Preserve or accurately replicate original artwork, decals, and cabinet finishes. Use period-correct parts whenever possible, and cross-reference details with reputable sources or manufacturer records. This attention to detail guarantees your restoration maintains its original charm and value, making your machine a true vintage piece.
Conclusion
Restoring vintage arcade machines is a rewarding journey that combines patience, skill, and passion. By following these steps, you bring a piece of gaming history back to life, creating a nostalgic centerpiece for any space. Are you ready to take on the challenge and preserve these iconic machines for future generations? With dedication and care, you’ll transform old relics into stunning, functional works of art that stand the test of time.