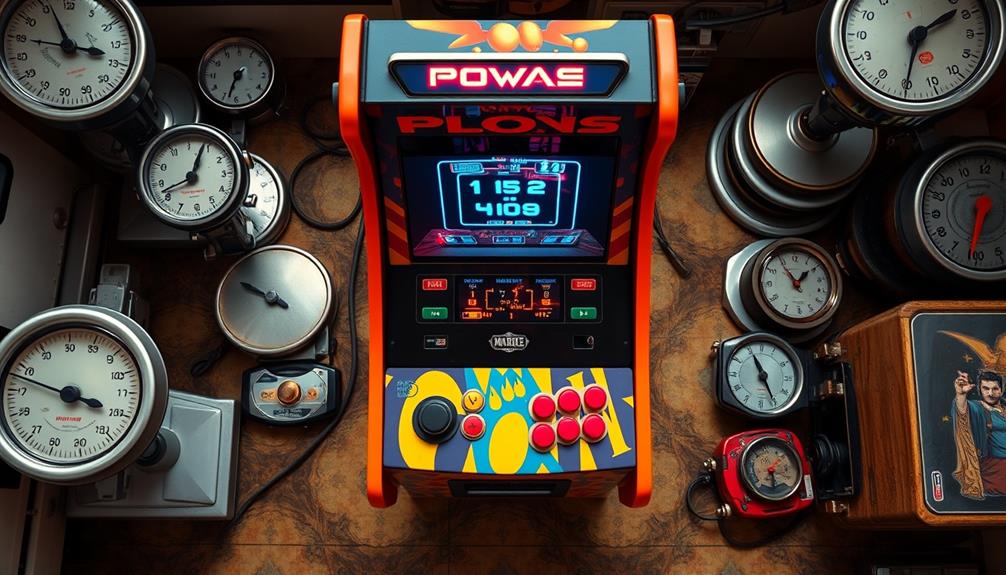

If your arcade monitor shows no display, start by ensuring it’s properly plugged in and powered on, checking all cables for secure connections and damage. Next, verify the video source is active and set correctly, then test the monitor with a known working input. Reset your monitor to default settings and watch for any warning lights or error signals. If issues persist, paying attention to external hardware or considering professional help may be necessary—continue to explore for more solutions.
Key Takeaways
- Verify the monitor is powered on, connected securely, and shows signs of activity like indicator lights or sounds.
- Confirm the input source device is powered, configured correctly, and outputting a proper signal.
- Inspect all cables for damage, proper connection, and test with different cables or devices to rule out hardware faults.
- Open the monitor casing carefully to check internal components for damage, loose wires, or burnt parts.
- Reset the monitor to factory defaults, check error indicators, and consider professional repair if issues persist.

Marwey 16A Arcade Power Supply Switching 110/220V for Arcade Video Games Machine Cabinets Console Upright and Cocktail Universal Durable New
√√√ we promise it comes with -5V, high quality & durable
As an affiliate, we earn on qualifying purchases.
As an affiliate, we earn on qualifying purchases.
Identify Common Reasons Your Arcade Monitor Won’t Display
One of the most common reasons an arcade monitor won’t display anything is a loose or faulty connection. Check all cables connecting your monitor to the game board or power source. A poor connection can disrupt the video calibration, causing the screen to stay blank. Sometimes, the monitor’s screen refresh rate might be mismatched with the game’s output, resulting in no image. Verify the cables are secure and undamaged, and confirm the video settings are correctly configured. Adjust the video calibration if needed, making sure it’s set to match the monitor’s specifications. Also, double-check that the monitor is receiving power, as a lack of power can mimic connection issues. Addressing these connection and calibration problems is often the first step to restoring your arcade display. Additionally, ensuring your monitor’s contrast ratio is properly set can improve the visibility of the display. For optimal performance, also consider checking the color calibration to enhance image clarity and contrast. Regularly inspecting the monitor settings and performing preventive maintenance can help prevent display issues and maintain optimal performance. Incorporating proper ventilation can also help prevent overheating that may affect display quality.

EKYLIN VGA Cable, 1.5m/5Feet Male to Male Video Extension Cable Adapter for Computer PC to Monitor Screen Projector with Socket Port
EKYLIN Cable offer: High performance VGA cables connect a VGA (Video Graphic Array) equipped computer to a monitor…
As an affiliate, we earn on qualifying purchases.
As an affiliate, we earn on qualifying purchases.
Check Your Arcade Monitor’s Power and Cables
Before troubleshooting further, you should verify that your arcade monitor is receiving power and that all cables are securely connected. Start by checking the power supply to ensure it’s plugged in and functioning properly. Look for any loose or disconnected cables, especially the power cord and video input cables. Good cable management helps prevent accidental disconnections and makes it easier to identify issues. Make sure the power switch on the monitor is turned on, and verify that the outlet has power by testing it with another device. If the monitor still shows no display, try unplugging and reseating the cables. Properly connected cables and a reliable power supply are essential first steps to diagnose your monitor’s problem. Additionally, ensuring that your power sources are properly grounded can prevent electrical issues that might cause the display to remain blank. Confirming your electrical setup is grounded correctly can help avoid potential electrical faults that could impact the monitor’s operation. Checking that your electrical outlets are safe is an important step in ensuring overall safety and proper monitor function. Also, understanding electrical safety standards can help prevent future issues and ensure your setup remains safe during troubleshooting. According to best soil for string of hearts plants, proper electrical grounding is essential for preventing damage caused by electrical surges or faults.

EC Buying 28Pcs 16MM Push Button Momentary Push Buttons 7Colors Red Green Yellow White Black Blue Blackish Green 4Pcs for Each Non Lock Self Reset Arcade Switch Button Self-Resetting Mini Round Switch
High sensitivity and strong contact of these 16MM momentary push button switches ensure quick frequency response and long…
As an affiliate, we earn on qualifying purchases.
As an affiliate, we earn on qualifying purchases.
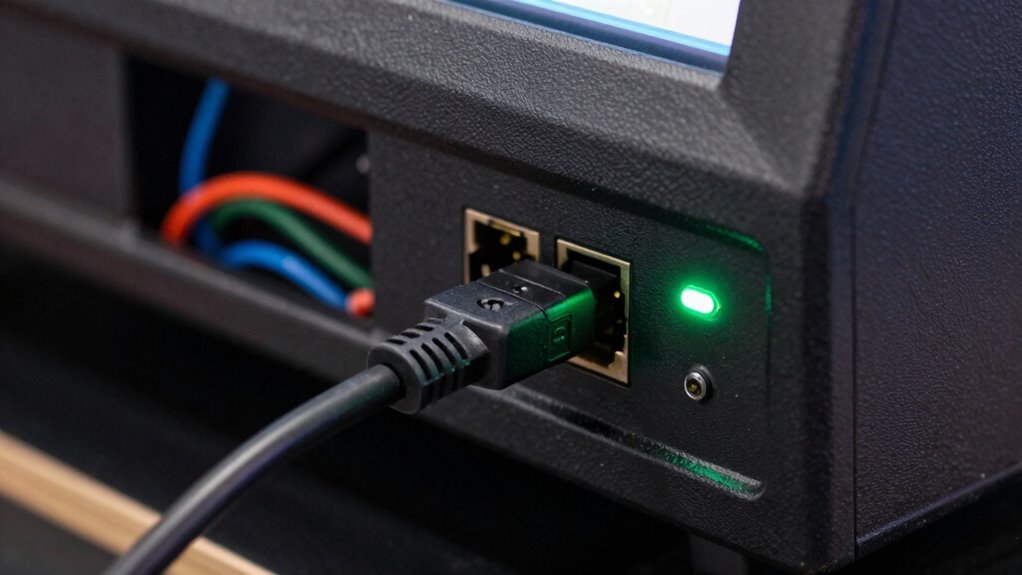
Inspect Video Cables for Damage or Loose Connections
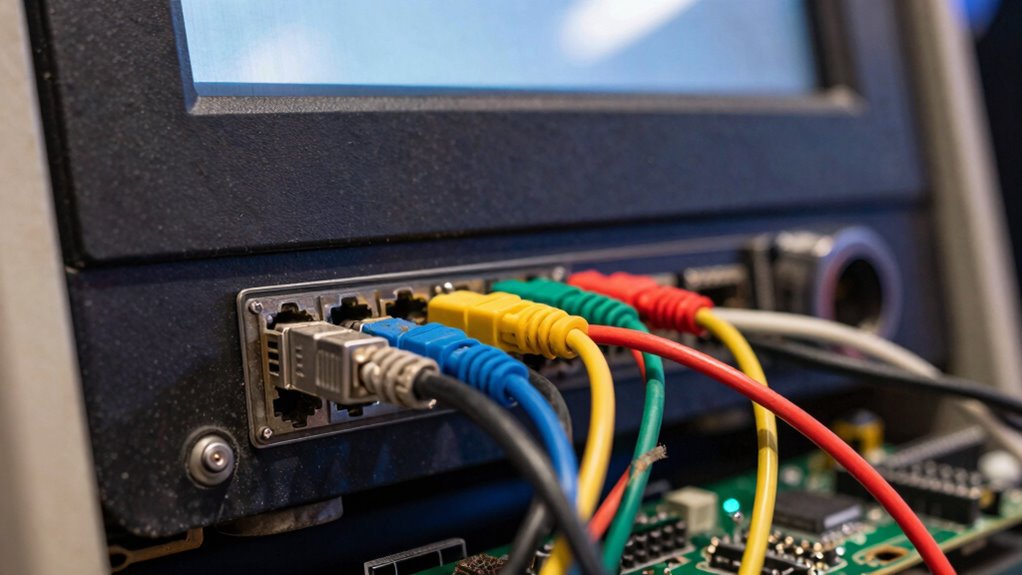
If your monitor still shows no display after confirming power and cables, you should carefully examine the video cables for any signs of damage or looseness. Poor cable management can cause stress on connector types, leading to disconnections or internal damage. Check that all connections are snug and seated properly, as loose cables are a common culprit. Look for frayed wires, bent pins, or cracks along the cable’s length. Ensuring tight, secure connections helps maintain signal integrity. Here are three key points to consider:
Check for visible damage and ensure video cables are securely connected to prevent display issues.
- Inspect for visible damage on the cable’s insulation or connectors.
- Confirm that connectors are fully inserted into the port.
- Re-seat cables and contemplate replacing any damaged or worn cable types. Proper cable management prevents unnecessary strain and ensures reliable connectivity. Additionally, verifying the cable quality can help prevent future issues stemming from substandard components. Paying attention to electrical standards is essential to ensure safe and consistent operation of your display setup.
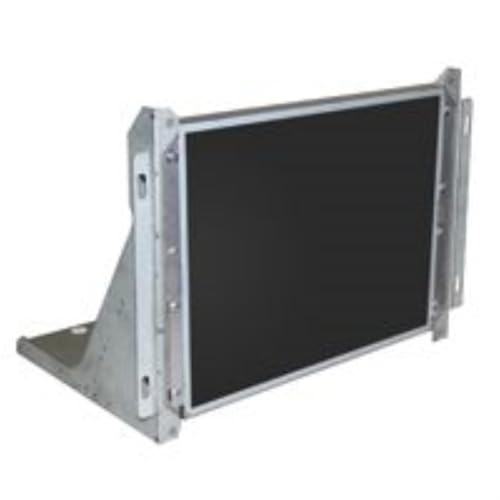
19 Inch Arcade Game CRT Monitor Retro Frame Kit
Arcade Game Montior Mount
As an affiliate, we earn on qualifying purchases.
As an affiliate, we earn on qualifying purchases.
Ensure the Video Source Is Sending a Proper Signal
First, make sure your video cables are connected securely and aren’t damaged. Next, verify that the source device is outputting a proper signal by checking its settings or indicator lights. Finally, test the source device with another display to confirm it’s sending a clear, compatible signal.
Check Video Cables
Check that the video cables are securely connected and in good condition. Loose or damaged cables can prevent your monitor from displaying properly. During cable connection troubleshooting, inspect for frayed or bent pins and replace worn cables. Proper video cable maintenance is essential for clear signal transfer. Additionally, ensure that the video signal being transmitted is effective by verifying the settings on your device. It’s also helpful to confirm that your cable quality meets the necessary standards for optimal performance. Regularly inspecting your cable connections can help prevent intermittent display issues and ensure a stable video output.
Verify Signal Output
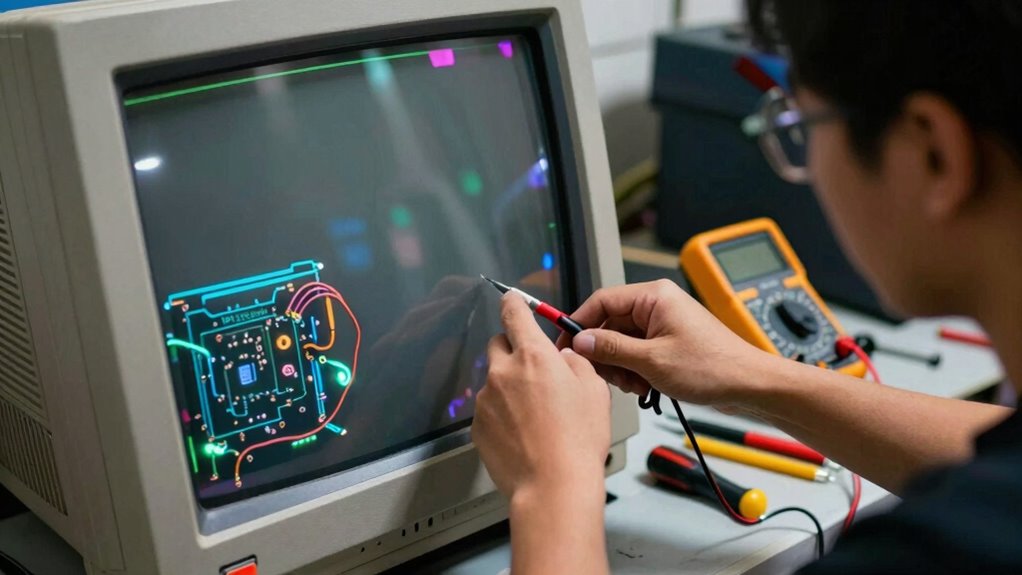
Before troubleshooting your display, you should verify that your video source is actually sending a proper signal. Start by checking the device’s output settings and ensuring the video signal matches your monitor’s input specifications. Use a multimeter or oscilloscope for circuit troubleshooting if needed, confirming the signal’s presence and integrity. A weak or absent signal could be caused by loose connections or faulty components. Consider performing display calibration to ensure the picture is properly aligned and scaled. Here’s a quick overview:
| Step | What to Check | Result |
|---|---|---|
| Signal output check | Confirm device is powered and sending signal | Signal present or absent |
| Cable integrity | Inspect for damage or loose connections | Signal flows smoothly or not |
| Circuit troubleshooting | Use tools to verify signal at source | Proper voltage and output levels |
| Display calibration | Adjust settings for clarity and alignment | Correct display appearance |
Test Source Device
Is your video source actually sending a proper signal? To confirm, check these key points:
- Ensure the video resolution matches your monitor’s native resolution for sharp display and avoid scaling issues.
- Test for input lag; a high input lag can cause delays or no display, especially with older or incompatible devices.
- Confirm that the source device is actively outputting video by connecting it to another monitor or TV.
- Consider the energetic alignment between your source device and monitor, as misalignment can sometimes affect signal stability and performance.
- Additionally, verify that your source device has the appropriate performance upgrades to ensure smooth video output and compatibility.
If any of these elements aren’t aligned—like incorrect resolution or excessive input lag—you might see a blank screen. Adjust the source settings to optimize video resolution and refresh rates. Doing so ensures your arcade monitor receives a proper, stable signal, reducing the chances of a “no display” problem.
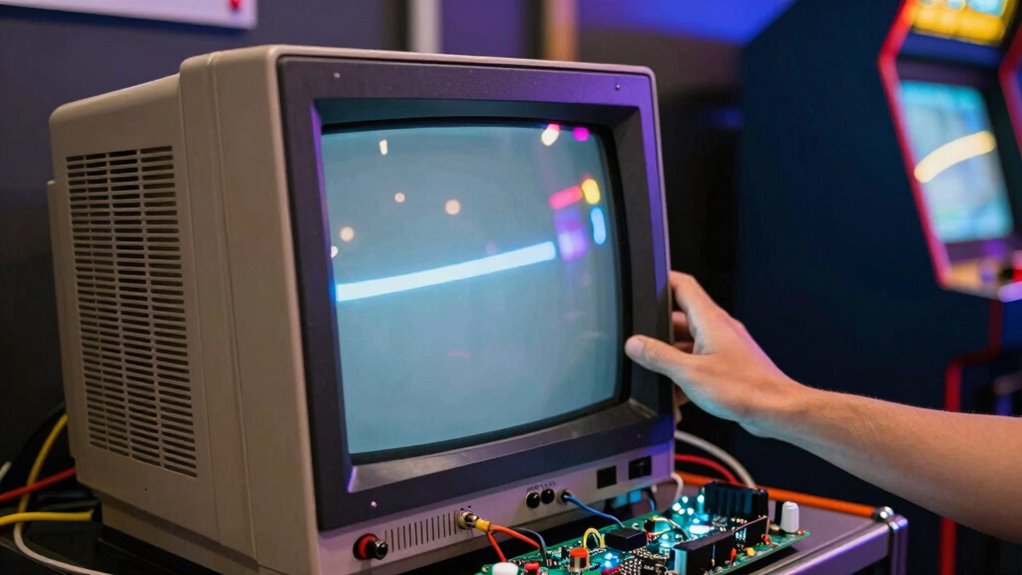
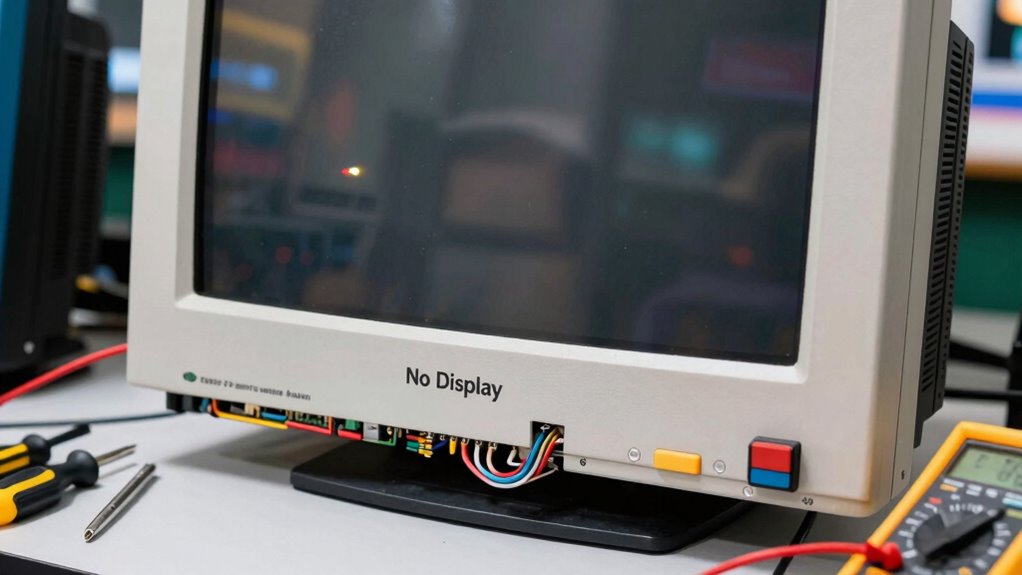
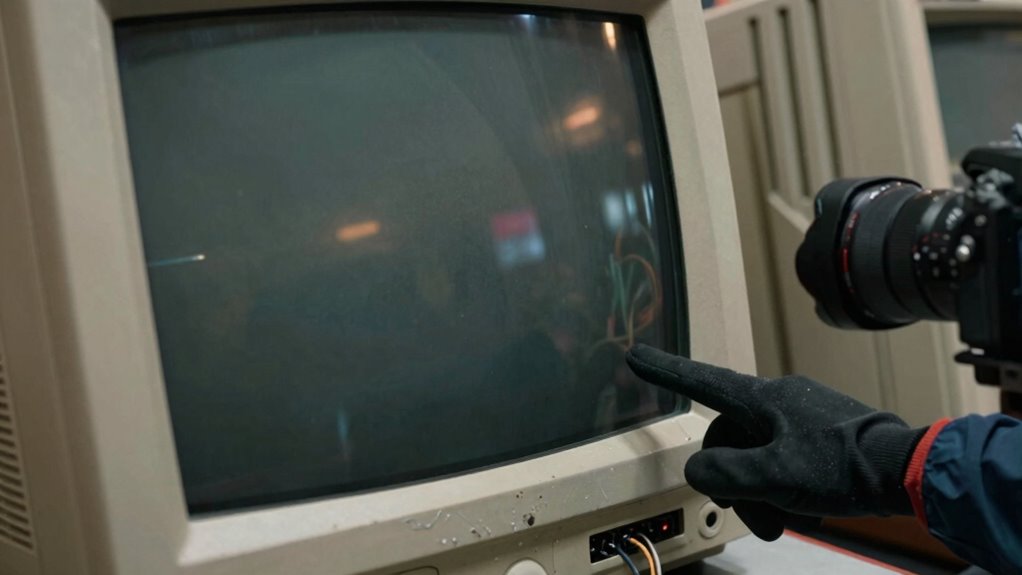
Test the Monitor With a Known Working Video Input
To confirm if your monitor is functioning properly, try connecting it to a known working video source. Swap out the video cables and use a device you know sends a good signal to rule out common issues. This simple step helps identify whether the problem lies with the monitor itself or the video input. Additionally, consider testing the monitor with traditional Indonesian decor masks, which are often used in cultural displays and can serve as unconventional visual references to verify display functionality. Proper calibration and testing ensure that your troubleshooting process is thorough and accurate. Incorporating the latest wall art trends, such as digital frames or interactive murals, can also provide diverse and reliable visual references during testing. Moreover, ensuring your setup includes smart home automation can streamline the testing process and help identify issues more efficiently.
Verify Video Source
Have you checked if the monitor displays correctly with a different video input? This step confirms whether the issue lies with the monitor or the source device. To guarantee proper testing:
- Verify that the input selection on your monitor matches the connected video source.
- Confirm the video signal is active and properly calibrated for clear display.
- Use a known working video cable to eliminate cable-related problems.
Swap Video Cables
Since cables can often be the culprit behind display issues, swapping your current video cable with a known working one is a crucial troubleshooting step. Proper cable management prevents kinks or stress that can cause signal loss. Disconnect your existing cable and replace it with a tested, functioning cable to rule out any faults. While doing this, ensure the cable’s connectors are securely attached and free of dust or damage. A faulty or loose cable can disrupt the video signal, making the monitor appear dead. Also, check that the video resolution settings on your source device match the monitor’s supported range. If the display turns on with the new cable, you’ve identified the problem. If not, move on to the next step, but always keep cable quality and management in mind. Consulting your bank swiftifs codes can help ensure your financial transactions are secure if delays involve account verifications.
Use Known Good Device
Testing your monitor with a known good device can quickly identify whether the problem lies with the monitor itself or the original input source. Use a device that’s confirmed working, guaranteeing proper video calibration and secure monitor mounting. This step isolates the issue, saving time and effort.
Consider these key points:
- Verify Compatibility: Confirm the device’s output matches your monitor’s input type.
- Check Video Calibration: Adjust settings if needed to ensure clear display.
- Ensure Proper Mounting: Securely mount the monitor to prevent loose connections or flickering.
If the display works with the known good device, focus on troubleshooting the original input source. If it doesn’t, your monitor may need repairs or replacement.
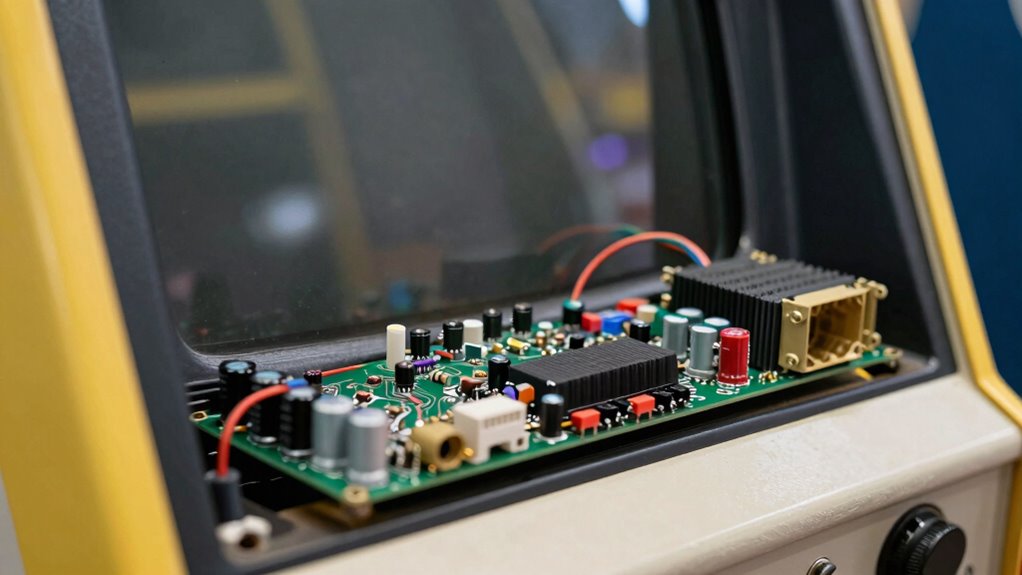
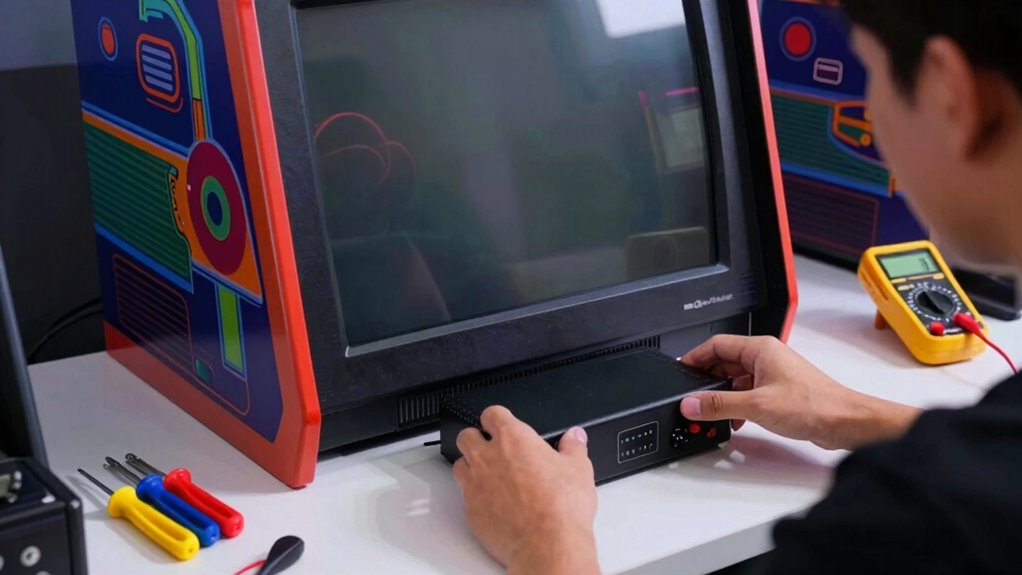
Look Inside the Monitor for Visible Damage or Burnt Parts
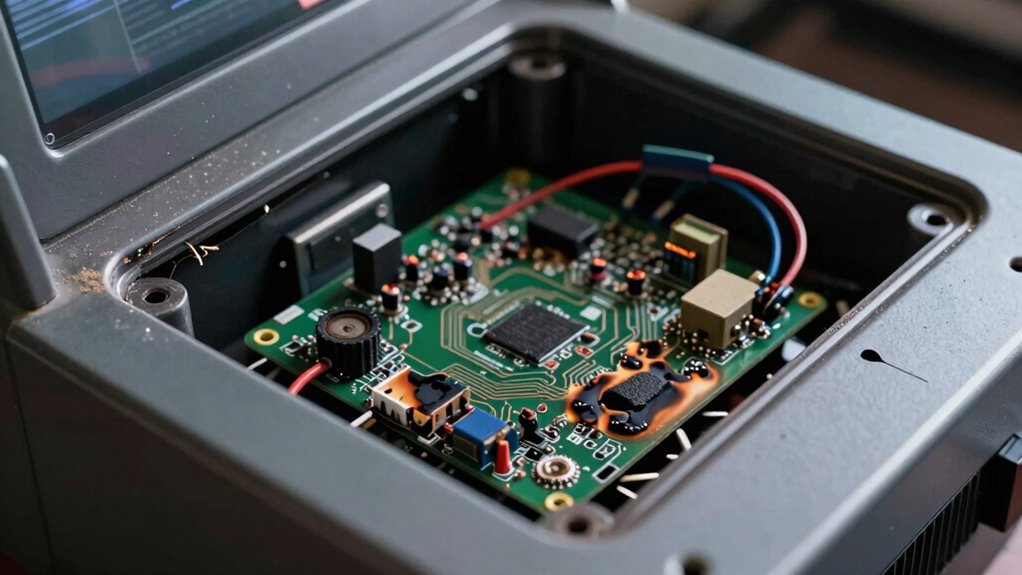
To identify visible issues, carefully open the monitor’s casing and examine its internal components. Look for any signs of damage, such as cracked or bulging capacitors, burnt or discolored parts, or scorched circuit boards. Check for loose or disconnected wires that could disrupt power or signal flow. Pay attention to any burnt smell or visible scorch marks, which indicate overheating or electrical failure. Inspect the monitor casing for cracks or damage that might have compromised internal components. If you notice any of these issues, it’s a clear sign that the monitor has sustained damage, and further repairs or replacements may be necessary. A thorough visual inspection helps pinpoint physical problems that can cause a “no display” condition. Additionally, understanding how cryptocurrency market volatility can impact electronic components may help in diagnosing potential electrical issues caused by power surges or fluctuations. Visual clues such as discolored or melted parts can offer immediate insight into the monitor’s condition.
Reset Your Monitor Settings to Default
After inspecting the internal components and identifying any physical damage, the next step is to reset your monitor’s settings to their factory defaults. A monitor reset restores default settings, eliminating any misconfigurations that could cause a no-display issue. To do this, access your monitor’s on-screen menu and locate the reset or factory reset option.
Consider these key points:
- Resetting to default settings can resolve conflicts caused by custom adjustments.
- Restoring defaults ensures a clean baseline for further troubleshooting.
- Always confirm the reset to eliminate user-made changes that might be interfering.
Performing a monitor reset is a quick, effective way to rule out configuration problems, helping you determine if the issue lies elsewhere.
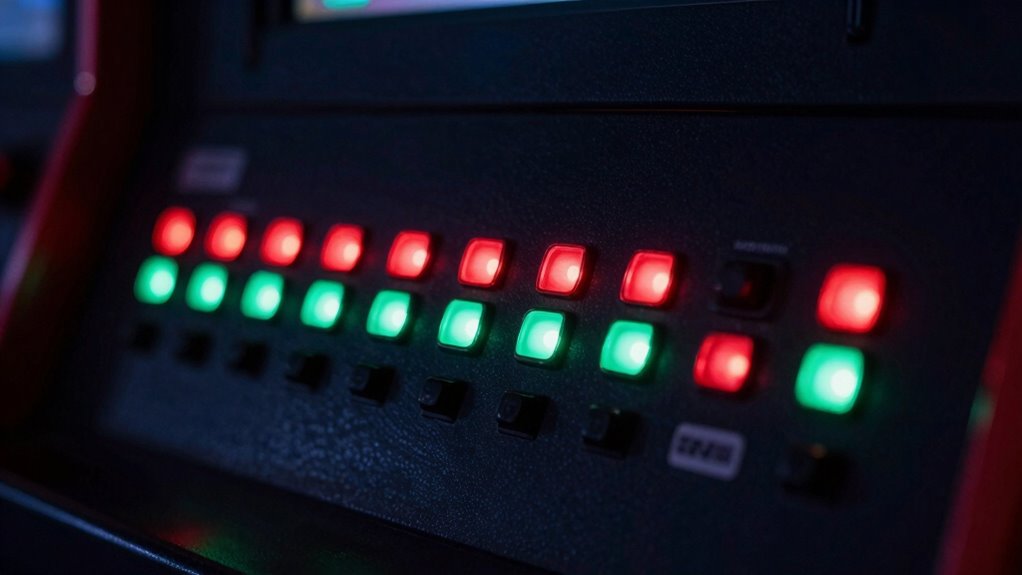
Watch for Blinking Lights or Error Indicators
When your monitor shows no display, paying close attention to blinking lights or error indicators can provide valuable clues about the problem. Check the power indicator light first; a steady light usually means the monitor is powered on, while blinking lights often signal an error or malfunction. Blinking lights can indicate issues like overheating, power supply problems, or internal hardware faults. If you notice unusual blinking patterns, note their timing and frequency, as these details can help identify the specific issue. Some monitors use error codes through blinking sequences, guiding you toward troubleshooting steps. Always compare what you see with your monitor’s manual or manufacturer’s guidelines. Recognizing these signals early can save you time and help you focus on the right fixes.
Rule Out External Hardware Issues or Faulty Ports
Start by checking all external connections to make certain they’re secure and properly plugged in. Next, inspect the video ports for any damage, dust, or debris that could interfere with signal transfer. Addressing these simple issues can often resolve display problems before exploring internal hardware.
Check External Connections
To determine if external hardware issues are causing the no display problem, you should first check all connections between your computer and the monitor. Confirm cables are securely plugged into the correct ports, especially the video output. Examine the power supply to verify it’s providing consistent power; a faulty power supply can prevent the monitor from turning on. Also, inspect the circuit board inside the monitor for any visible damage or loose connections.
Consider these key steps:
- Verify that all cables are firmly connected and undamaged.
- Test the power supply with a known working outlet or replace it if in doubt.
- Check the circuit board for signs of damage or burnt components.
These actions help rule out external hardware issues before delving deeper.
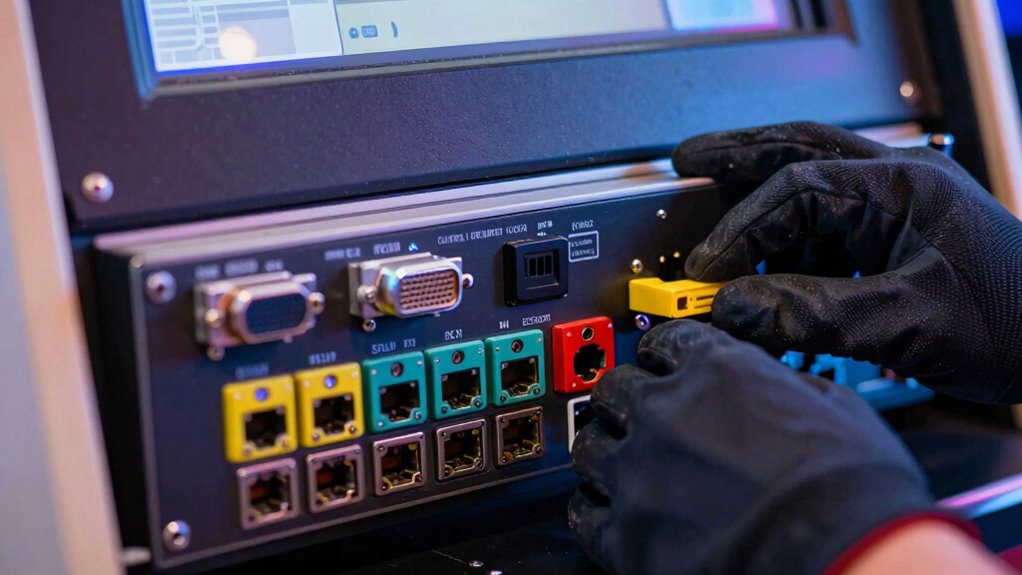
Inspect Video Ports
Inspecting your video ports is a crucial step in ruling out external hardware issues. Start by checking for proper video port compatibility between your monitor and graphics card. Different connector types—HDMI, DisplayPort, VGA, DVI—require specific cables and ports. Confirm you’re using the correct cable and that it’s securely connected on both ends. Look for any visible damage, bent pins, or debris in the ports that could disrupt signal transmission. If your monitor has multiple input options, try switching to another port to see if the display appears. Remember, faulty or incompatible connector types can cause no display problems, so verifying port compatibility and connection integrity can save you troubleshooting time.
When to Call a Professional or Consider Replacement
When troubleshooting a “no display” problem, it’s important to recognize when professional repair is needed or if replacing the monitor is the best choice. If you’ve tried basic troubleshooting and the screen remains blank, consider these signs:
- The monitor shows no signs of power, despite checking connections and power sources.
- There are persistent display artifacts or flickering, indicating internal hardware issues.
- The monitor is older and out of warranty, making replacement more cost-effective than repairs.
In such cases, seeking professional repair can save time and ensure safety. However, if repair costs are high or the monitor is outdated, monitor replacement might be the smarter, long-term solution. Knowing when to escalate helps you avoid unnecessary expenses.
Frequently Asked Questions
How Can I Identify if My Monitor’s Internal Components Are Faulty?
You can identify if your monitor’s internal components are faulty by performing circuit testing on key parts like the power supply and signal board. Look for obvious signs of damage, such as burnt components or bulging capacitors. If testing reveals faulty parts, you should replace the components to restore functionality. Always disconnect power before testing or replacing parts to avoid further damage or injury.
What Are Common Signs of a Failing Arcade Monitor?
You’ll notice signs like distorted images, flickering, or color issues, which often point to monitor calibration problems. If the screen stays blank despite the power supply working, it suggests a power supply issue or internal fault. Check for loose connections and confirm the monitor’s power source is stable. These signs indicate your arcade monitor might need calibration adjustment or internal repairs to restore proper display function.
Can Ambient Light Affect My Monitor’s Display Performance?
Ambient light can indeed turn your monitor into a mirror, affecting your display performance. Excessive ambient light causes glare issues, making it hard to see images clearly and straining your eyes. To keep your arcade monitor shining brightly, control the ambient light by adjusting curtains or positioning lights away from the screen. This guarantees ideal visibility, preventing glare issues from dimming your gaming experience.
How Do Environmental Factors Impact Monitor Functionality?
Environmental factors critically impact your monitor’s functionality. Electromagnetic interference from nearby electronics can cause display issues or flickering, so keep devices like speakers or routers away from the monitor. Additionally, make certain proper ventilation; inadequate airflow can lead to overheating, resulting in poor performance or shutdowns. By minimizing electromagnetic interference and maintaining ventilation, you help your monitor operate smoothly and extend its lifespan.
Are There Safety Precautions Before Opening or Repairing the Monitor?
Opening or repairing a monitor is like walking a tightrope—you must prioritize safety. Before you start, unplug the power and wait for capacitors to discharge, preventing electrical shocks. Always wear insulated gloves and use proper tools for component handling. Remember, electrical safety is vital; mishandling can cause injury or damage. Take your time, stay cautious, and follow safety guidelines to protect yourself and ensure a successful repair.
Conclusion
If your arcade monitor still refuses to display after these steps, don’t lose your cool — sometimes, it’s just a tiny glitch hiding in plain sight. Keep troubleshooting methodically, and you’ll likely save yourself a fortune in repairs. Remember, a dead monitor is no match for your determination! If all else fails, calling in a pro might be your best shot at reviving your arcade masterpiece. Stay persistent—you’ve got this!